> ## Documentation Index
> Fetch the complete documentation index at: https://docs.onyx.app/llms.txt
> Use this file to discover all available pages before exploring further.
# GitHub Connector
> Access knowledge from your GitHub Repositories
## How it works
The Github Connector picks up all of the Pull Requests and Issues in a specified repository.
* It will index both Open and Closed PRs. This includes the Title and Summary.
* It will index Issues and comments both Open and Closed
* Includes certain other metadata such as the URL, creator, etc.
## Permission Sync Feature
The GitHub connector supports permission synchronization,
which ensures that users can only access documents they have permissions to view in GitHub. When enabled, this feature:
* Syncs user permissions from GitHub repositories and organizations
* Ensures that users only see search results for repositories they have access to
* Maintains consistent access control between GitHub and Onyx
Permission sync is available only on Cloud and the Enterprise Edition of Onyx,
and it requires additional token permissions beyond those needed for basic indexing.
### ⚠️ CRITICAL REQUIREMENT: Public Email Profile
**VERY IMPORTANT:** For permission sync to work,
users must have their email address publicly visible in their GitHub profile. If a user's email is set to private,
they will not get access to any documents through Onyx.
Log in to your GitHub account
Click on your profile picture in the top-right corner and select **Settings** from the dropdown menu
In the left sidebar, click on **Emails**
Scroll down to **Keep my email addresses private** and **uncheck this option**
Now go back to the left sidebar and click on **Public profile**
Scroll down to the **Public email** section and select your email address from the dropdown
Click **Update profile** to save the changes
**Why is this required?**
Onyx uses the public email to match GitHub users with Onyx users for permission synchronization. Without a public email,
the system cannot identify which GitHub permissions apply to which Onyx user.
## Setting up
### Authorization
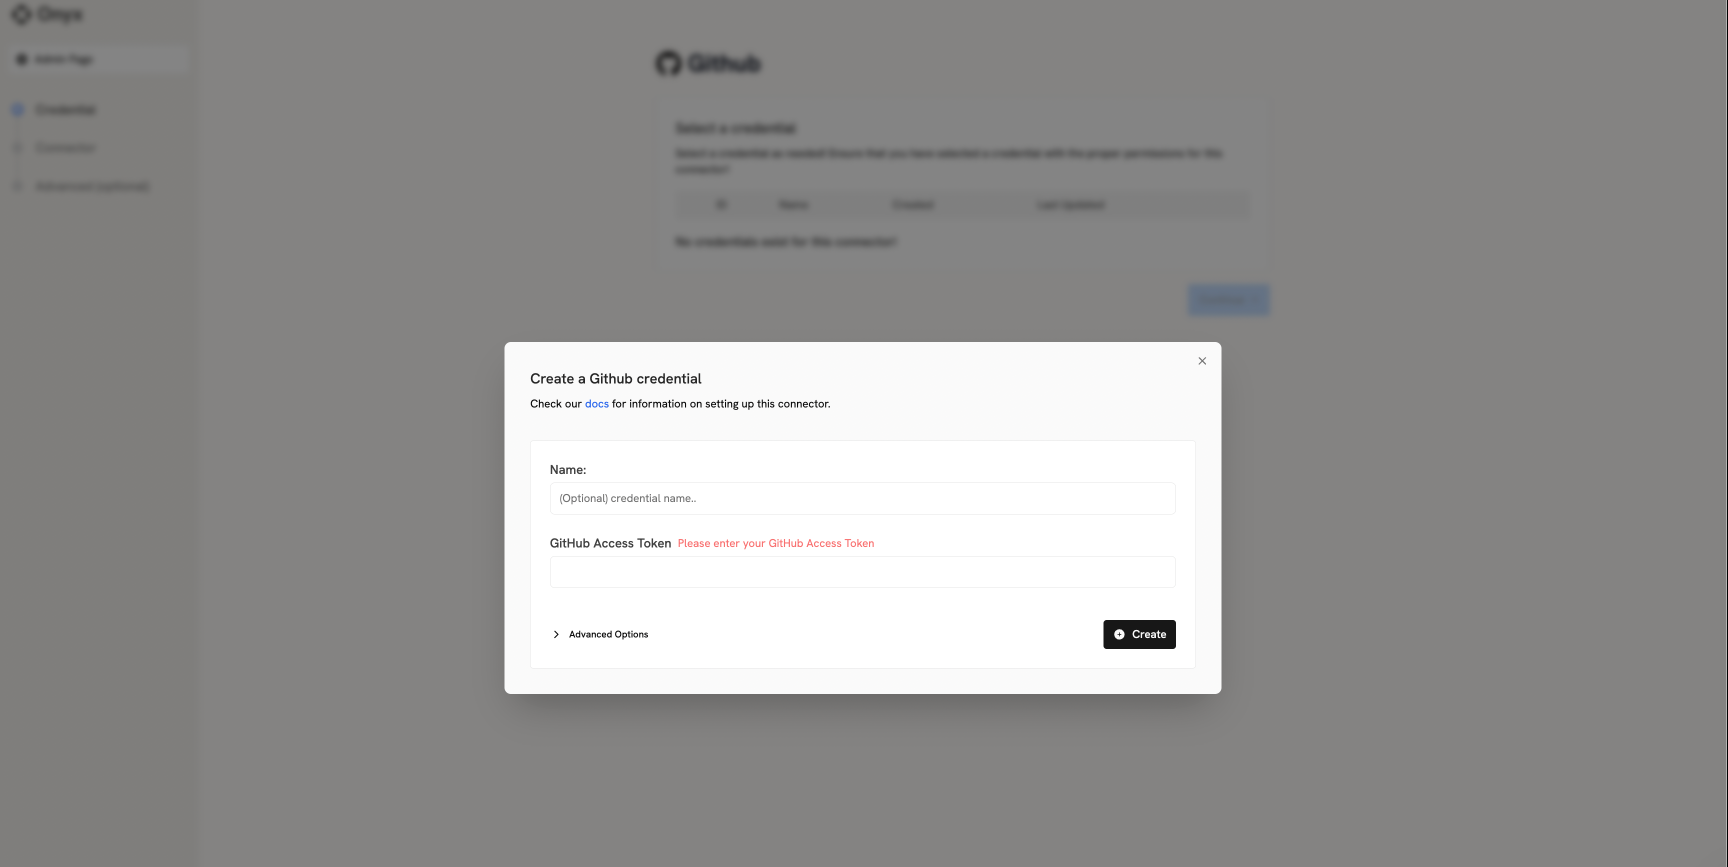
This Connector uses a GitHub Access Token.
The required permissions depend on whether you're using the permission sync feature.
#### Basic Setup (Indexing Only)
For basic indexing without permission sync:
[This
guide](https://docs.github.com/en/enterprise-server@3.4/authentication/keeping-your-account-and-data-secure/creating-a-personal-access-token)
shows the following steps in detail.
Log in to GitHub.
In the upper right corner, expand your profile and click on **Settings**
On the bottom, go to **Developer settings** -> **Personal access tokens** -> **Tokens (classic)**
Click on **Generate new token**
Grant the following permissions:
* **Repository permissions:**
* `repo` (Full control of private repositories) - to access PRs and issues
If you're using a fine-grain access token instead of a classic token:
In the token configuration page, go to **Repository permissions**
Click **Add permission**, then add the following with **Read access**:
* **Pull requests** - to access PR data
* **Metadata** - for repository metadata
* **Issues** - to access issues and comments
* **Contents** - to access repository contents
#### Permission Sync Setup
Pick the token type you're using:
When creating a **fine-grained** GitHub access token for **permission sync**,
make sure you select the correct **Resource owner organization** (the GitHub **organization** that owns the
repositories you want to create the connector for).
Fine-grained tokens scoped to a personal user account do **not** allow granting **Organization permissions**
(like **Members**), so permission sync requires selecting an organization as the resource owner.
Add these in the token configuration page using **Repository permissions** -> **Add permission** and
**Organization permissions** -> **Add permission**:
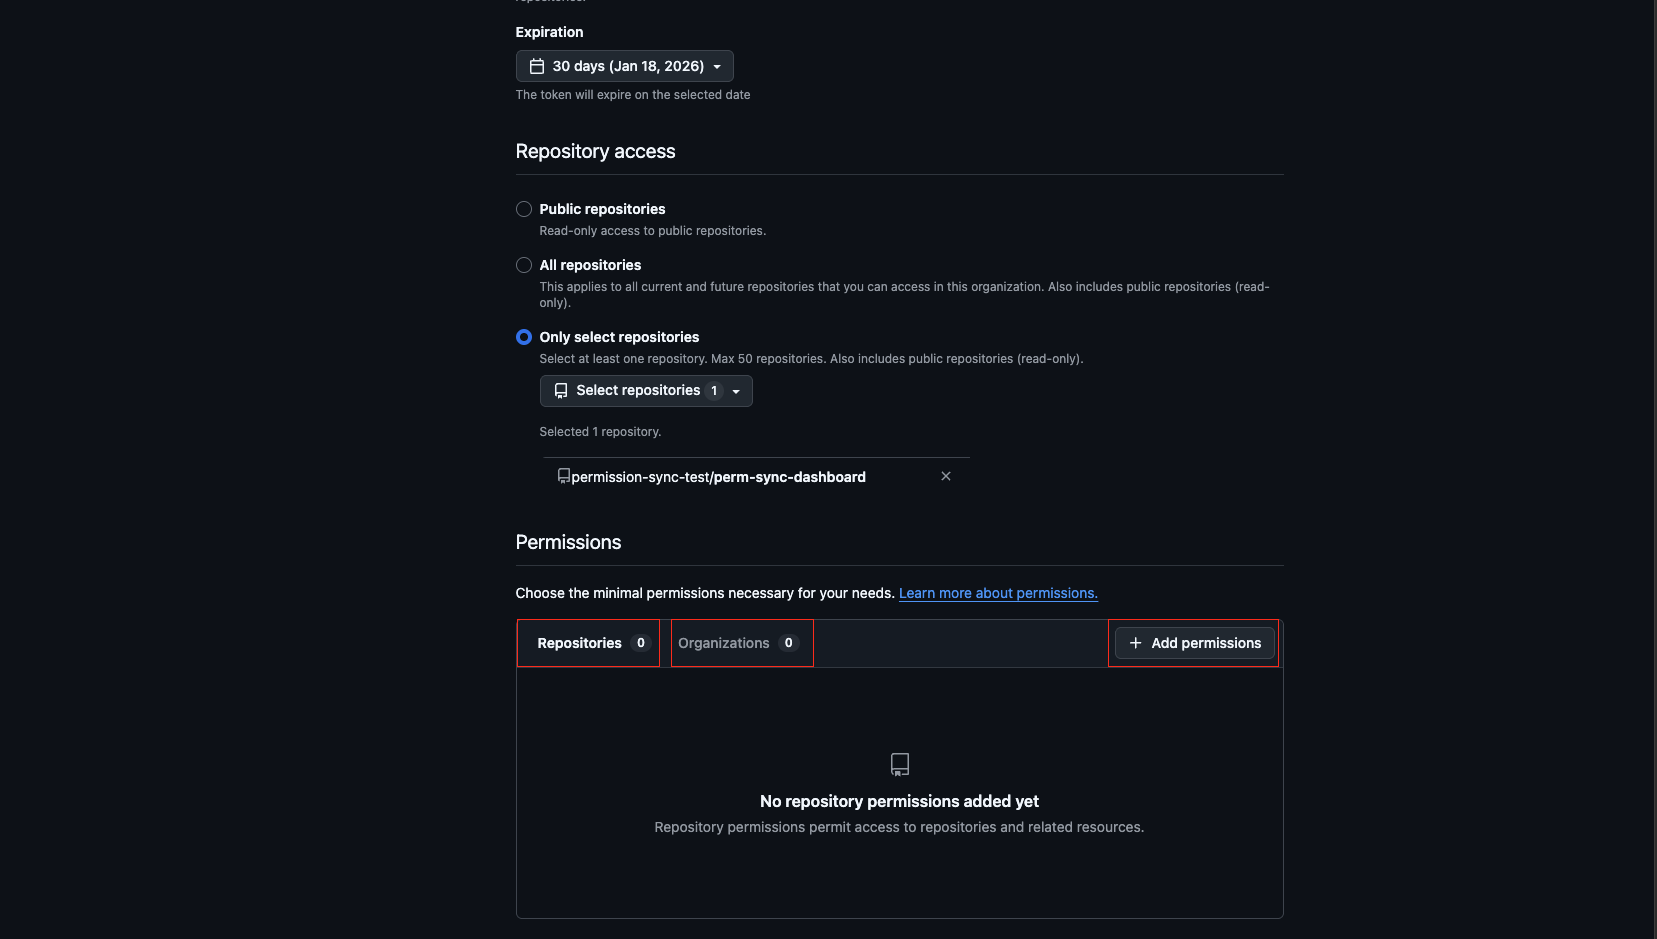 * **Repository permissions** (Read access): **Administration**, **Issues**, **Metadata**, **Pull requests**
* **Organization permissions** (Read only): **Administration**, **Members**
If you're using a **classic** GitHub personal access token (PAT) and want **permission sync**,
you must also grant:
* `read:org`
Keep the basic indexing permission enabled as well:
* `repo` (Full control of private repositories) - to access PRs and issues
#### Token Configuration
Set any expiration time.
A new token will have to be provided to Onyx to continue updating the Onyx index once this one expires.
**Important:** If you plan to use permission sync,
ensure all the above permissions are granted when creating the token.
### Indexing
Navigate to the Admin Panel and select the **GitHub** Connector
For [https://github.com/onyx-dot-app/onyx](https://github.com/onyx-dot-app/onyx), it would look like:
* **Repository permissions** (Read access): **Administration**, **Issues**, **Metadata**, **Pull requests**
* **Organization permissions** (Read only): **Administration**, **Members**
If you're using a **classic** GitHub personal access token (PAT) and want **permission sync**,
you must also grant:
* `read:org`
Keep the basic indexing permission enabled as well:
* `repo` (Full control of private repositories) - to access PRs and issues
#### Token Configuration
Set any expiration time.
A new token will have to be provided to Onyx to continue updating the Onyx index once this one expires.
**Important:** If you plan to use permission sync,
ensure all the above permissions are granted when creating the token.
### Indexing
Navigate to the Admin Panel and select the **GitHub** Connector
For [https://github.com/onyx-dot-app/onyx](https://github.com/onyx-dot-app/onyx), it would look like: