> ## Documentation Index
> Fetch the complete documentation index at: https://docs.onyx.app/llms.txt
> Use this file to discover all available pages before exploring further.
# S3 Assume Role
> This method automatically uses the IAM role attached to your EC2 instance to access S3 buckets. No manual credential entry is required.
### Prerequisites
* Ensure your EC2 instance has an IAM role attached.
* Verify the instance profile is properly configured via AWS Console under **EC2 › Instance Settings
› Attach/Replace IAM role**.
### Updating the Existing IAM Role
Since your EC2 instance already has an IAM role attached, you need to update it with the necessary S3 permissions:
In AWS Console, go to **IAM › Roles** and find your EC2 instance's existing role.
Click on the role and go to the **Permissions** tab. Click **Add permissions › Attach policies**.
Search for and select **AmazonS3ReadOnlyAccess** policy. Click **Attach policies**.
Alternatively, for more granular control, you can create a custom inline policy:
In the same role's **Permissions** tab, click **Add permissions › Create inline policy**.
Switch to JSON and add this policy (replace `your-source-bucket-name`):
```json theme={null}
{
"Version": "2012-10-17",
"Statement": [
{
"Effect": "Allow",
"Action": [
"s3:GetObject",
"s3:ListBucket"
],
"Resource": [
"arn:aws:s3:::your-source-bucket-name",
"arn:aws:s3:::your-source-bucket-name/*"
]
}
]
}
```
Name the policy (e.g., `OnyxS3Access`) and click **Create policy**.
The connector will automatically detect and use the EC2 instance's IAM role for accessing your S3 buckets.
### Credential Entry in Onyx
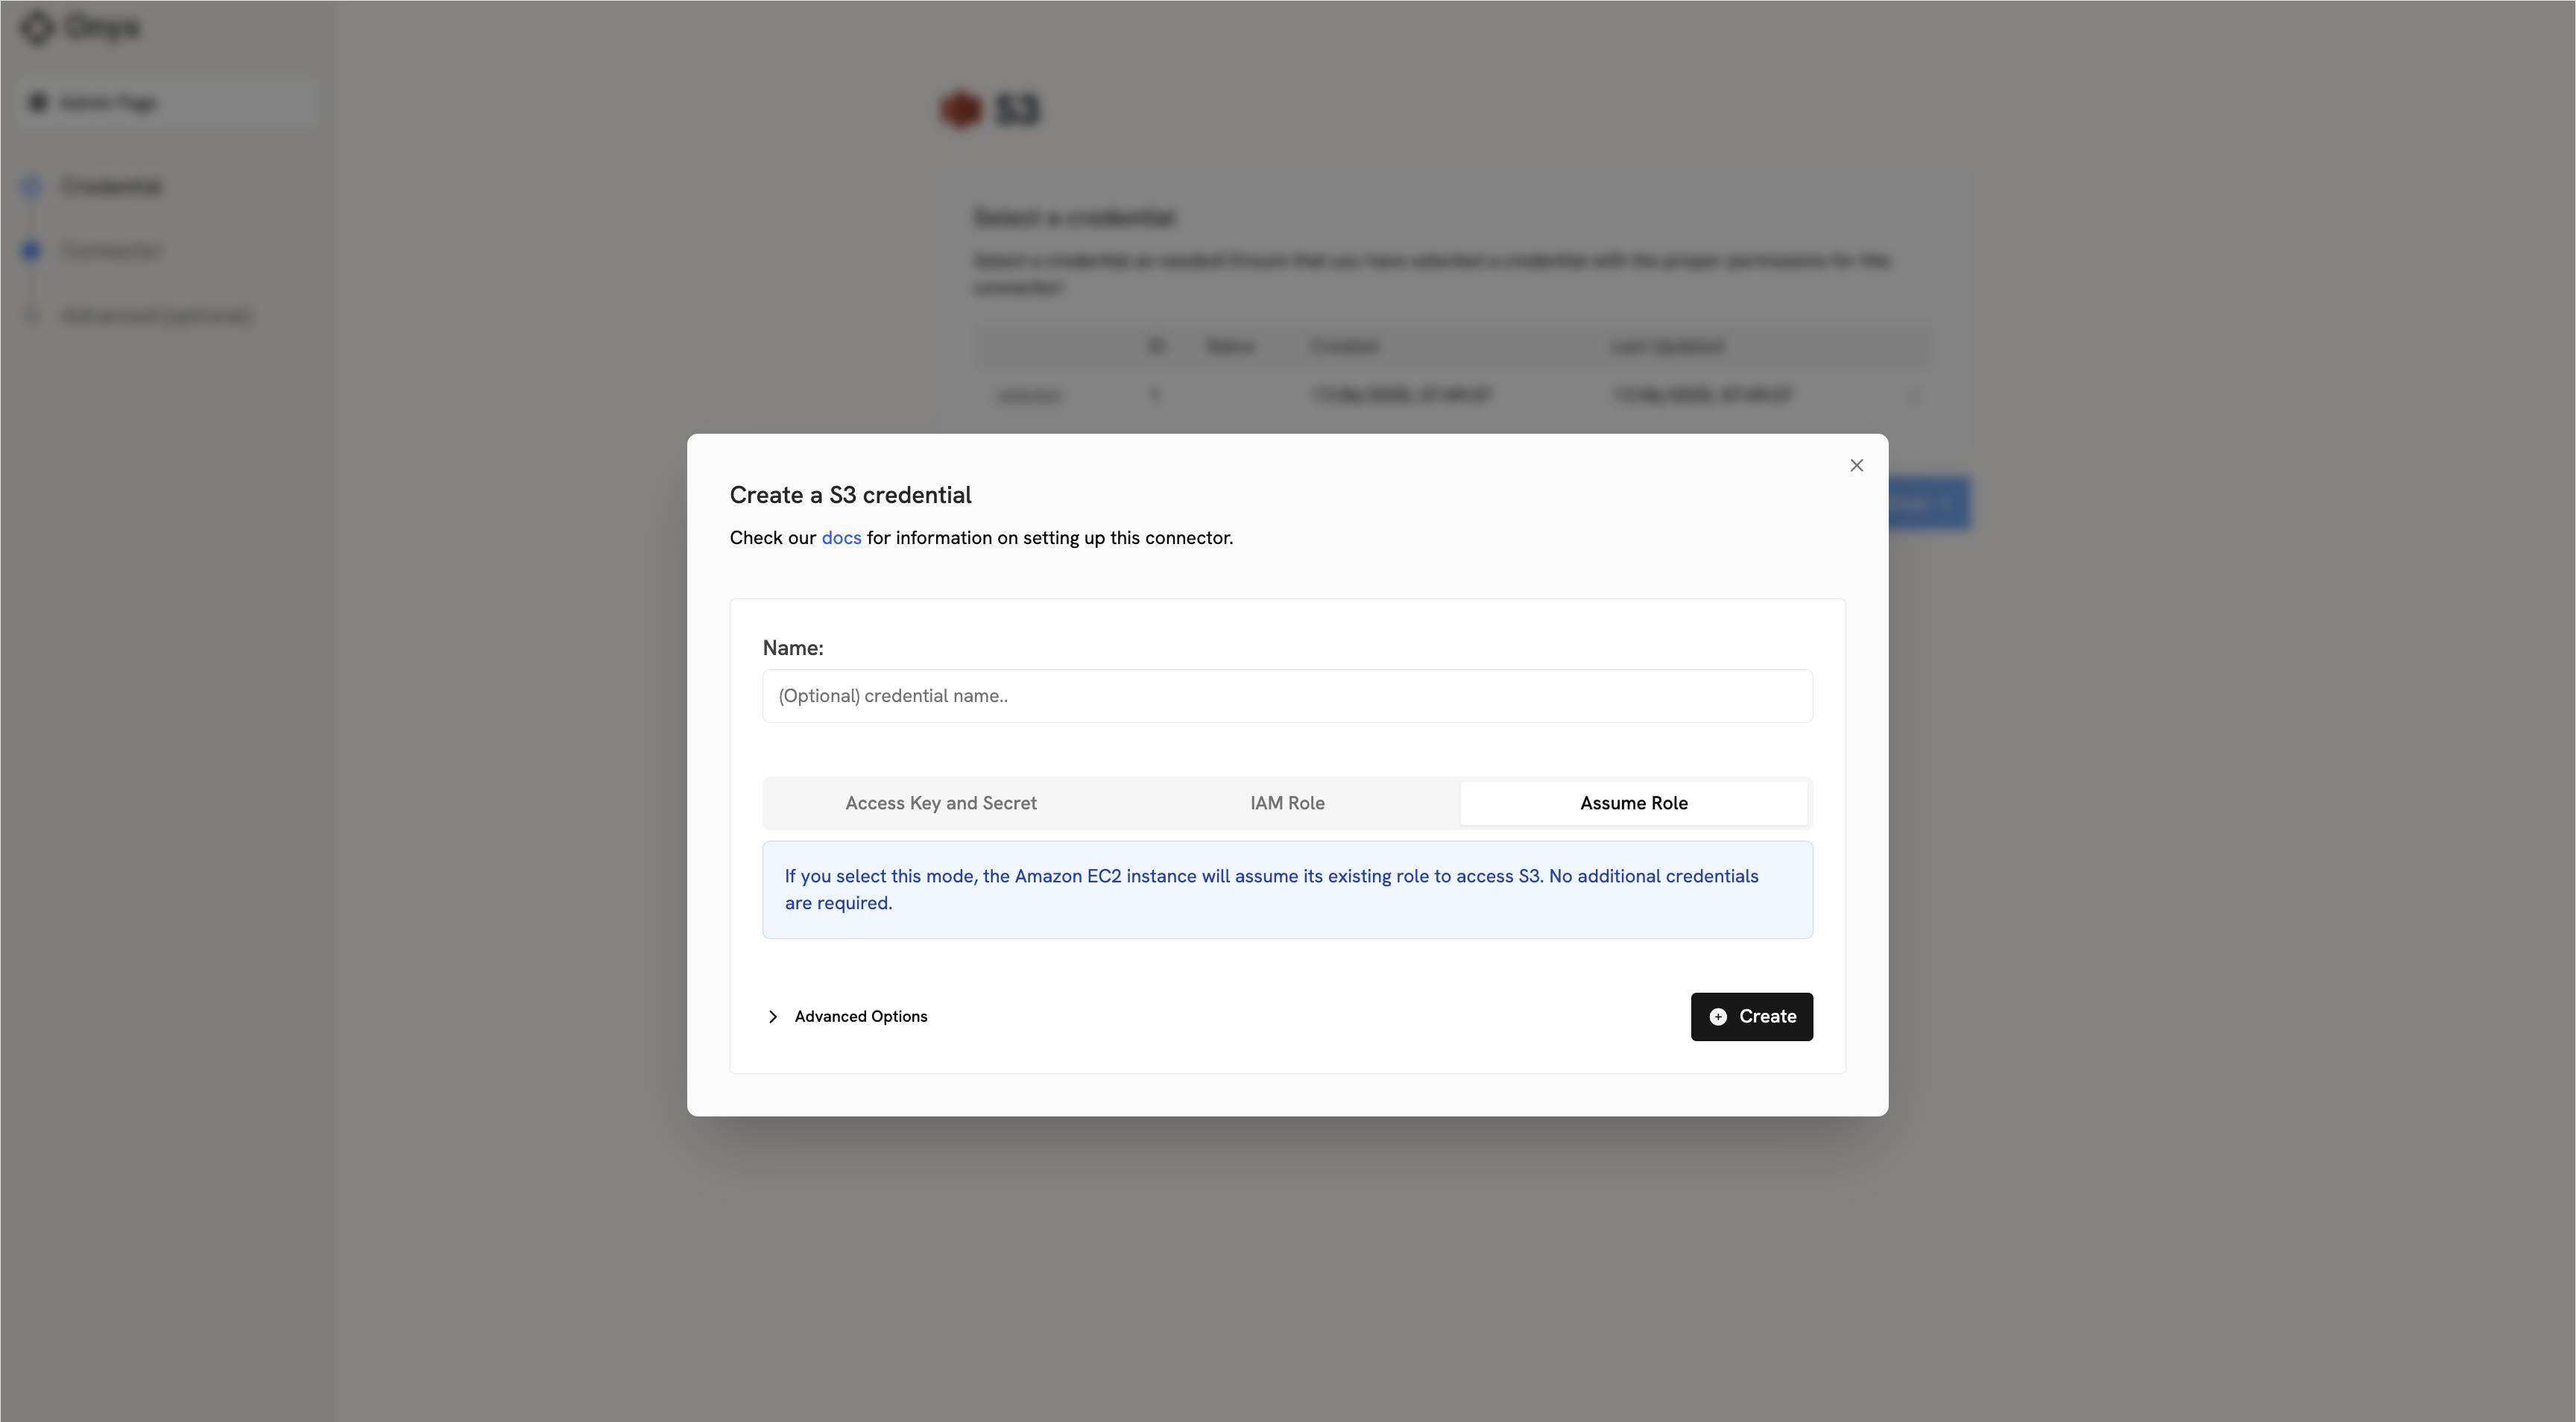
When configuring the S3 connector in Onyx, you'll need to:
Click on the **Assume Role** tab
No credentials need to be entered — the connector automatically uses your EC2 instance's attached role.
 Once you have updated your EC2 instance's role with S3 permissions,
proceed to the [indexing steps in the overview](./overview#indexing) to configure your S3 connector.
Once you have updated your EC2 instance's role with S3 permissions,
proceed to the [indexing steps in the overview](./overview#indexing) to configure your S3 connector.