> ## Documentation Index
> Fetch the complete documentation index at: https://docs.onyx.app/llms.txt
> Use this file to discover all available pages before exploring further.
# Google OAuth
> Google OAuth authentication setup
Configure Onyx to use Google OAuth for user authentication,
providing a seamless login experience through existing Google accounts.
**Prerequisites:**
* [Google Cloud Console](https://console.cloud.google.com/) access
* Administrative permissions to configure OAuth applications
## Guide
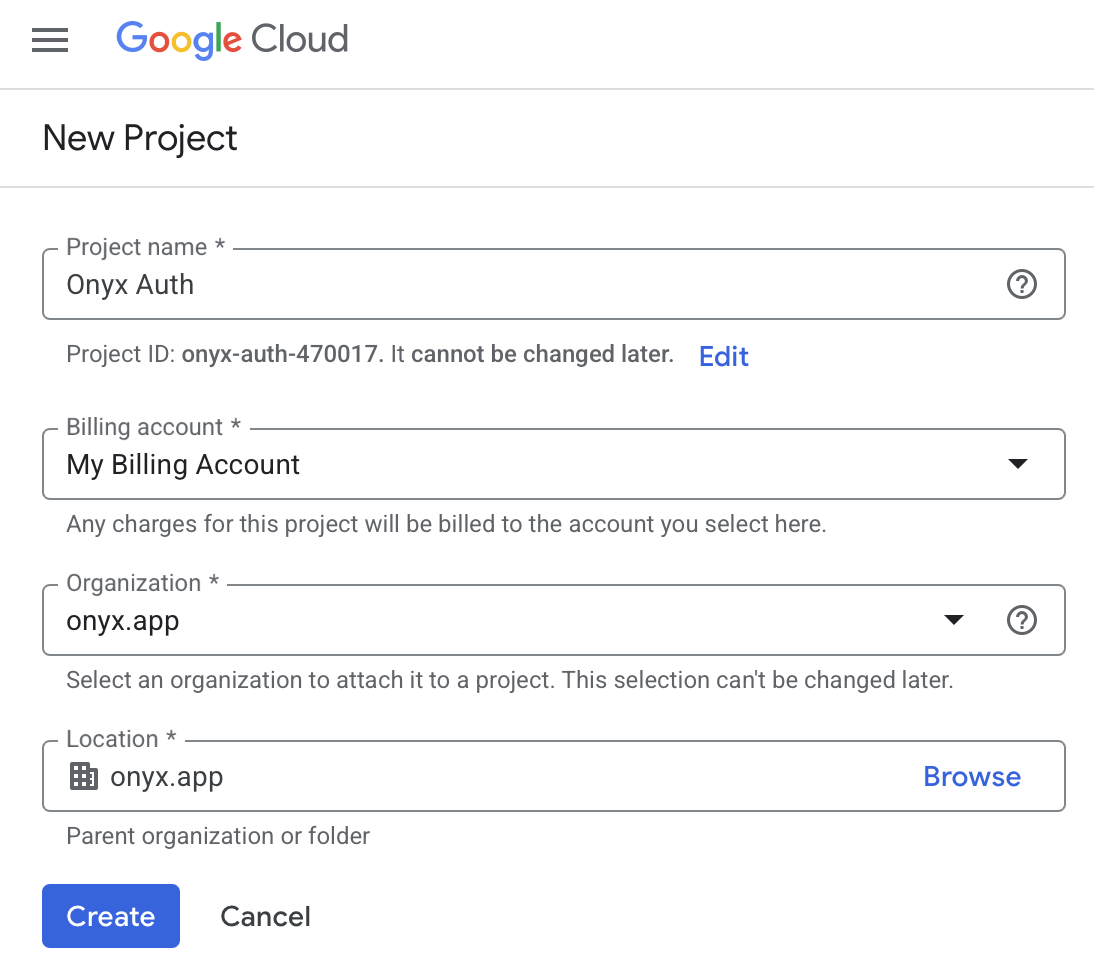
Navigate to the Google Cloud Console [Project Creation page](https://console.cloud.google.com/projectcreate)
and fill in the required fields.
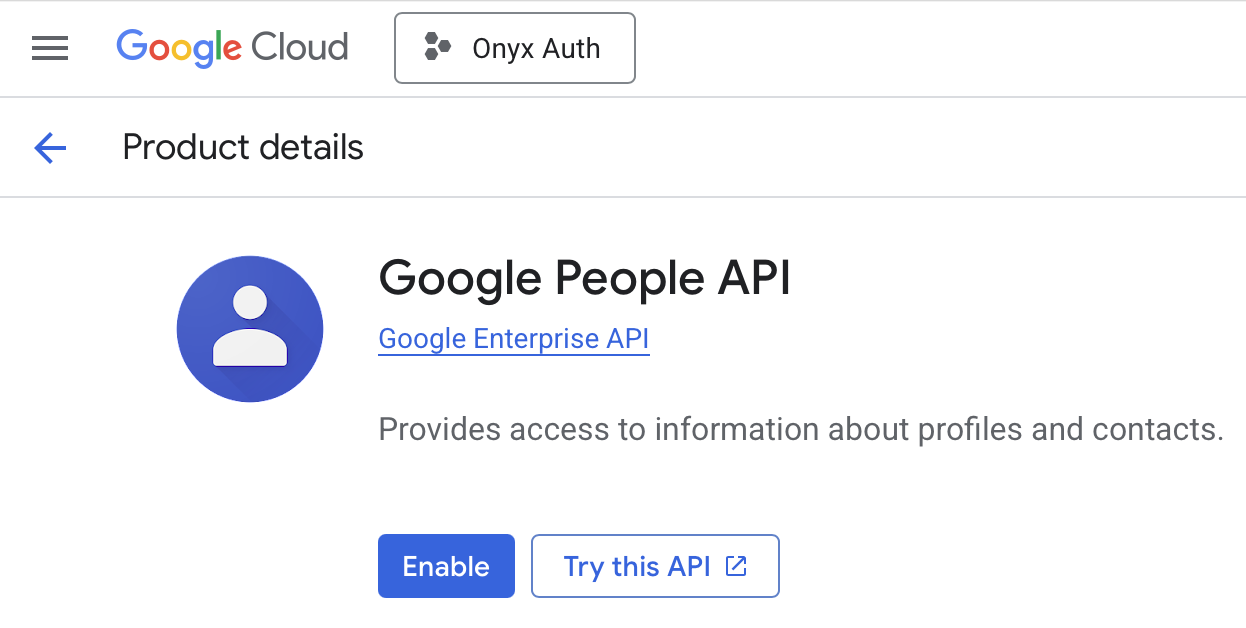
 Navigate to **APIs & Services** and find [Google People
API](https://console.cloud.google.com/apis/library/people.googleapis.com).
Ensure your newly created project is selected in the top bar and click **Enable**.
Navigate to **APIs & Services** and find [Google People
API](https://console.cloud.google.com/apis/library/people.googleapis.com).
Ensure your newly created project is selected in the top bar and click **Enable**.
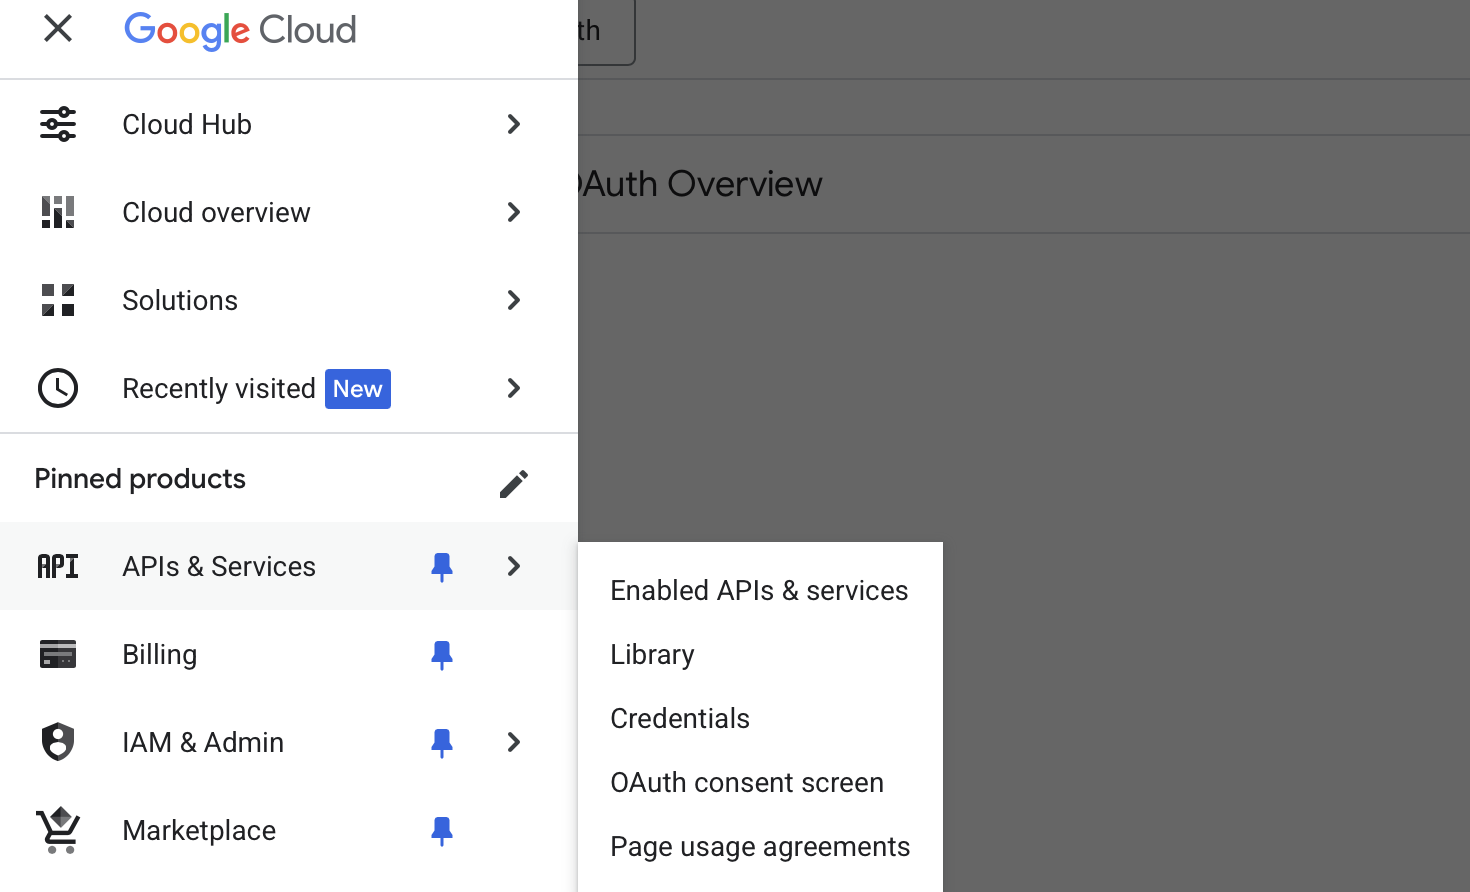
 Open the left sidebar and navigate to **APIs & Services** → **OAuth Consent Screen**.
Once on the **Overview** page, click **Get Started**.
Open the left sidebar and navigate to **APIs & Services** → **OAuth Consent Screen**.
Once on the **Overview** page, click **Get Started**.
 Fill in the **App name** and **User support email** fields.
Select your **Audience**. If you have a Google Workspace organization, select **Internal**. If not,
select **External**.
If you select **External**, you will need to add your users manually in the **Audience** tab under **Test users**.
Fill in any other required fields and finalize the configuration.
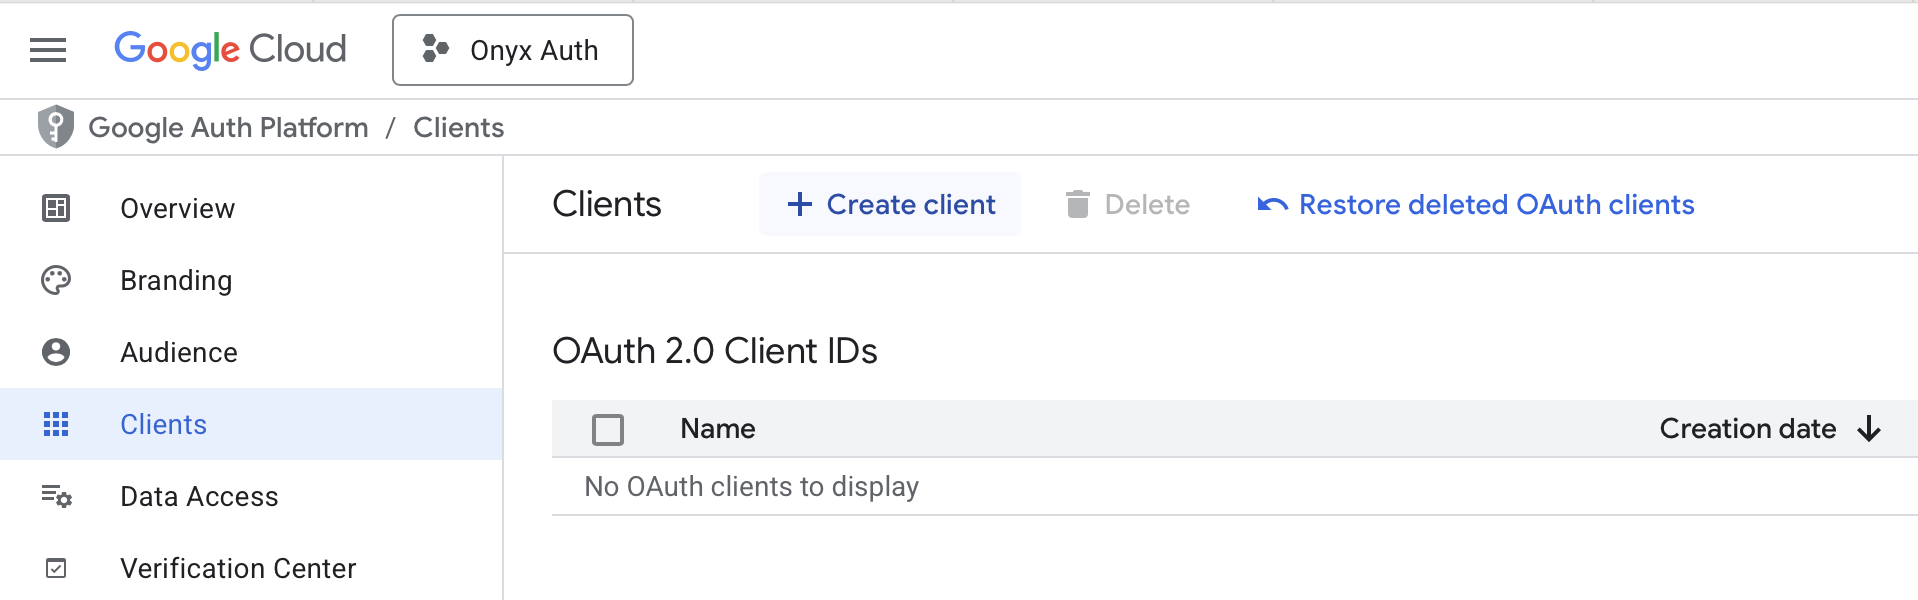
Navigate to **APIs & Services** → **OAuth Consent Screen** → **Clients** page.
Click **"+ Create Client"** and select **Web Application**.
Fill in the **App name** and **User support email** fields.
Select your **Audience**. If you have a Google Workspace organization, select **Internal**. If not,
select **External**.
If you select **External**, you will need to add your users manually in the **Audience** tab under **Test users**.
Fill in any other required fields and finalize the configuration.
Navigate to **APIs & Services** → **OAuth Consent Screen** → **Clients** page.
Click **"+ Create Client"** and select **Web Application**.
 **Name:** `Onyx`
**Authorized JavaScript origins** and **Authorized redirect URIs** depend on your deployment environment.
If hosting Onyx locally use:
```
http://localhost:3000
http://localhost:3000/auth/oauth/callback
```
If hosting Onyx on a custom domain use:
```
https://YOUR_ONYX_DOMAIN.com
https://YOUR_ONYX_DOMAIN.com/auth/oauth/callback
```
**Name:** `Onyx`
**Authorized JavaScript origins** and **Authorized redirect URIs** depend on your deployment environment.
If hosting Onyx locally use:
```
http://localhost:3000
http://localhost:3000/auth/oauth/callback
```
If hosting Onyx on a custom domain use:
```
https://YOUR_ONYX_DOMAIN.com
https://YOUR_ONYX_DOMAIN.com/auth/oauth/callback
```
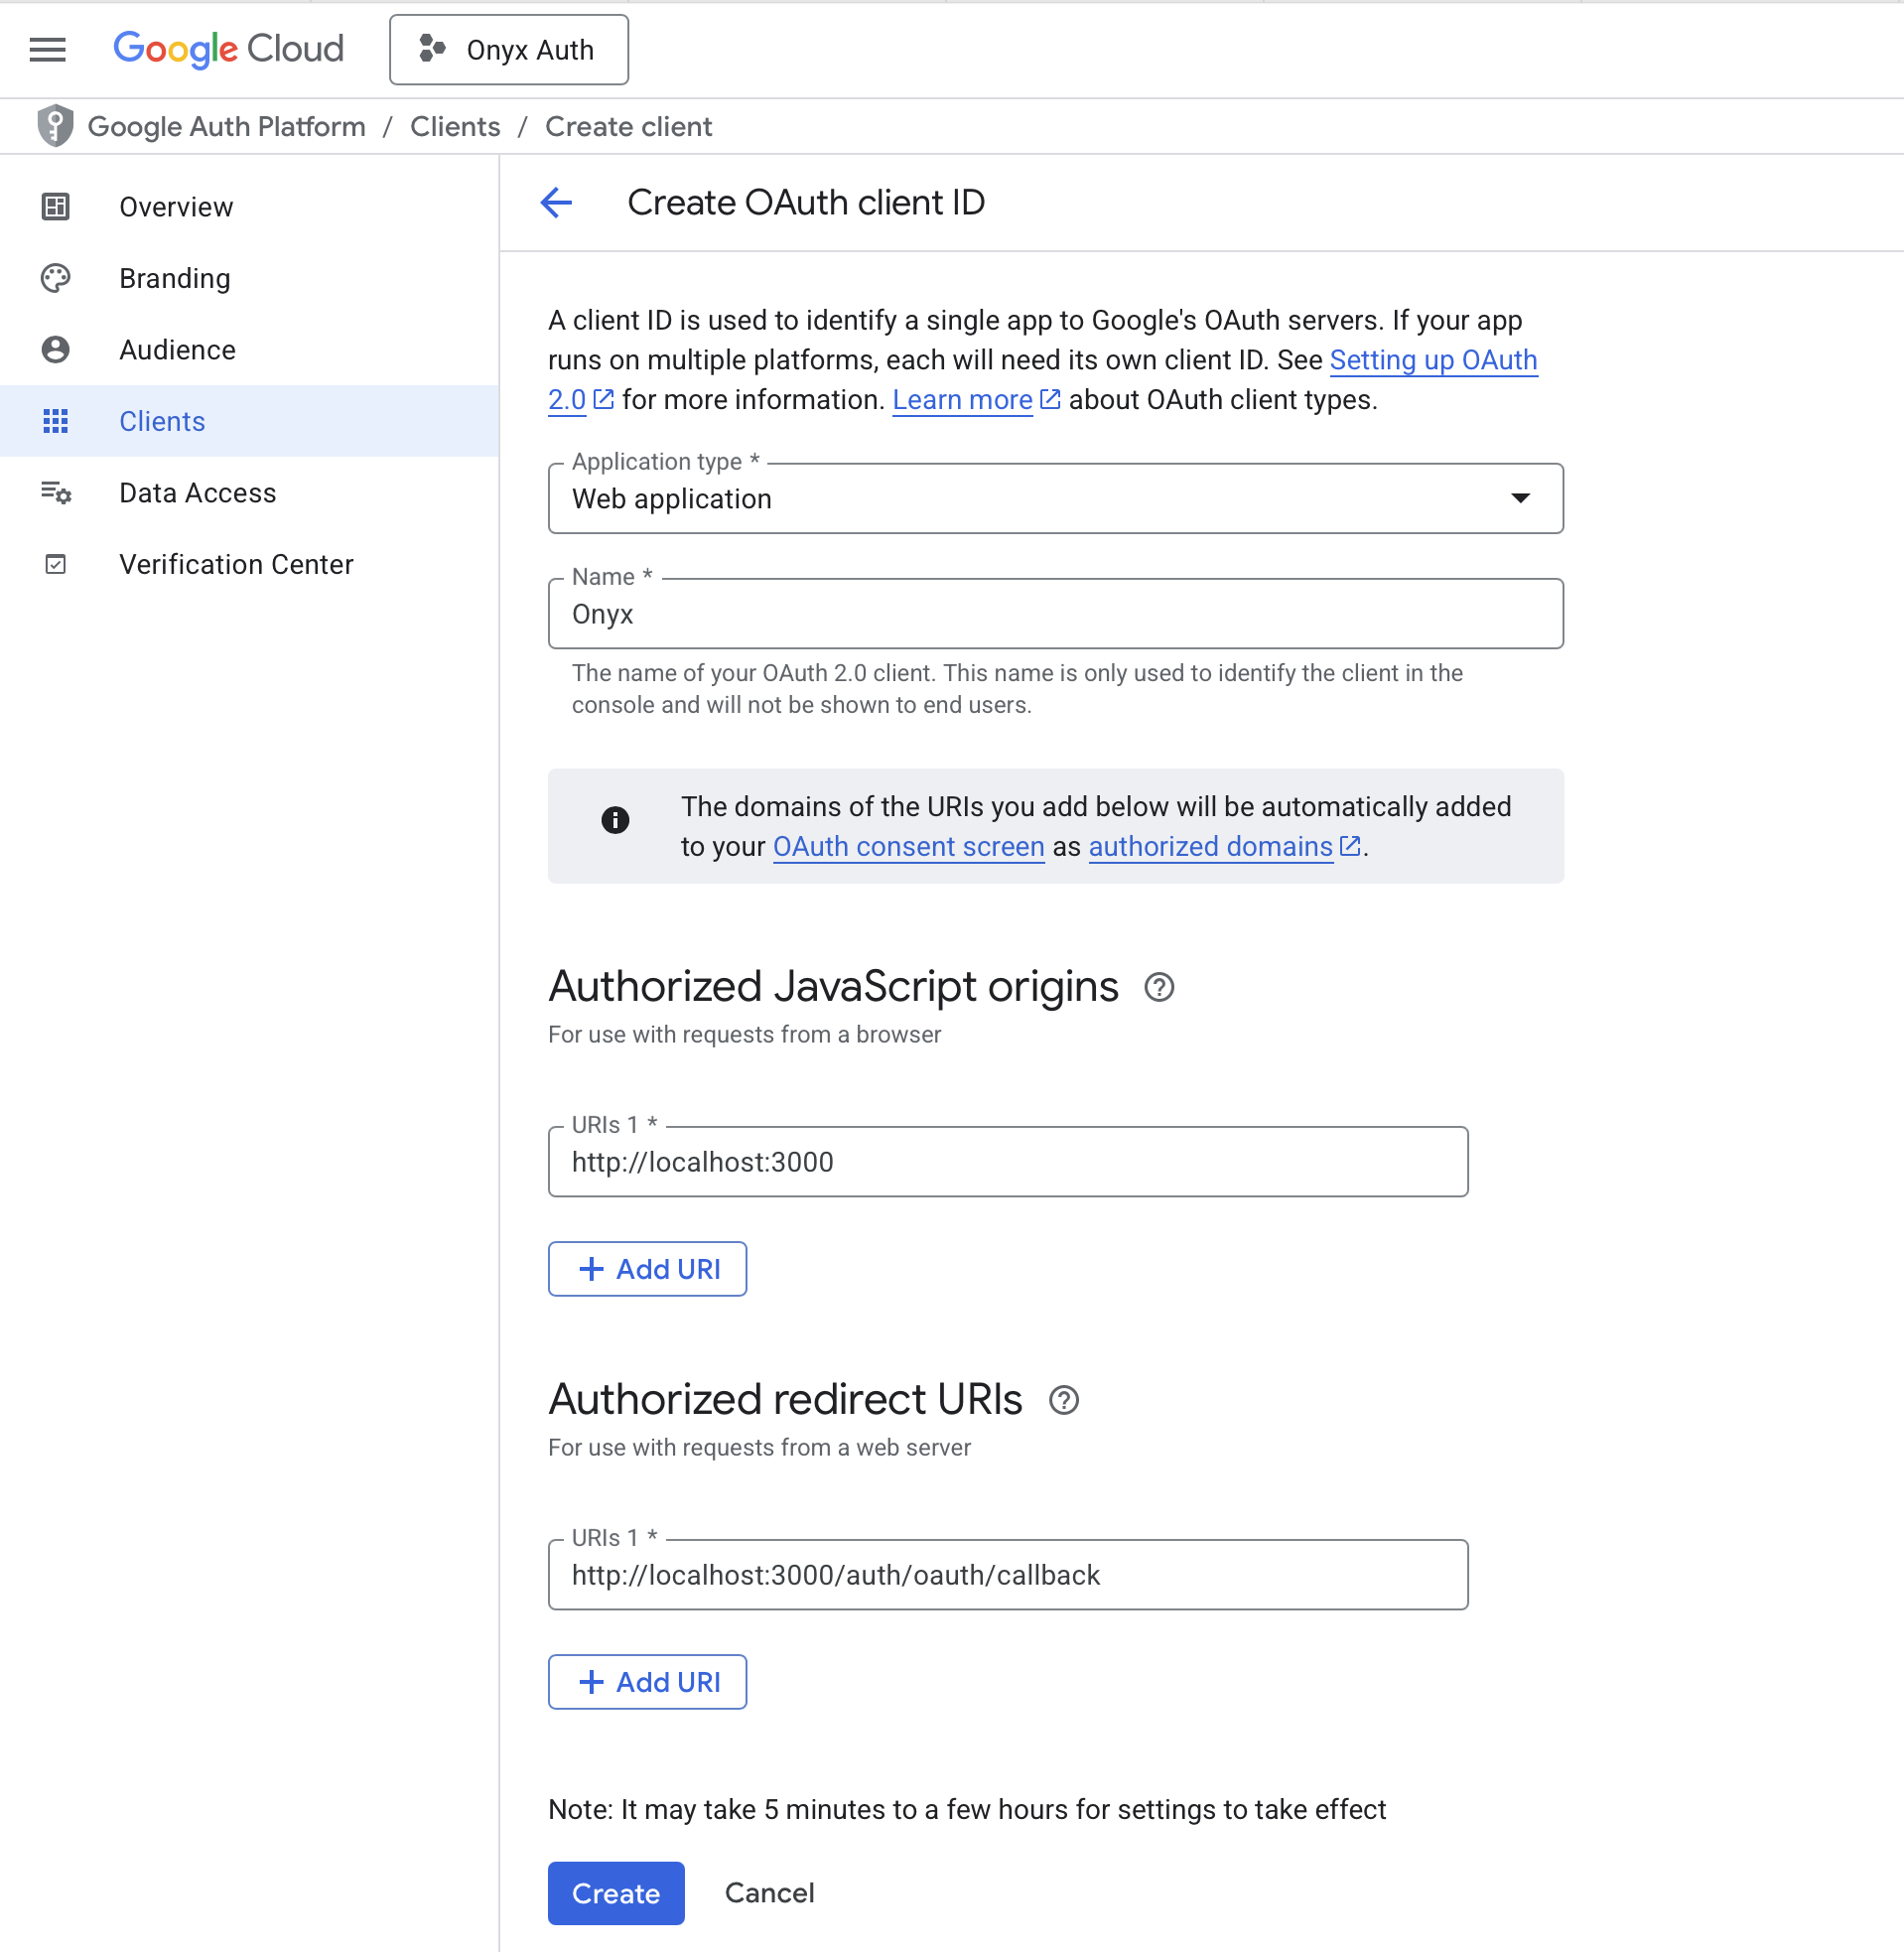 Make sure the URIs you enter here match the URI you use to access Onyx!
Click **Create** → **Download JSON** to save the OAuth client credentials. Alternatively,
save the **Client ID** and **Client Secret** to a password or secrets manager.
Configure Onyx with the following environment variables in your `.env` or `values.yaml` file (Docker and Kubernetes,
respectively).
```bash .env theme={null}
AUTH_TYPE=google_oauth
OAUTH_CLIENT_ID=YOUR_CLIENT_ID
OAUTH_CLIENT_SECRET=YOUR_CLIENT_SECRET
# If you are deploying to a custom domain, you will need to set the `WEB_DOMAIN` environment variable.
WEB_DOMAIN=https://YOUR_ONYX_DOMAIN.com
```
If you're using Docker but don't have a `.env` file,
copy `onyx/deployment/docker_compose/env.prod.template` to a new `.env` file in the same directory.
```bash values.yaml theme={null}
auth:
secrets:
OAUTH_CLIENT_ID:
OAUTH_CLIENT_SECRET:
configMap:
AUTH_TYPE: google_oauth
```
## Customizing requested scopes
By default, Onyx requests `openid`, `email`,
and `profile` from Google during login — the minimum needed to identify the user.
You can override this list with `GOOGLE_OAUTH_SCOPE_OVERRIDE`, a comma-separated list of scopes to request instead.
This is primarily useful when the access token issued at login should be passed through to tool calls that need
additional Google API access.
```bash .env theme={null}
GOOGLE_OAUTH_SCOPE_OVERRIDE=openid,email,profile,https://www.googleapis.com/auth/drive.readonly
```
The override **replaces** the default scopes — make sure `openid`, `email`,
and `profile` are still included if you want standard login to keep working.
Any scopes you add here must also be enabled on the OAuth client in Google Cloud Console (consent screen + client
configuration). Onyx only changes what is sent in the authorize request;
Google still rejects scopes that are not configured for the client.
These scopes apply only to the **app login** and pass-through OAuth flows.
The Google Drive and Gmail **connectors** use their own scopes and OAuth flow, which are not affected by this setting.
Make sure the URIs you enter here match the URI you use to access Onyx!
Click **Create** → **Download JSON** to save the OAuth client credentials. Alternatively,
save the **Client ID** and **Client Secret** to a password or secrets manager.
Configure Onyx with the following environment variables in your `.env` or `values.yaml` file (Docker and Kubernetes,
respectively).
```bash .env theme={null}
AUTH_TYPE=google_oauth
OAUTH_CLIENT_ID=YOUR_CLIENT_ID
OAUTH_CLIENT_SECRET=YOUR_CLIENT_SECRET
# If you are deploying to a custom domain, you will need to set the `WEB_DOMAIN` environment variable.
WEB_DOMAIN=https://YOUR_ONYX_DOMAIN.com
```
If you're using Docker but don't have a `.env` file,
copy `onyx/deployment/docker_compose/env.prod.template` to a new `.env` file in the same directory.
```bash values.yaml theme={null}
auth:
secrets:
OAUTH_CLIENT_ID:
OAUTH_CLIENT_SECRET:
configMap:
AUTH_TYPE: google_oauth
```
## Customizing requested scopes
By default, Onyx requests `openid`, `email`,
and `profile` from Google during login — the minimum needed to identify the user.
You can override this list with `GOOGLE_OAUTH_SCOPE_OVERRIDE`, a comma-separated list of scopes to request instead.
This is primarily useful when the access token issued at login should be passed through to tool calls that need
additional Google API access.
```bash .env theme={null}
GOOGLE_OAUTH_SCOPE_OVERRIDE=openid,email,profile,https://www.googleapis.com/auth/drive.readonly
```
The override **replaces** the default scopes — make sure `openid`, `email`,
and `profile` are still included if you want standard login to keep working.
Any scopes you add here must also be enabled on the OAuth client in Google Cloud Console (consent screen + client
configuration). Onyx only changes what is sent in the authorize request;
Google still rejects scopes that are not configured for the client.
These scopes apply only to the **app login** and pass-through OAuth flows.
The Google Drive and Gmail **connectors** use their own scopes and OAuth flow, which are not affected by this setting.