S3 Connector
IAM Role-Based Authorization
Authorize the S3 connector using an AWS IAM Role with assume role policy.
When to use this method
- When you need to segregate permissions, granting specific S3 access without modifying your EC2 instance’s main role
- When you require temporary, frequently rotated credentials for S3 access, without managing long-lived access keys
- When working in multi-account AWS environments, enabling cross-account S3 access through role assumption
Setting up the IAM Role
-
Create the S3 Access Role:
- In AWS Console, go to IAM › Roles and click Create role
- For Trusted entity type, select Custom trust policy
- In the Custom trust policy JSON editor, configure who can assume this role. You can choose from:
- IAM Role:
"AWS": "arn:aws:iam::YOUR_AWS_ACCOUNT_ID:role/YourExistingEC2Role" - AWS Service:
"Service": "ec2.amazonaws.com"(for EC2 instances) Example for EC2 role (replaceYOUR_AWS_ACCOUNT_IDandYourExistingEC2Role):
- IAM Role:
- Click Next
- Attach AmazonS3ReadOnlyAccess policy or create a custom policy for specific buckets:
- Name it (e.g.,
OnyxS3AccessRole) and click Create role - Copy the Role ARN from the role summary page (e.g.,
arn:aws:iam::YOUR_AWS_ACCOUNT_ID:role/YOUR_CREATED_ROLE_NAME)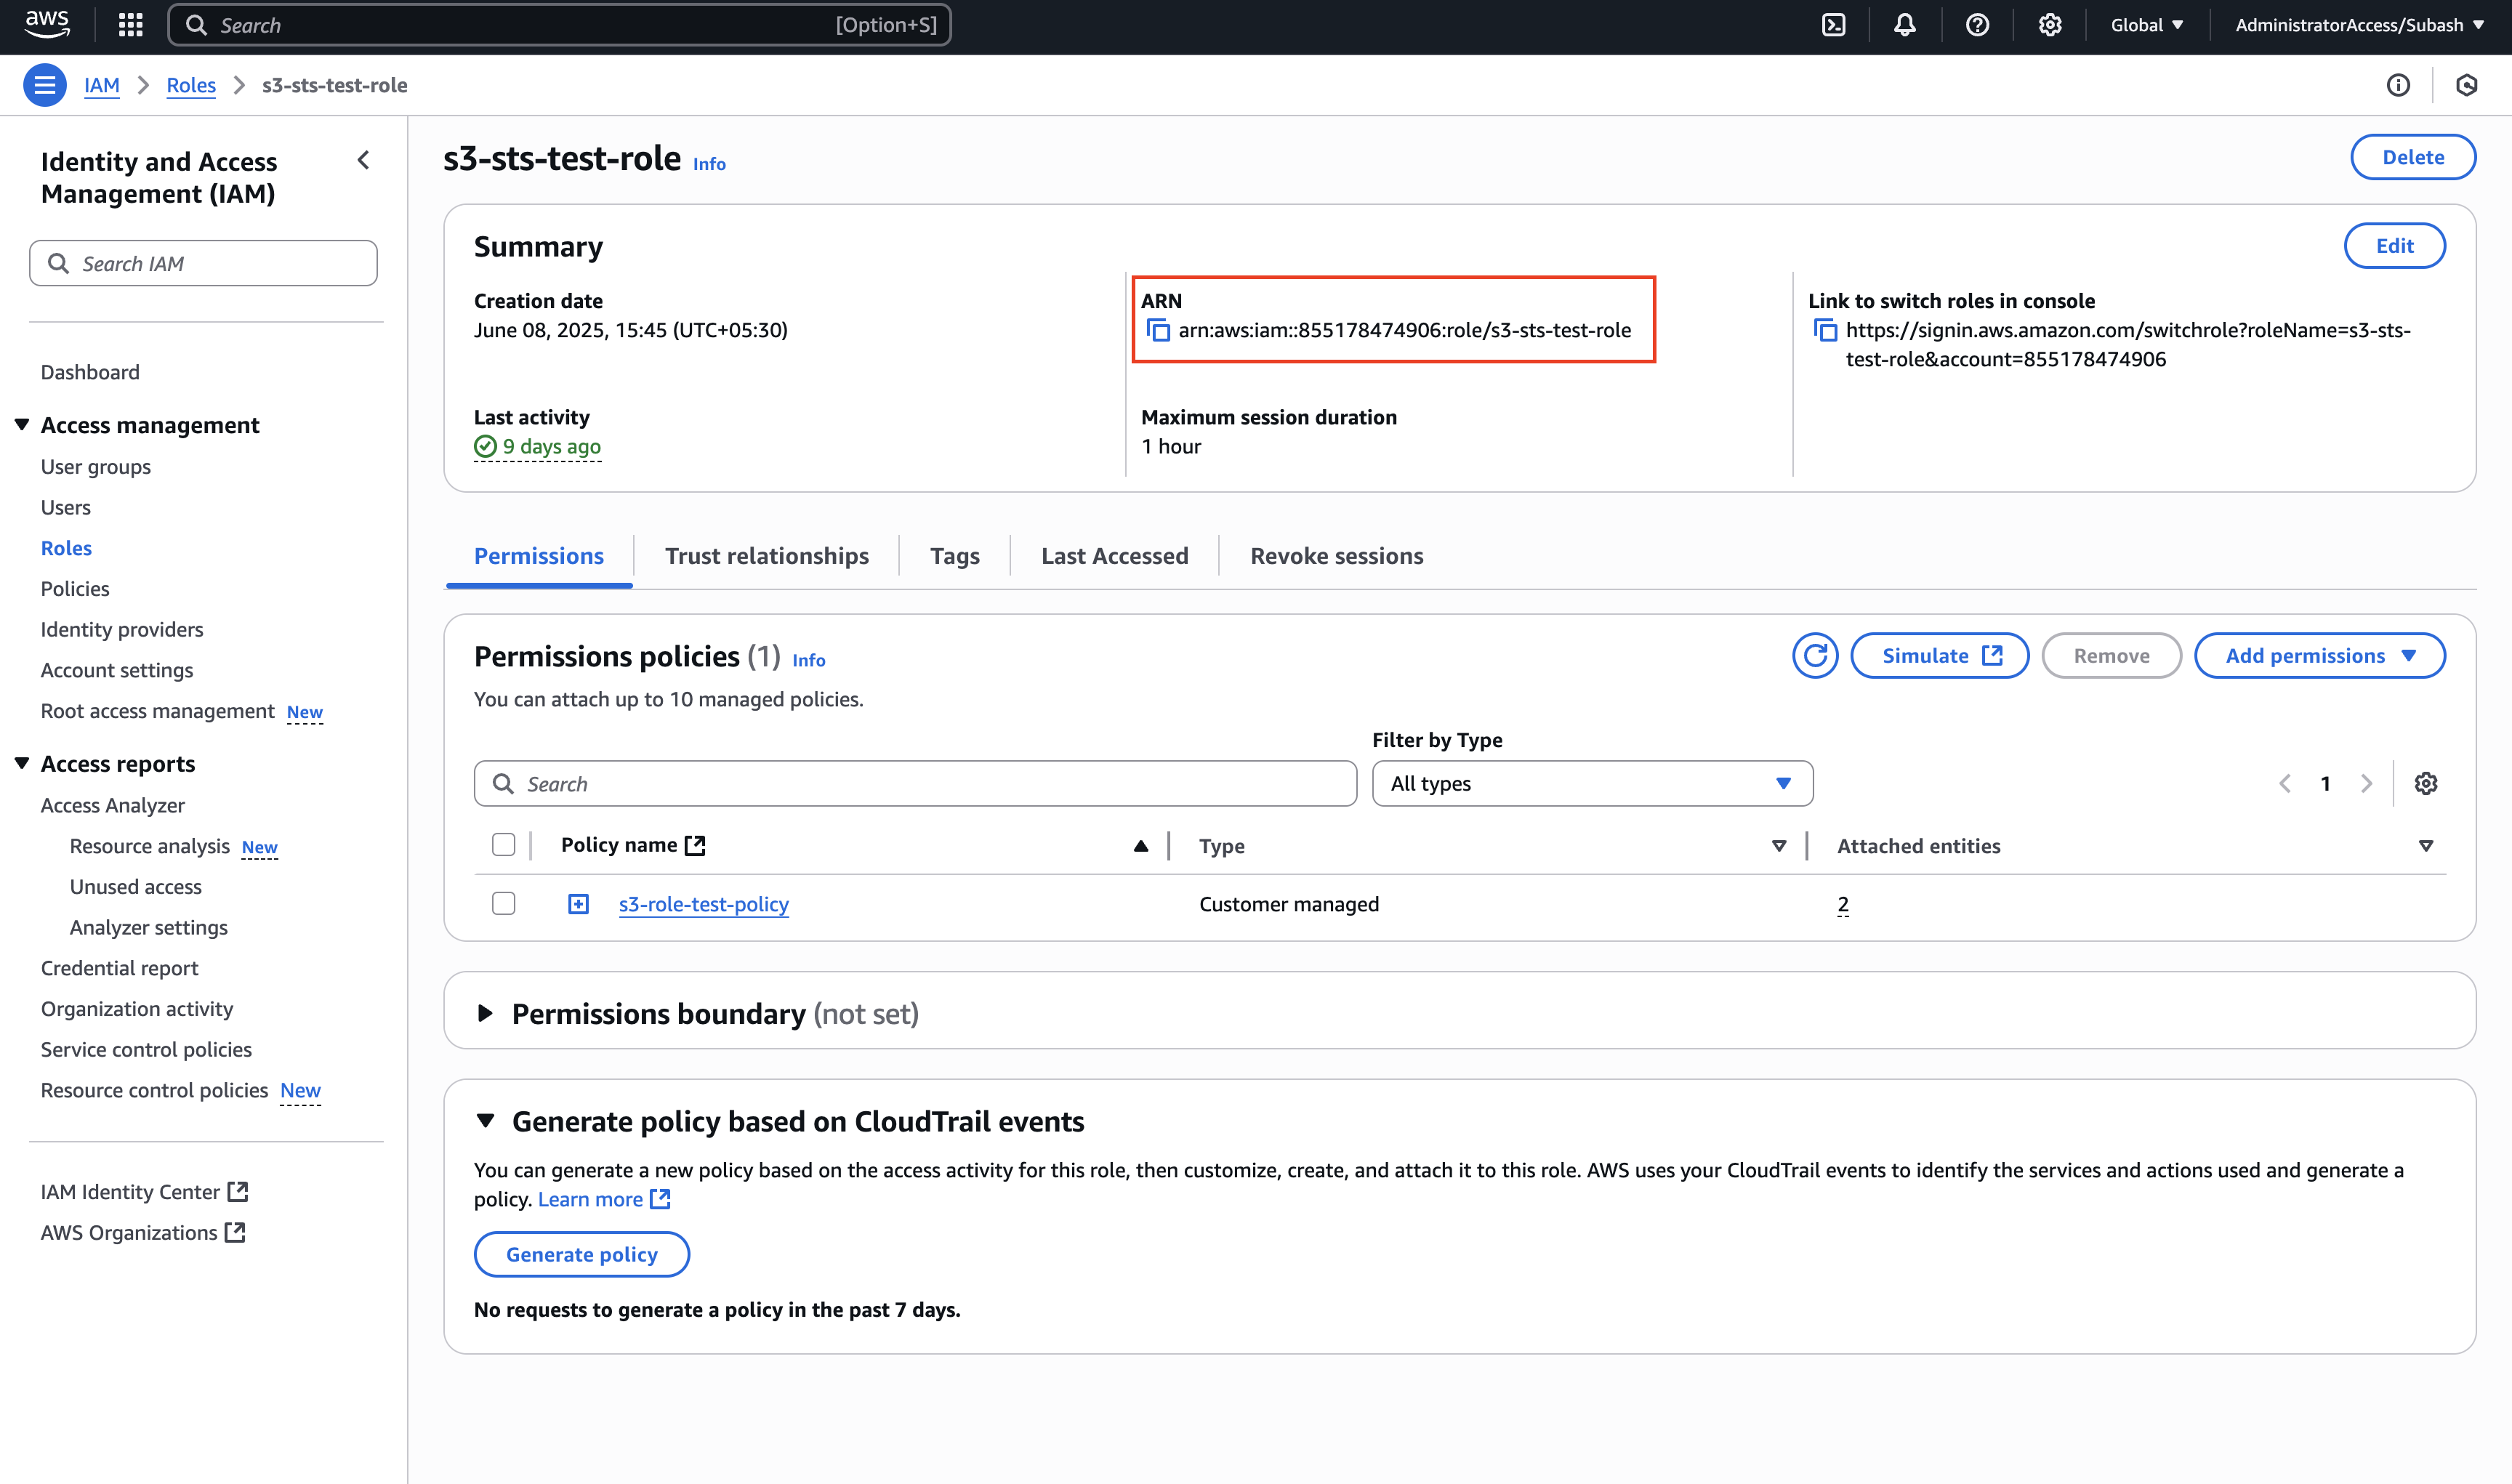
-
Grant Assume Role Permission to your EC2 Instance’s Role:
- Go back to IAM › Roles and find your EC2 instance’s existing role
- Click on the role and go to the Permissions tab
- Click Add permissions › Create inline policy
- Switch to JSON and add this policy (replace with your actual account ID and role name):
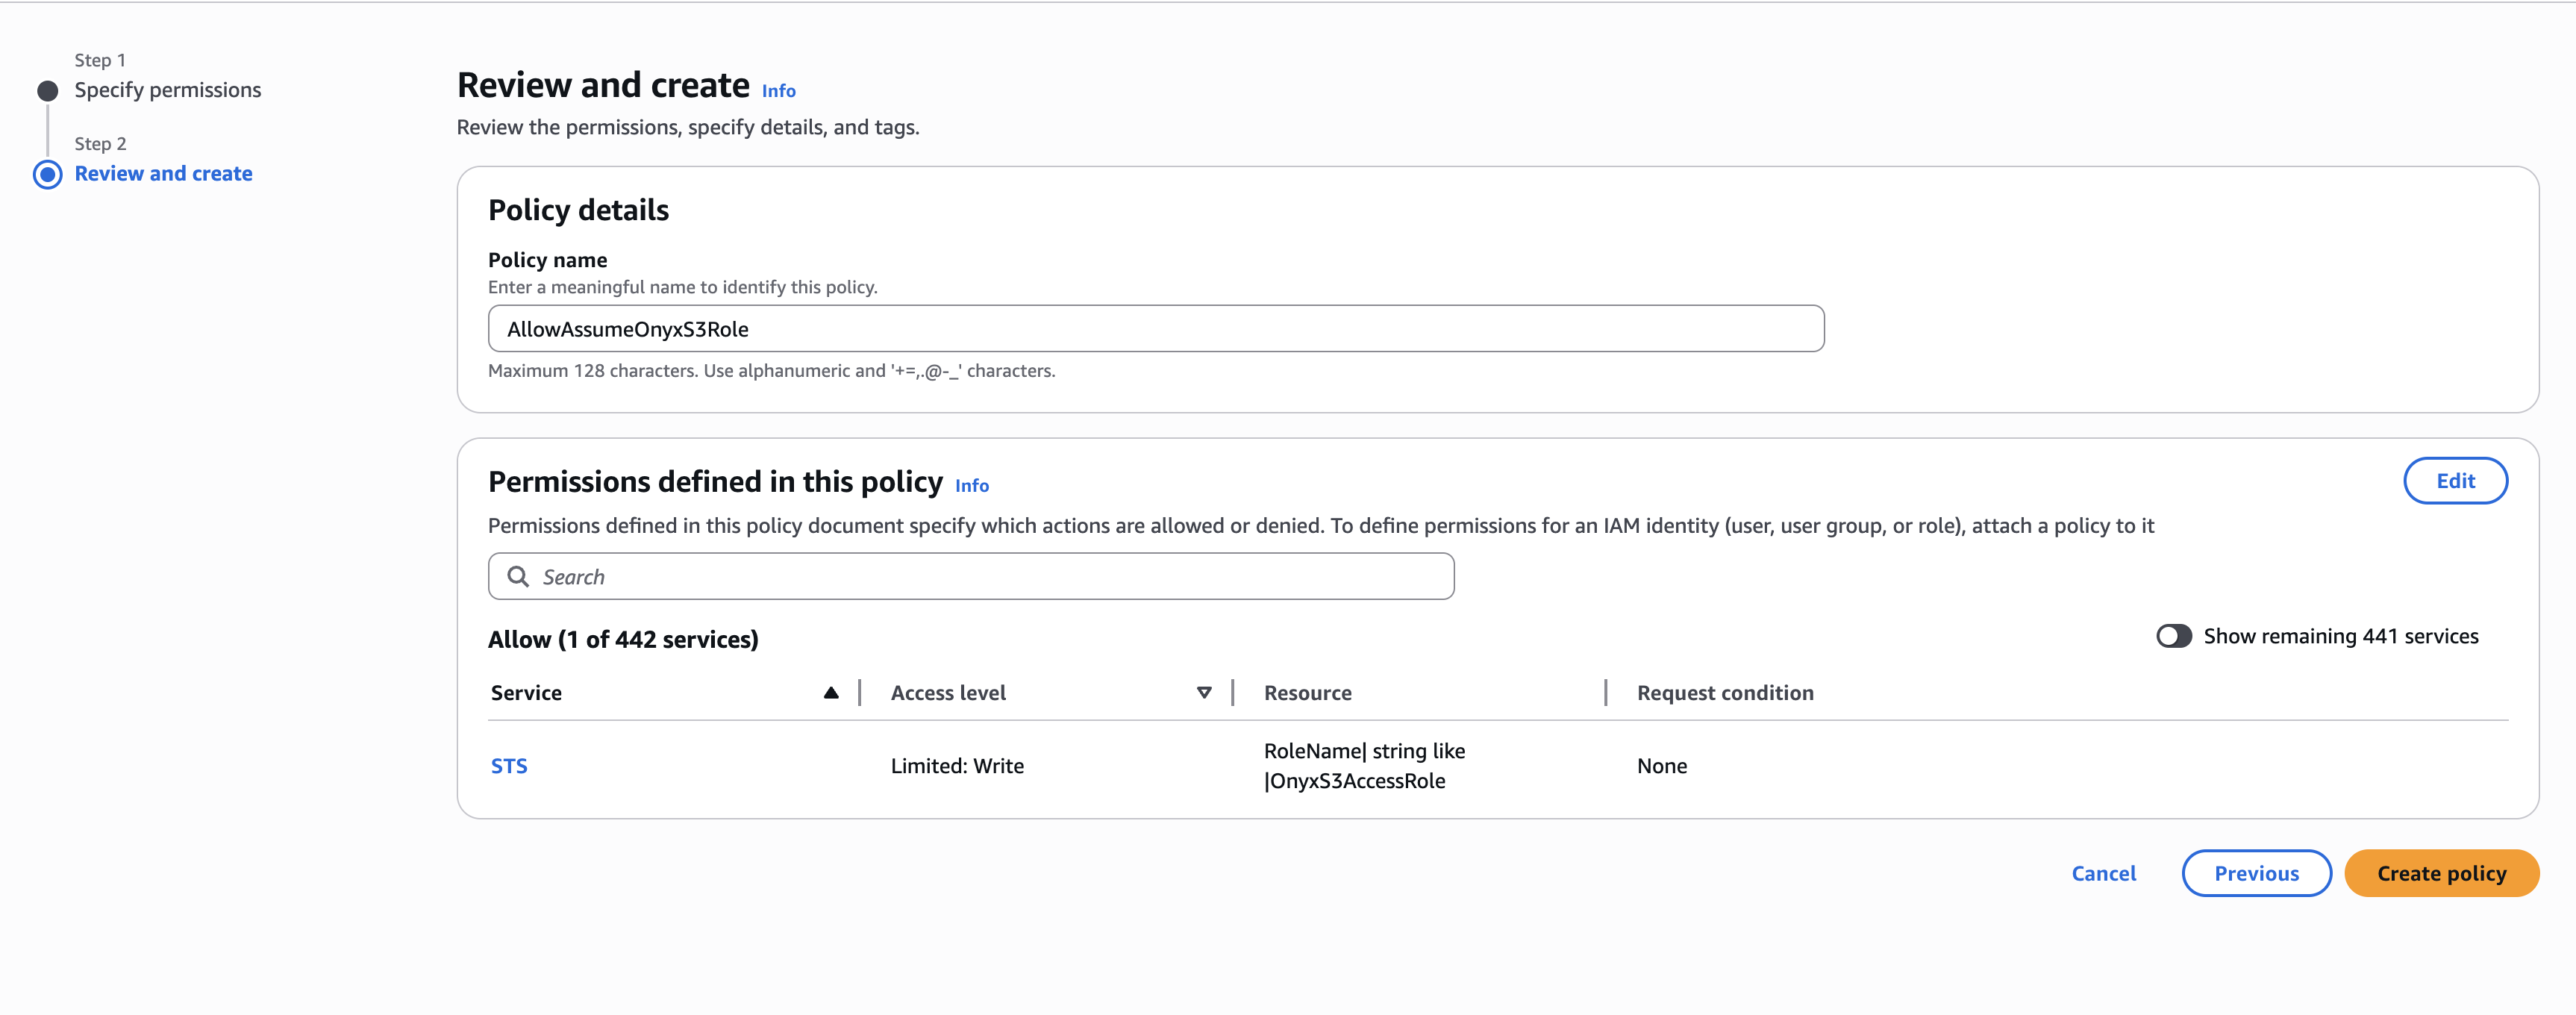
- Name the policy (e.g.,
AllowAssumeOnyxS3Role) and click Create policy
 Your EC2 instance now uses its existing instance profile to obtain temporary credentials for the OnyxS3AccessRole, which can then securely interact with your designated S3 buckets.
Credential Entry in Onyx
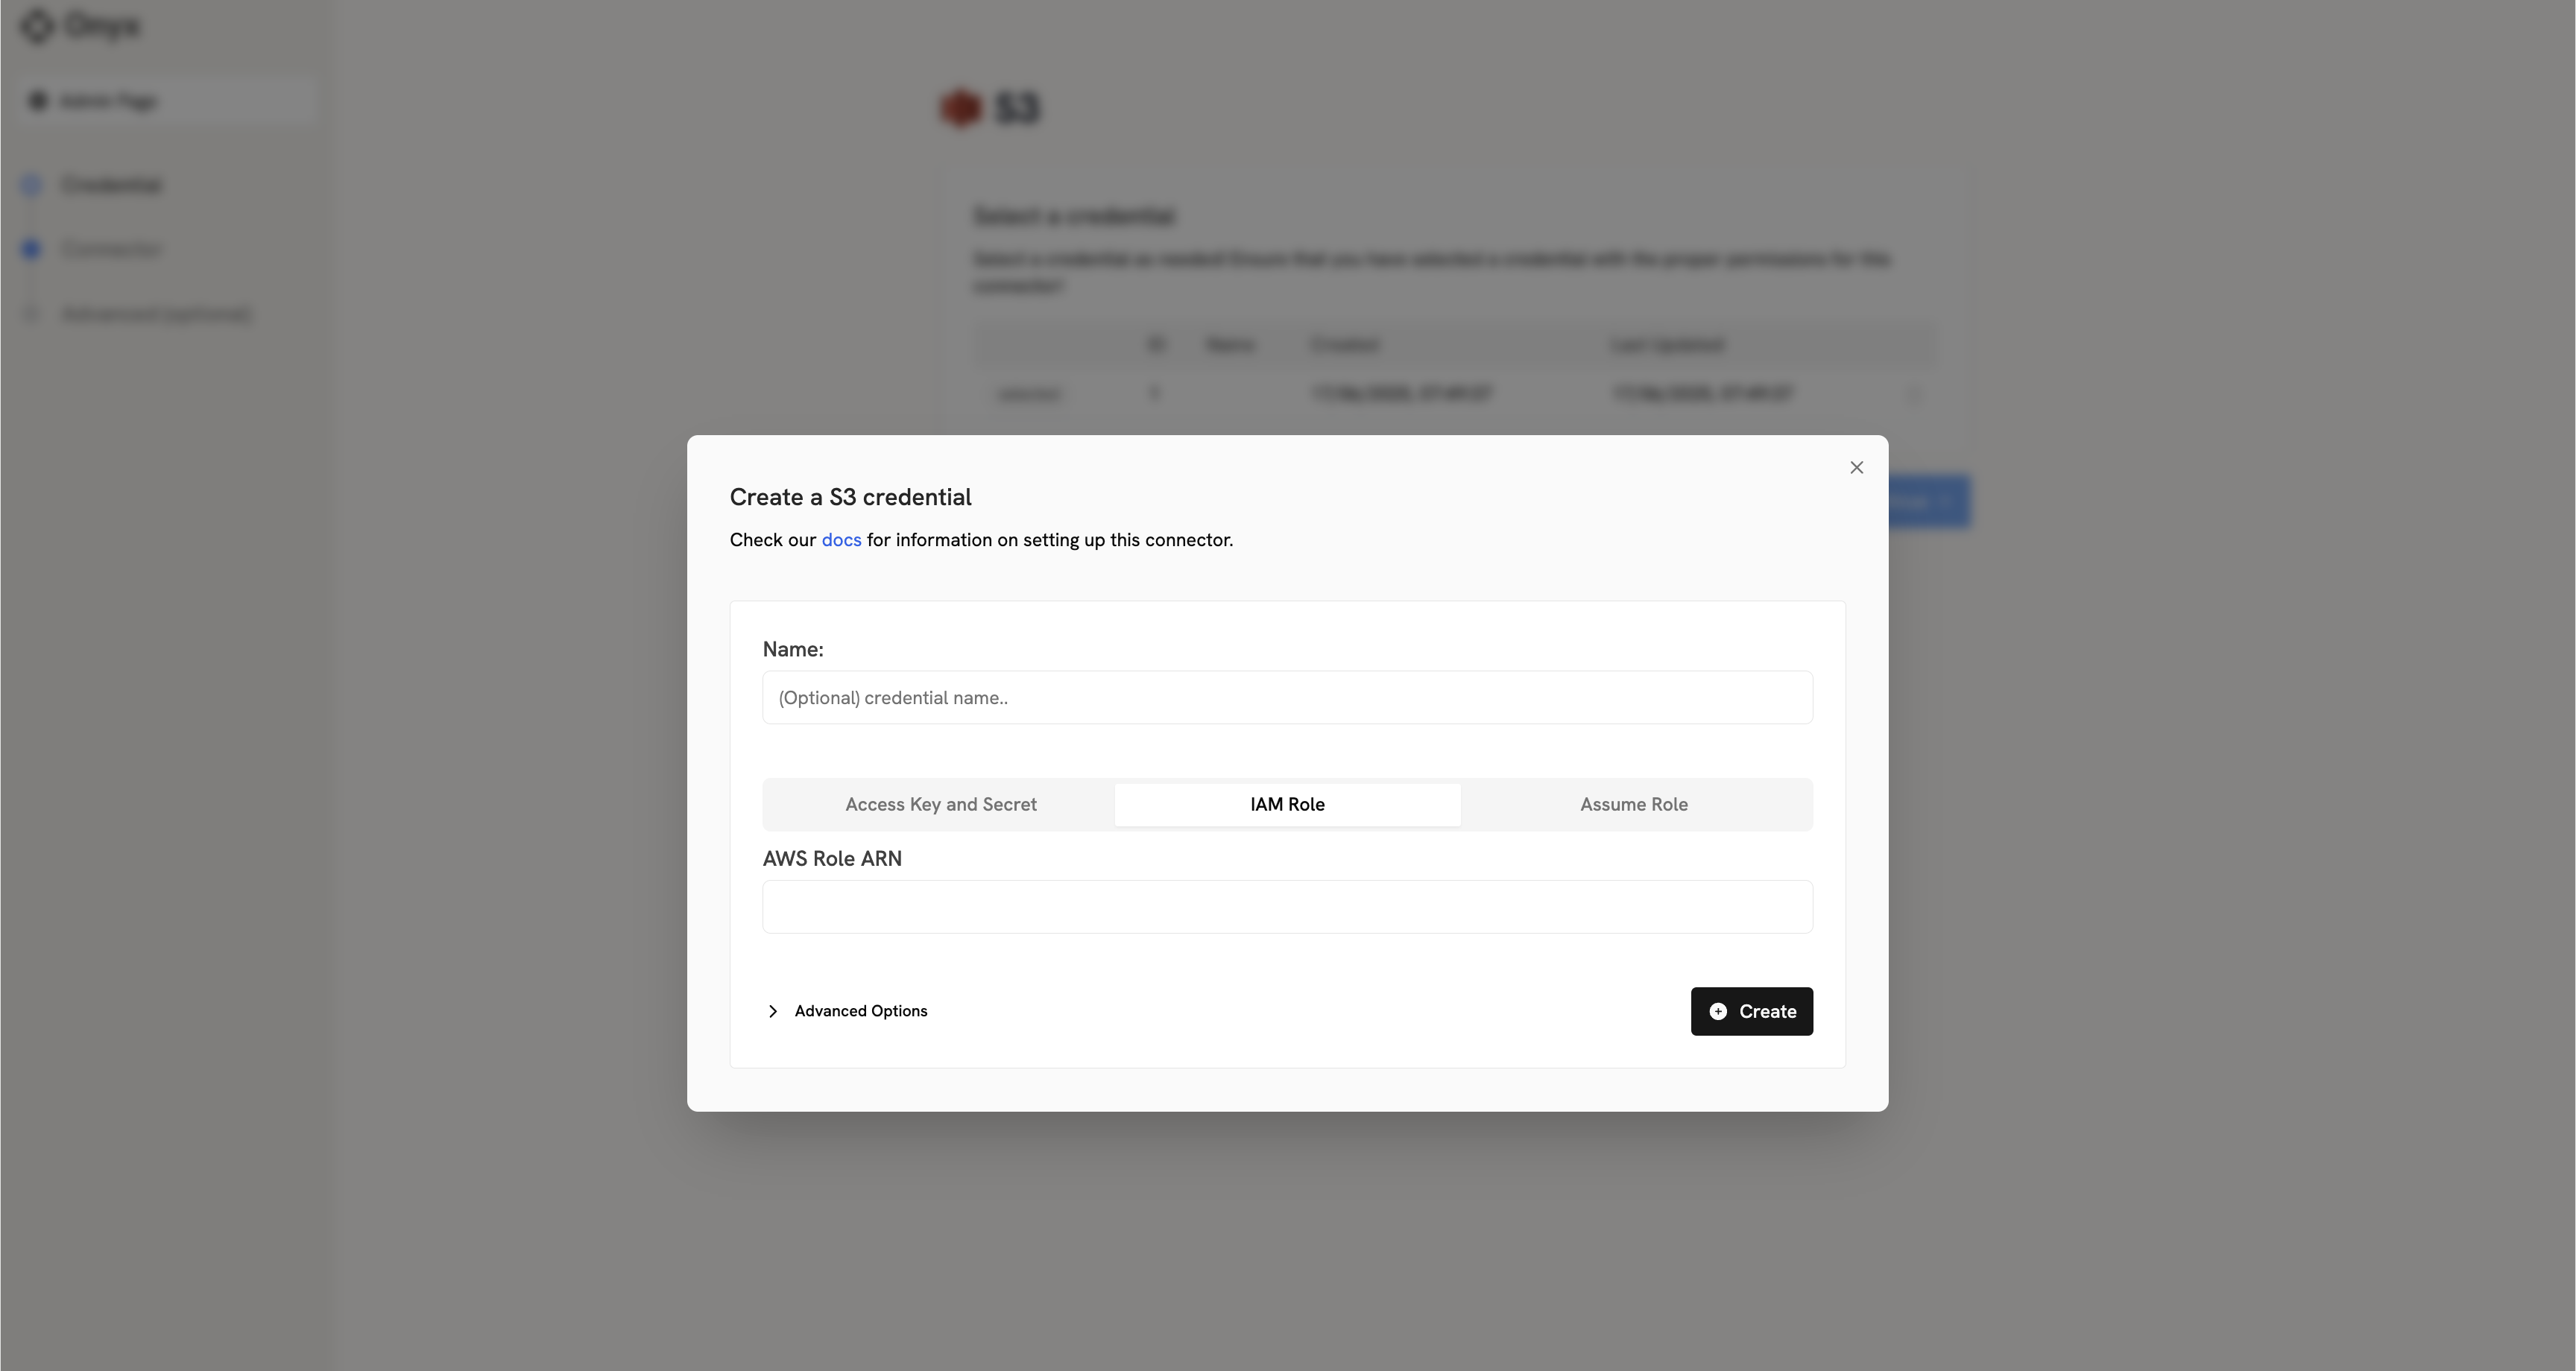
When configuring the S3 connector in Onyx, you’ll need to:- Click on the IAM Role tab
- Enter the Role ARN you copied earlier (e.g.,
arn:aws:iam::YOUR_AWS_ACCOUNT_ID:role/YOUR_CREATED_ROLE_NAME)
 Once you have your IAM Role ARN, proceed to the indexing steps in the overview to configure your S3 connector.