Guide
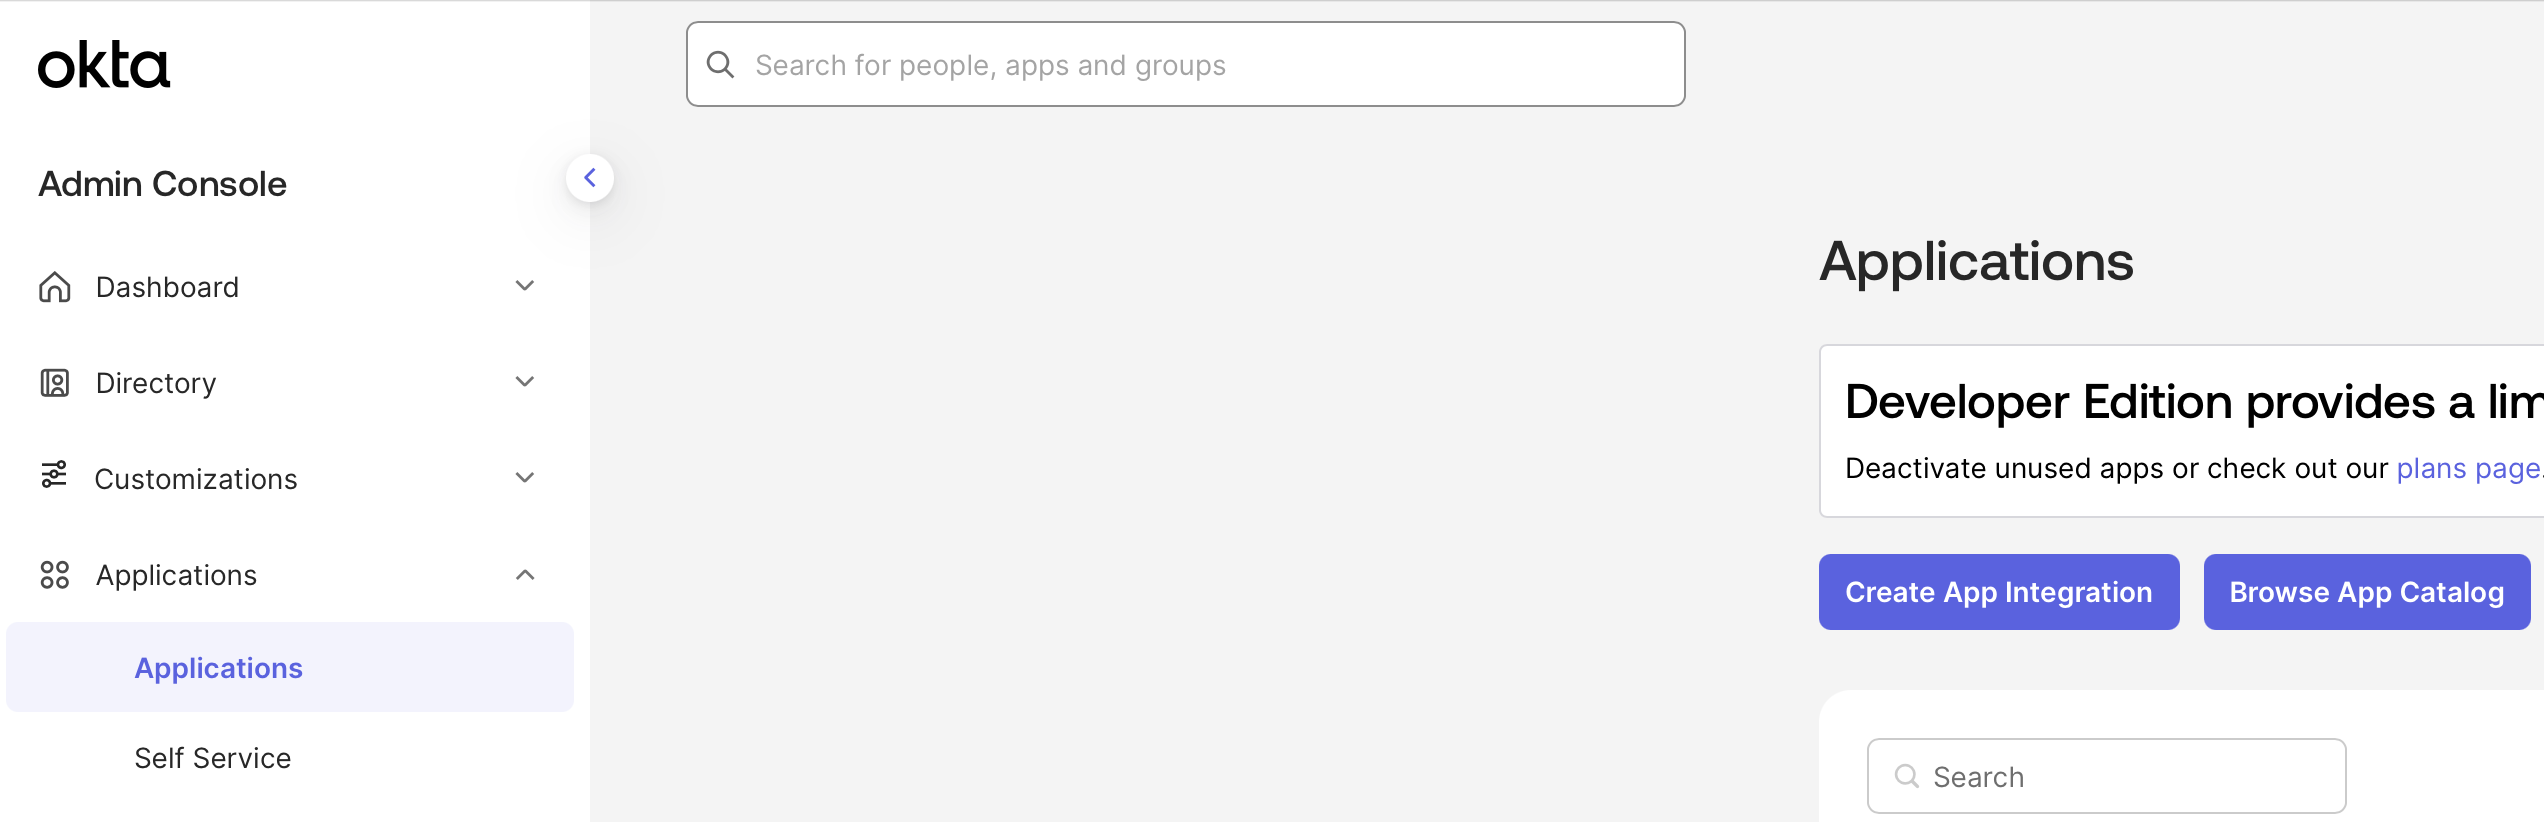
Configure Okta Application
Select SAML 2.0.Name your application Add an Audience URI (SP Entity ID)Add an Attribute Statement where Name is 
Onyx and upload the Onyx logo.Add a Sign sign-on URLemail and Value is user.email.Assign Users to Application
Create the application and navigate to the Assignments tab to assign users.
Configure Onyx for SAML
Navigate to Edit the
onyx/backend/ee/onyx/configs/saml_config and copy the template settings file.settings.yaml file with the following values:idp: entityId
idp: entityId
Go to the Sign On tab of your application in Okta, copy the Metadata URL,
and paste it into your browser. You should see XML like:Copy the
entityID value and paste it into idp: entityId in settings.yaml.idp: x509cert
idp: x509cert
In the XML from the previous step, find the Copy the certificate value and paste it into
ds:X509Certificate element.idp: x509cert in settings.yaml.idp: singleSignOnService: url
idp: singleSignOnService: url
Go to the General tab of your application in Okta and copy the Embed Link.
sp: entityId
sp: entityId
This is the same as the Audience URI (SP Entity ID) you added to the Okta application.
sp: assertionConsumerService: url
sp: assertionConsumerService: url
This is the same as the Sign sign-on URL you added to the Okta application.
sp: x509cert
sp: x509cert
Generate a self-signed certificate:Copy the certificate value and paste it into
sp: x509cert in settings.yaml.Set Onyx Environment Variables
Set the following environment variables in your
.env or values.yaml file (Docker and Kubernetes, respectively)..env
If you’re using Docker but don’t have a
.env file,
copy onyx/deployment/docker_compose/env.prod.template to a new .env file in the same directory.values.yaml