- Lightweight ~100-150kb gzipped bundle
- Fully customizable colors and branding
- Responsive design (desktop popup, mobile fullscreen)
- Real-time streaming responses via SSE
- Session persistence across page reloads
Deployment Options
Cloud Deployment (Recommended)
For Onyx Cloud users, the widget is served from Onyx’s CDN. Simply add the following to your website:Self-Hosted Deployment
For self-hosted Onyx instances, you’ll need to build and host the widget yourself.Clone the repository
Clone the Onyx repository from GitHub.
Obtain a widget API key
Navigate to your Onyx admin panel and create a new API key specifically for the widget.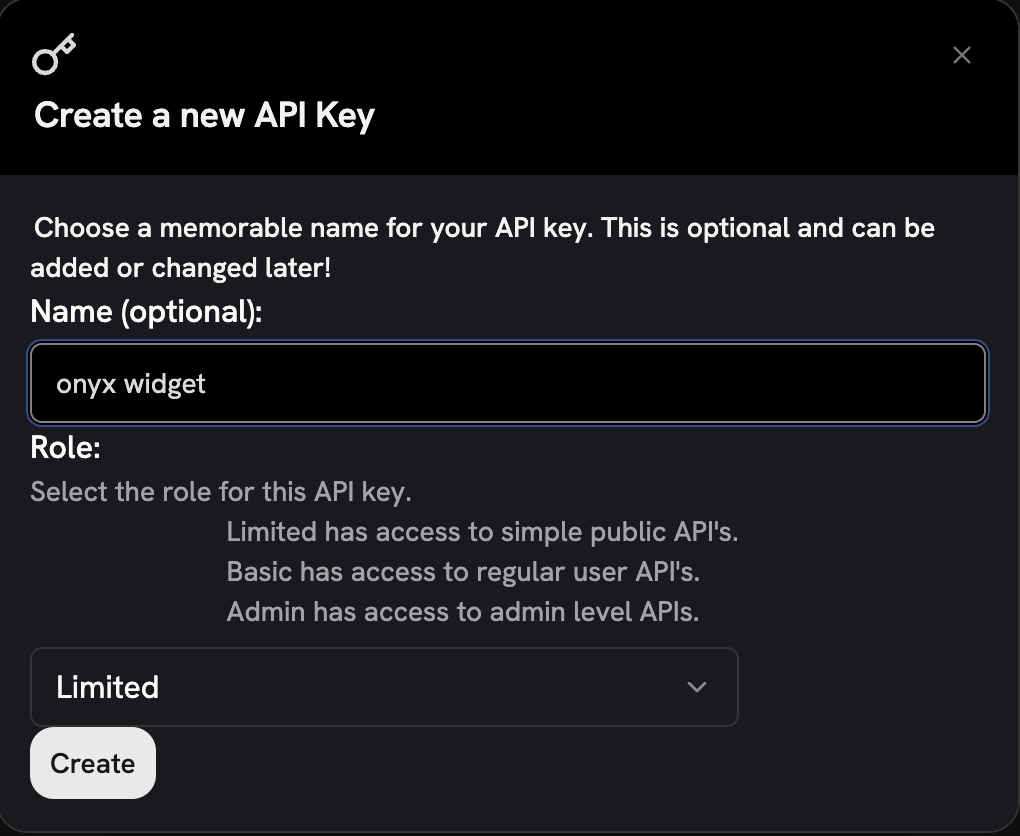
Configure environment (optional)
For builds with baked-in configuration, create a Edit
.env file:.env and set your backend URL and API key:Build the widget
For cloud-style deployment (config via HTML attributes):For self-hosted deployment (config baked into bundle):
Customer Embed Code
After deployment, provide customers with the embed code: Cloud-style (attributes required):Configuration Reference
Required Attributes
| Attribute | Type | Description |
|---|---|---|
backend-url | string | Your Onyx backend API URL |
api-key | string | API key for authentication |
backend-url
The URL of your Onyx backend API. This is where the widget sends chat requests.
- Onyx Cloud: Use
https://cloud.onyx.appor your tenant-specific URL - Self-hosted: Use your Onyx instance URL (e.g.,
https://onyx.yourcompany.com)
api-key
A valid Onyx API key for authenticating widget requests. This key is visible in client-side code,
so always use a limited-scope key.
For self-hosted builds with baked-in config,
backend-url and api-key can be set via environment variables during build instead of HTML attributes.Optional Attributes
| Attribute | Type | Default | Description |
|---|---|---|---|
agent-id | number | undefined | Specific agent/persona to use |
agent-name | string | "Assistant" | Display name in header |
logo | string | Onyx logo | URL to custom logo image |
primary-color | string | #1c1c1c | Primary brand color (buttons, accents) |
background-color | string | #e9e9e9 | Widget background color |
text-color | string | #000000bf | Text color (75% opacity black) |
mode | string | "launcher" | Display mode: "launcher" or "inline" |
include-citations | boolean | false | Show citation badges linking to source documents |
include-citations
When enabled, assistant messages display clickable citation badges below the response text.
Each badge shows a sequential number and the source document title, linking directly to the original document.
API Key Security
Create a widget-specific API key
In your Onyx admin panel, create a new API key with minimal permissions.
Browser Support
- Chrome/Edge 90+ (Chromium)
- Firefox 90+
- Safari 15+
- Mobile Safari (iOS 15+)
- Mobile Chrome (Android)
Need help with setup? Contact your Onyx administrator for API key configuration or deployment assistance.