Guide
Create an EC2 instance
Create an EC2 instance with the appropriate resources. For this guide,
we will use the recommended 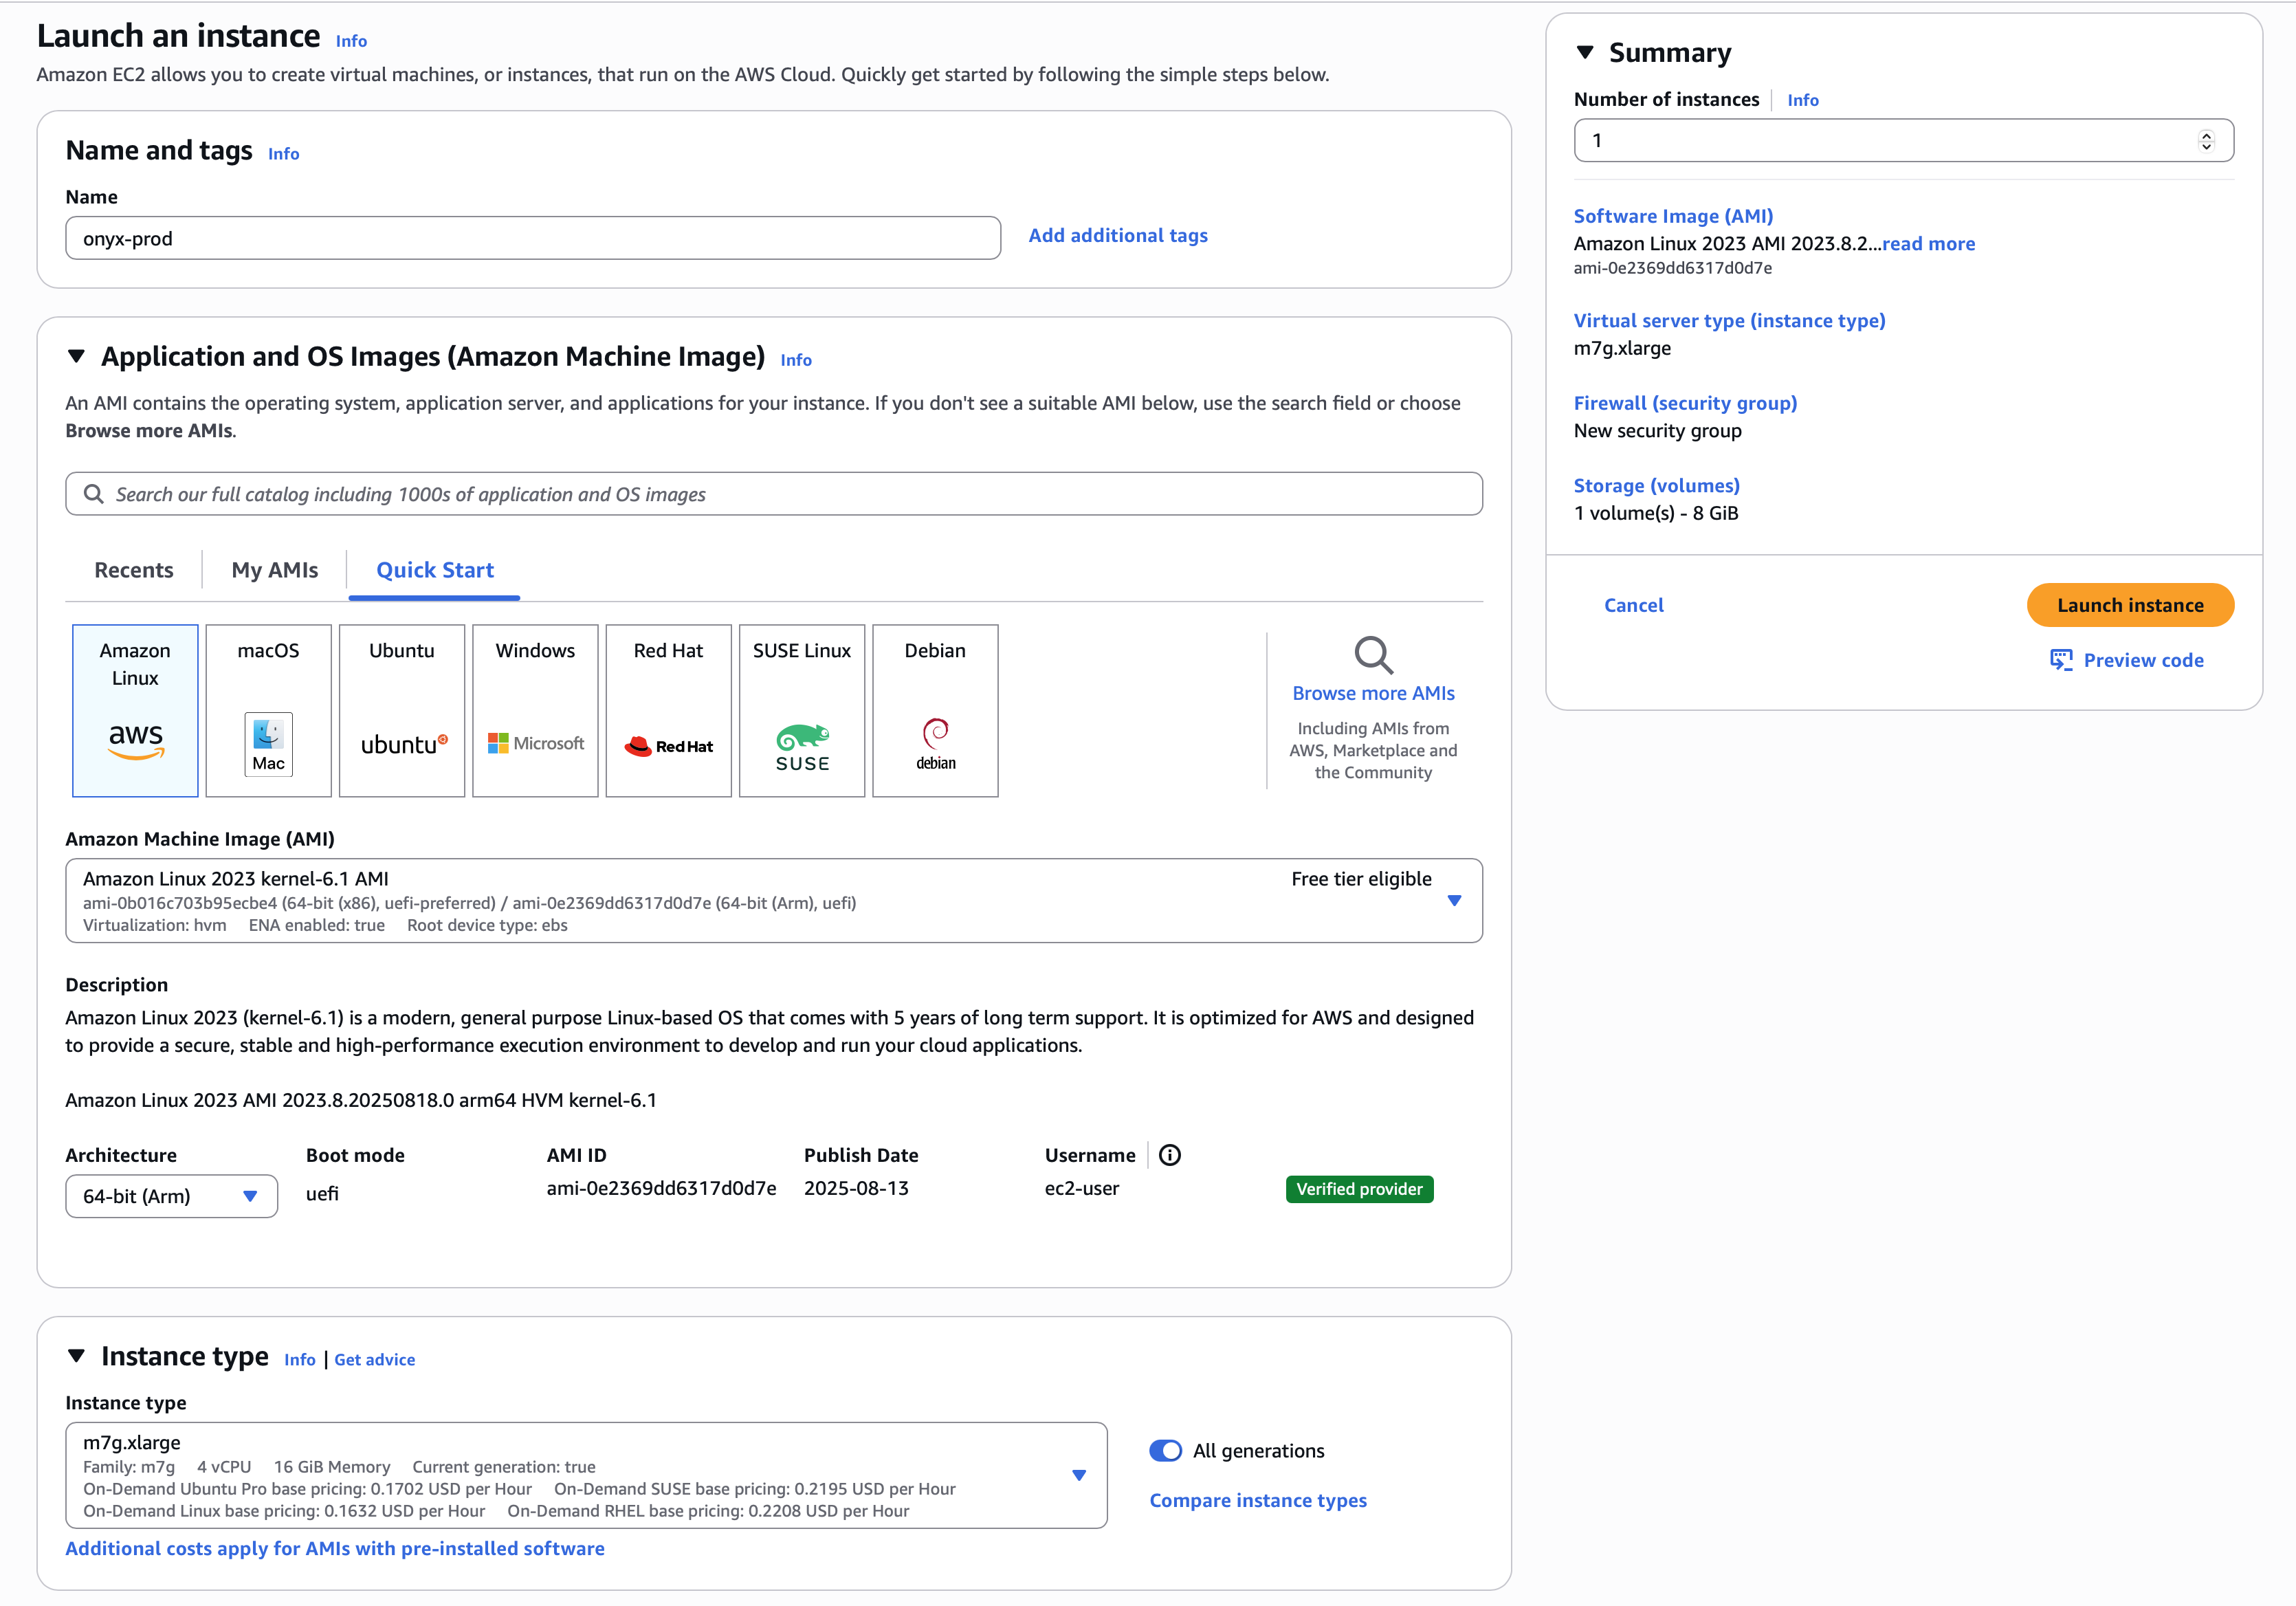
m7g.xlarge instance.Read our Resourcing guide for more details.
- Give your instance a descriptive name like
onyx-prod - Select the
Amazon Linux 2023AMI - Select the
64-bit (Arm)architecture - Select the
m7g.xlargeinstance type - Select
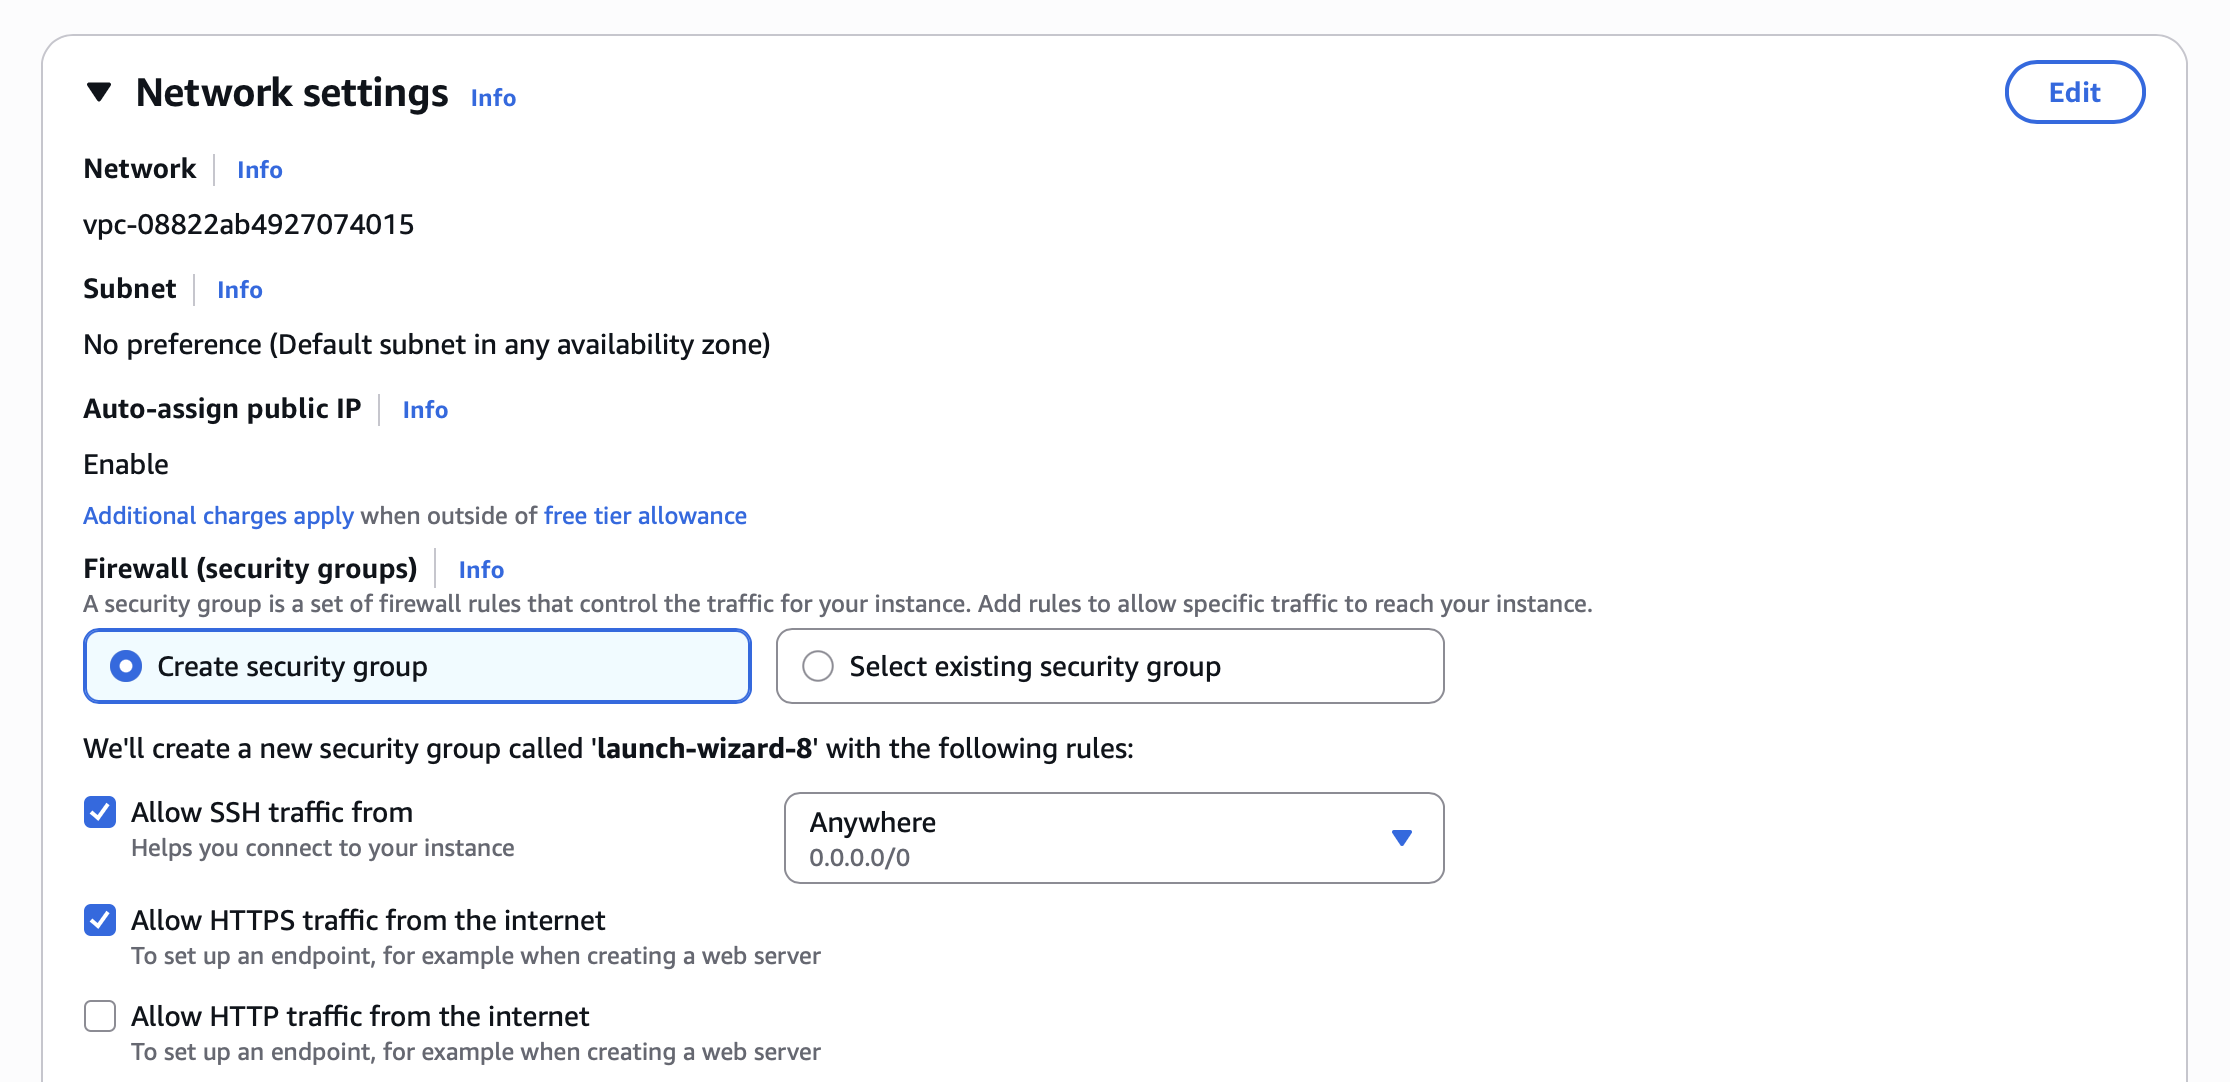
Allow HTTPS traffic from the internetin the Network settings section - Configure storage following the Resourcing Guide
Point domain to the instance
If you don’t have a domain, buy one from a DNS provider like GoDaddy
or just skip HTTPS for now.
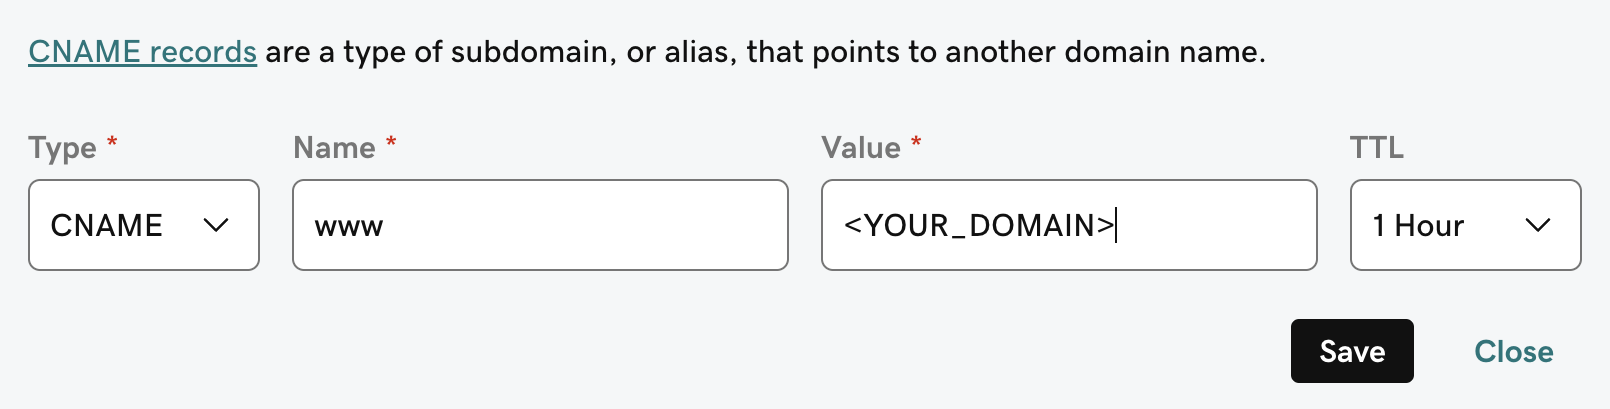
A and CNAME record to our DNS provider.The A record should be the subdomain that you would like to use for the Onyx instance like prod.The CNAME record should be the same name with the www. in front resulting in www.prod pointing to the full
domain like prod.onyx.app.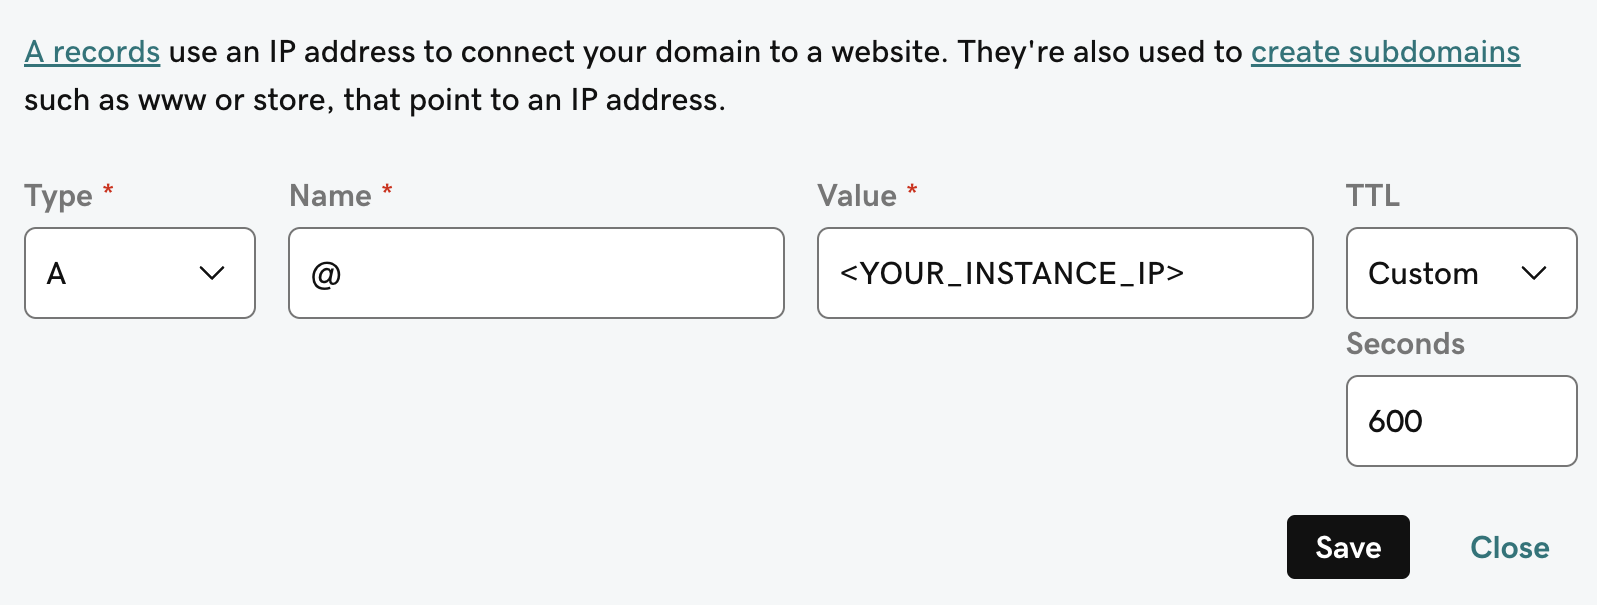
Install Onyx requirements
Onyx requires
git, docker, and docker compose.To install these on Amazon Linux 2023, run the following:Install and Configure Onyx
To install Onyx, we’ll need to clone the repo and set the necessary environment variables.Fill out the
.env and .env.nginx files..env
.env.nginx
Launch Onyx
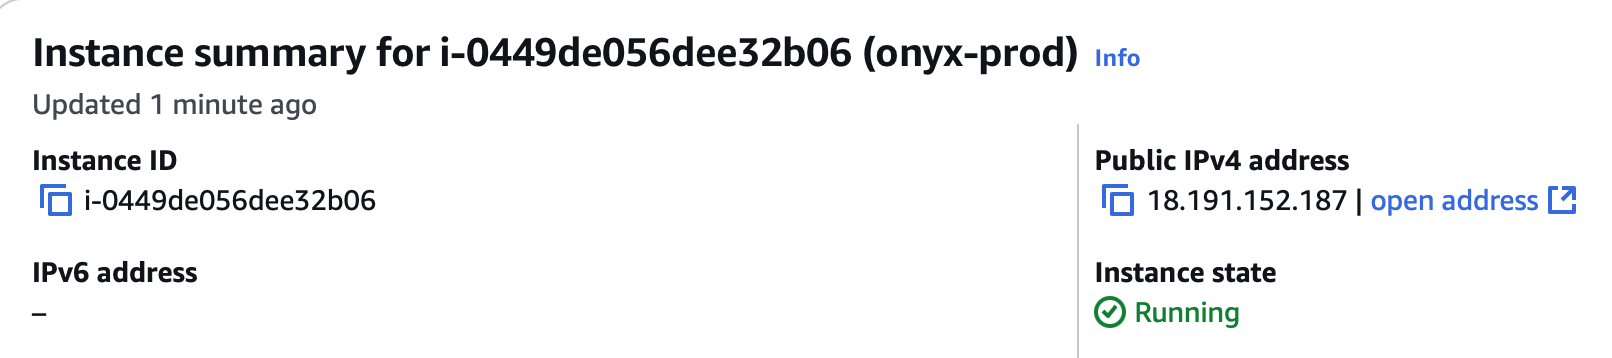
Running the If you are skipping the HTTPS setup, start Onyx manually:You can access Onyx from the instance Public IPv4 or from the domain you set up earlier!
init-letsencrypt.sh script will get us a SSL certificate from letsencrypt and launch the Onyx stack.Give Onyx a few minutes to start up.You can monitor the progress with
docker logs onyx-stack-api_server-1 -f.Next Steps
Configure Authentication
Set up authentication for your Onyx deployment with OAuth, OIDC, or SAML.
More Onyx Configuration Options
Learn about all available configuration options for your Onyx deployment.