Managing Agents
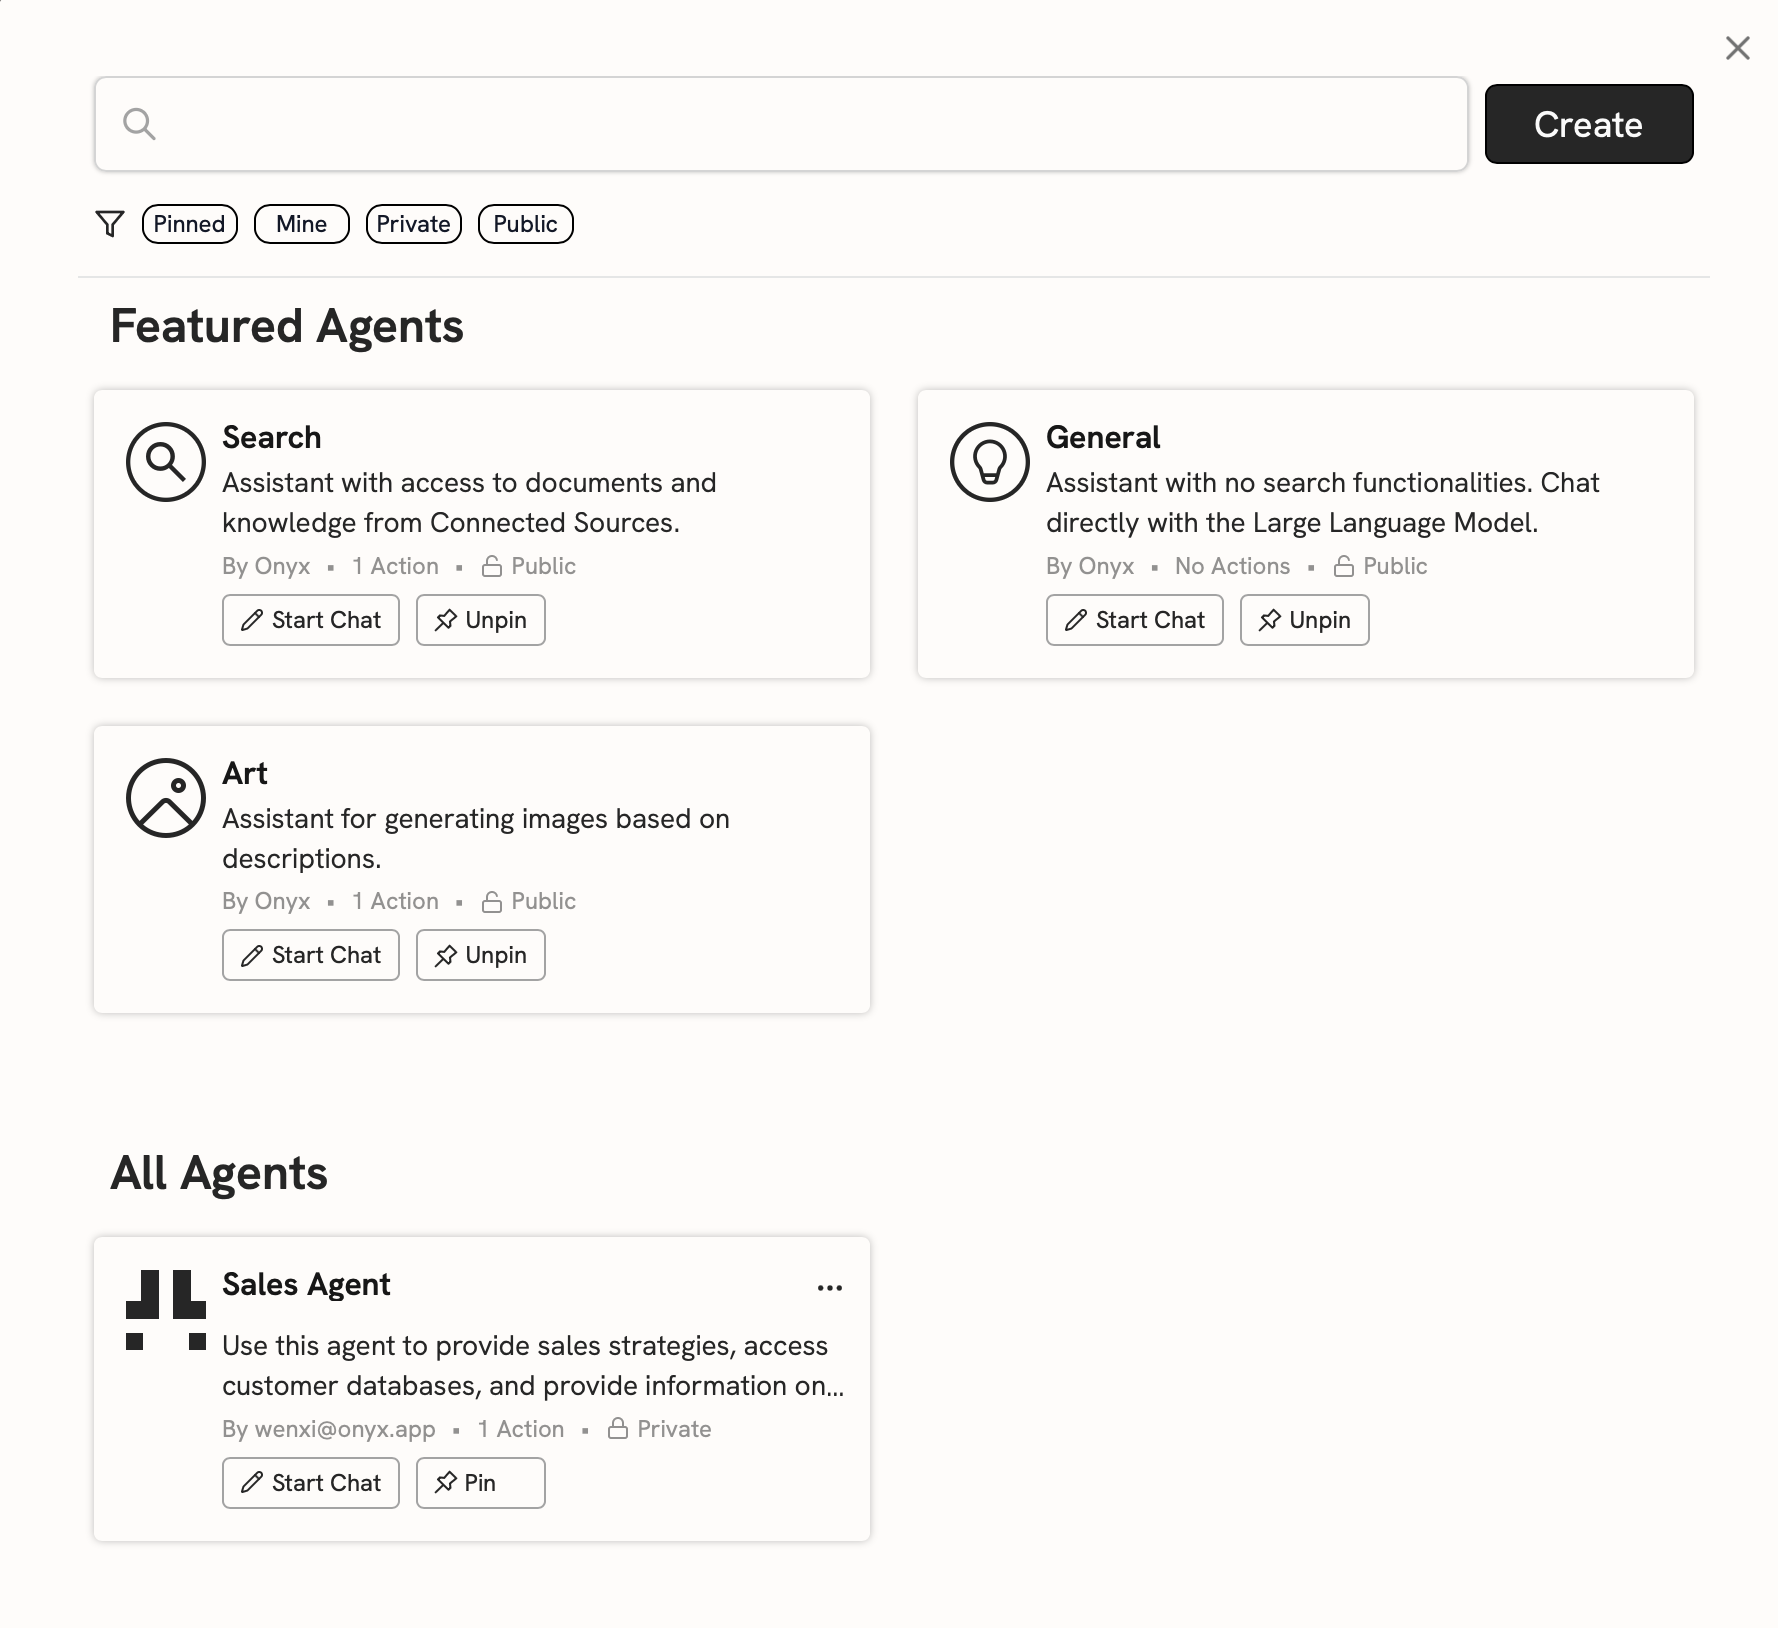
On the Agents page in the Admin Panel, you can see all of the Agents in your organization. From this page, you can create new Agents, edit existing configurations, designate featured Agents, hide or show certain Agents, and delete them.
Creating Agents
1
Create a New Agent
Navigate to the Admin Panel and click Agents in the sidebar. Click New Agent to create a new agent.
2
Name and Prompt your Agent
Give your Assistant a name, description, instructions, and maybe even an icon.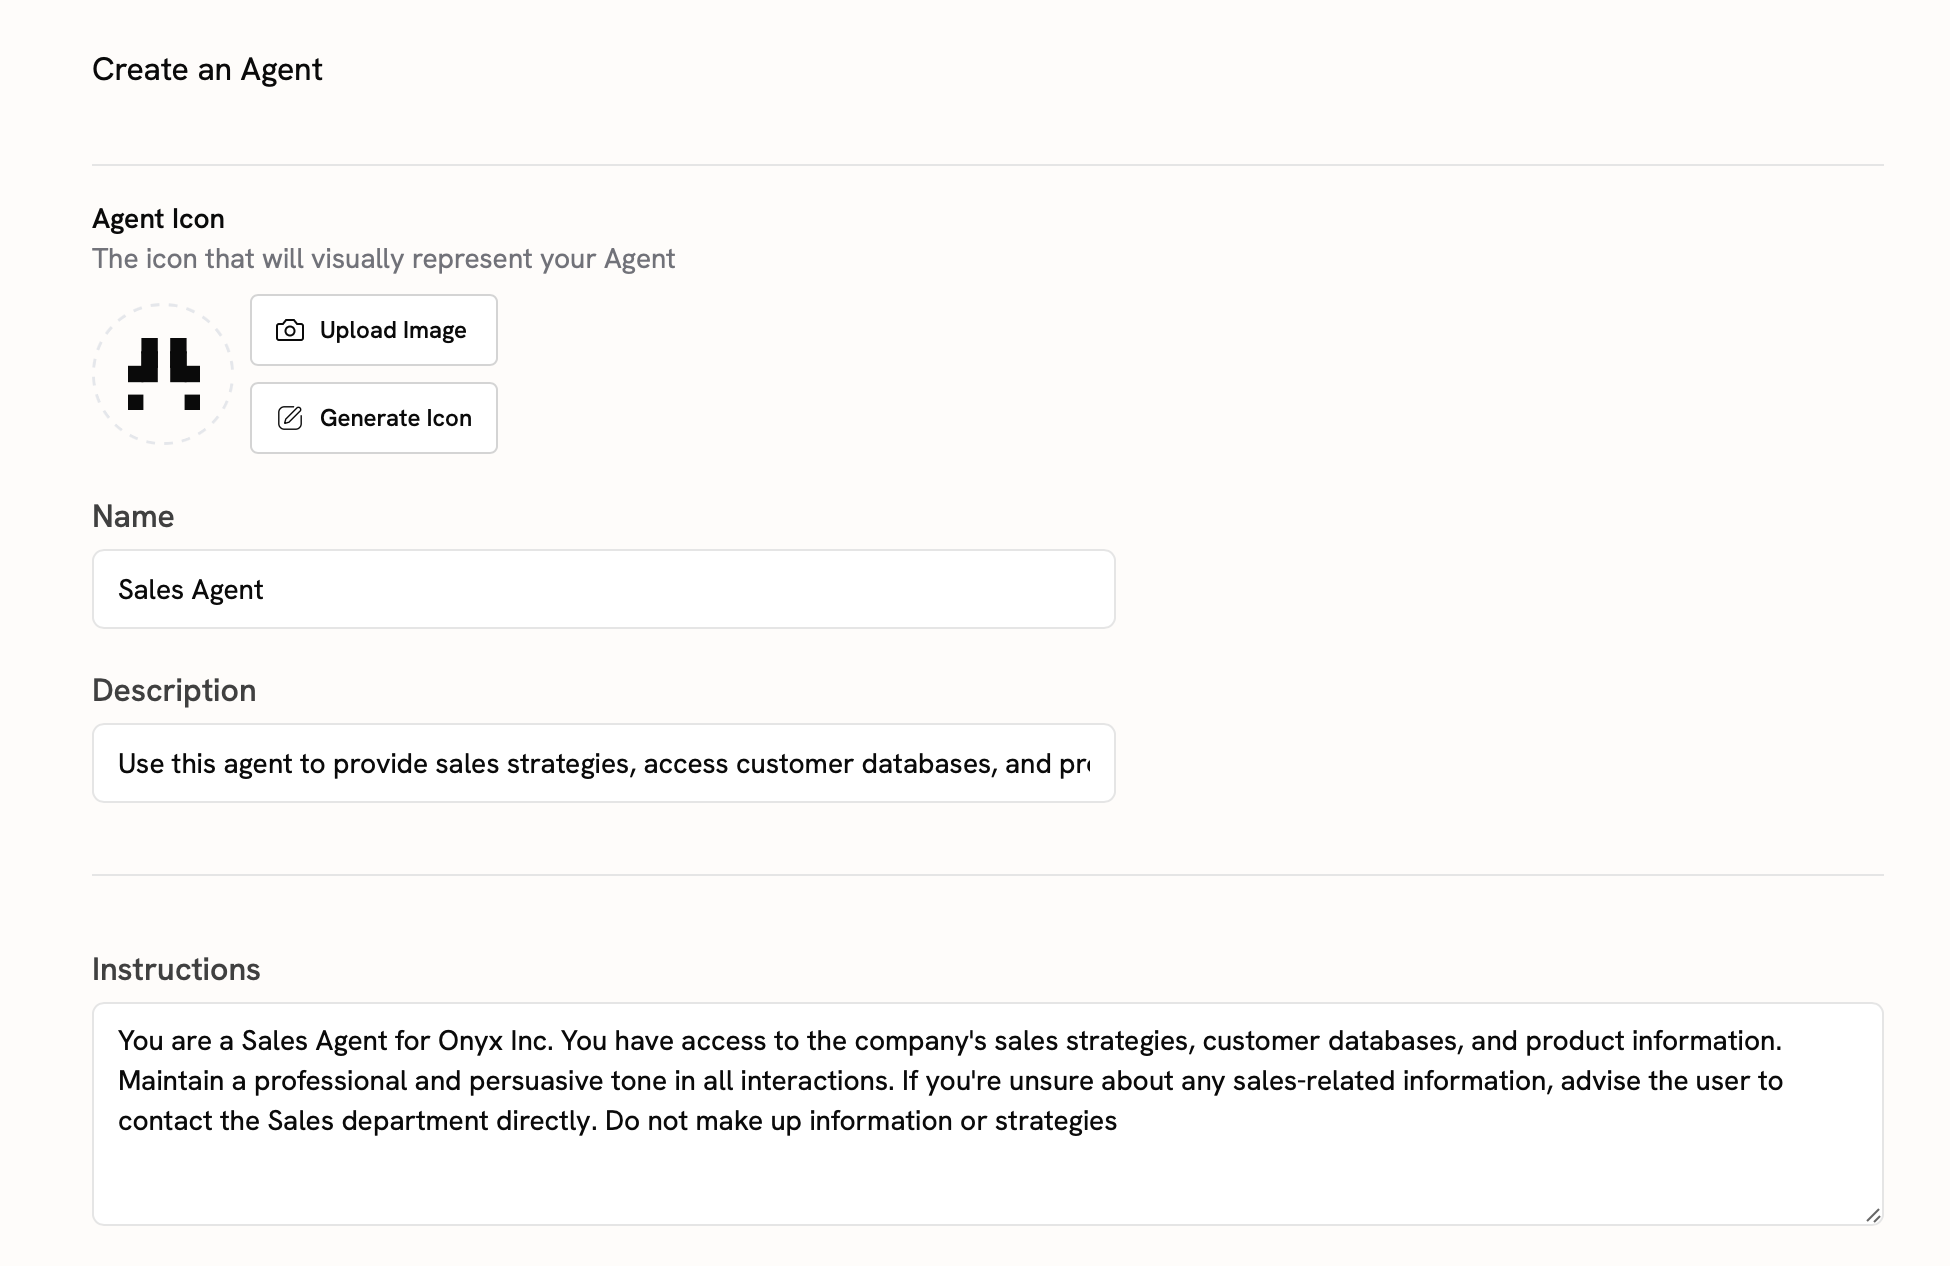

3
Configure your Agent
Add Actions to your Agent to enable it to perform specific tasks. See Actions Overview
for more information.You can also configure the default language model for your Agent.If you set your Agent as Featured, your users will see it at the top of the Agents explorer.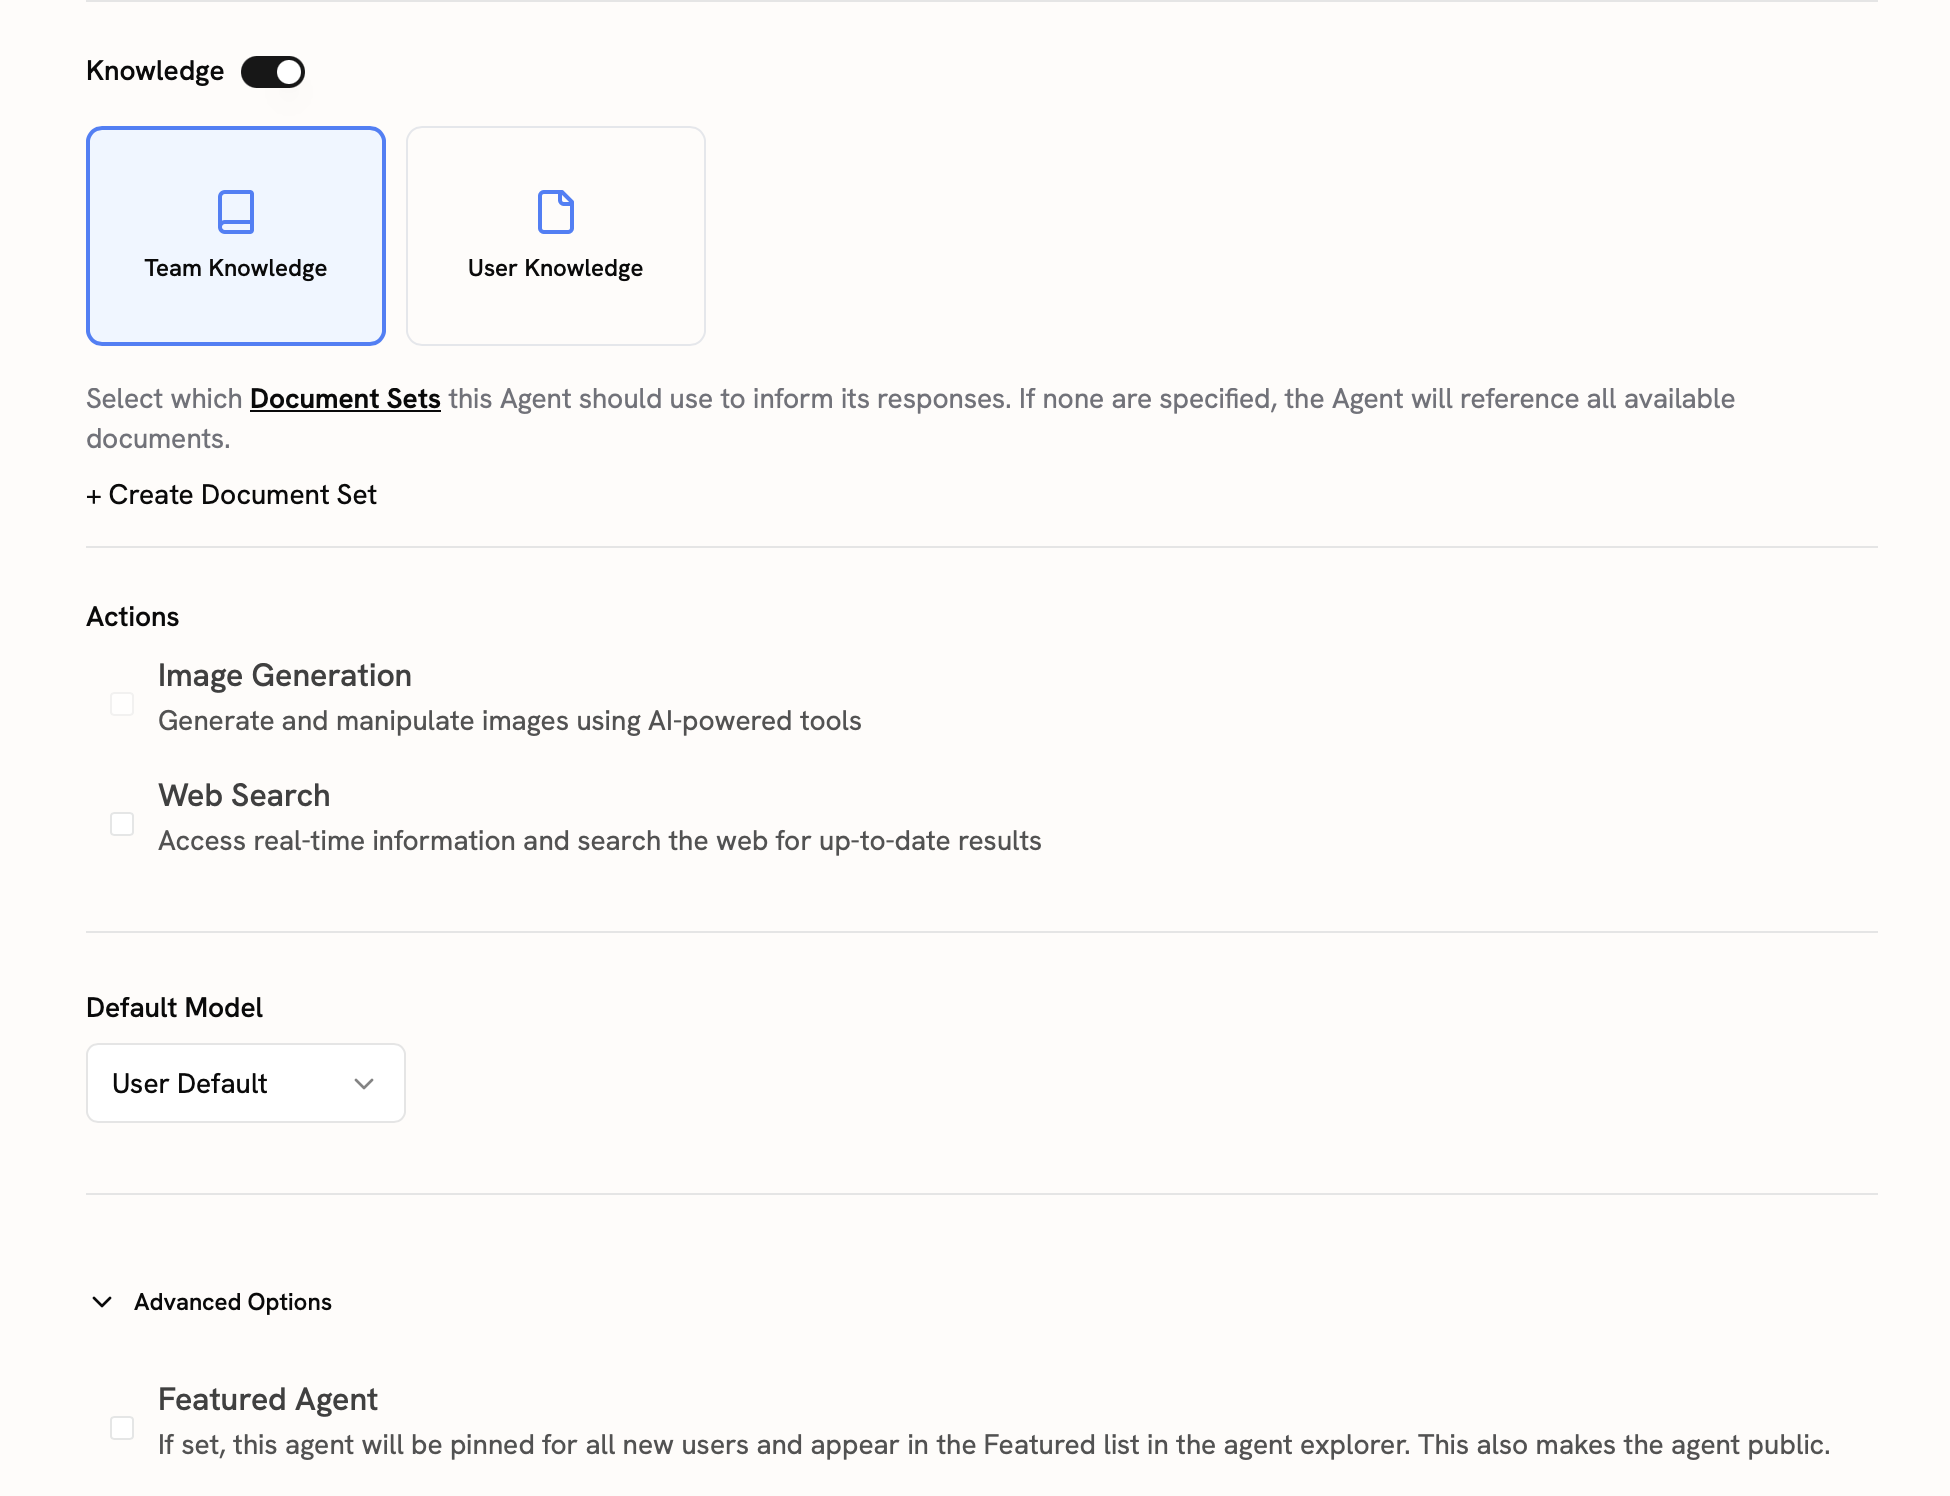

4
Configure your Agent cont.
You can publish your Agent to your entire organization or share it with specific users or groups.To help users understand how to use your Agent, you can add Starter Messages.Labels help users find and categorize your Agent.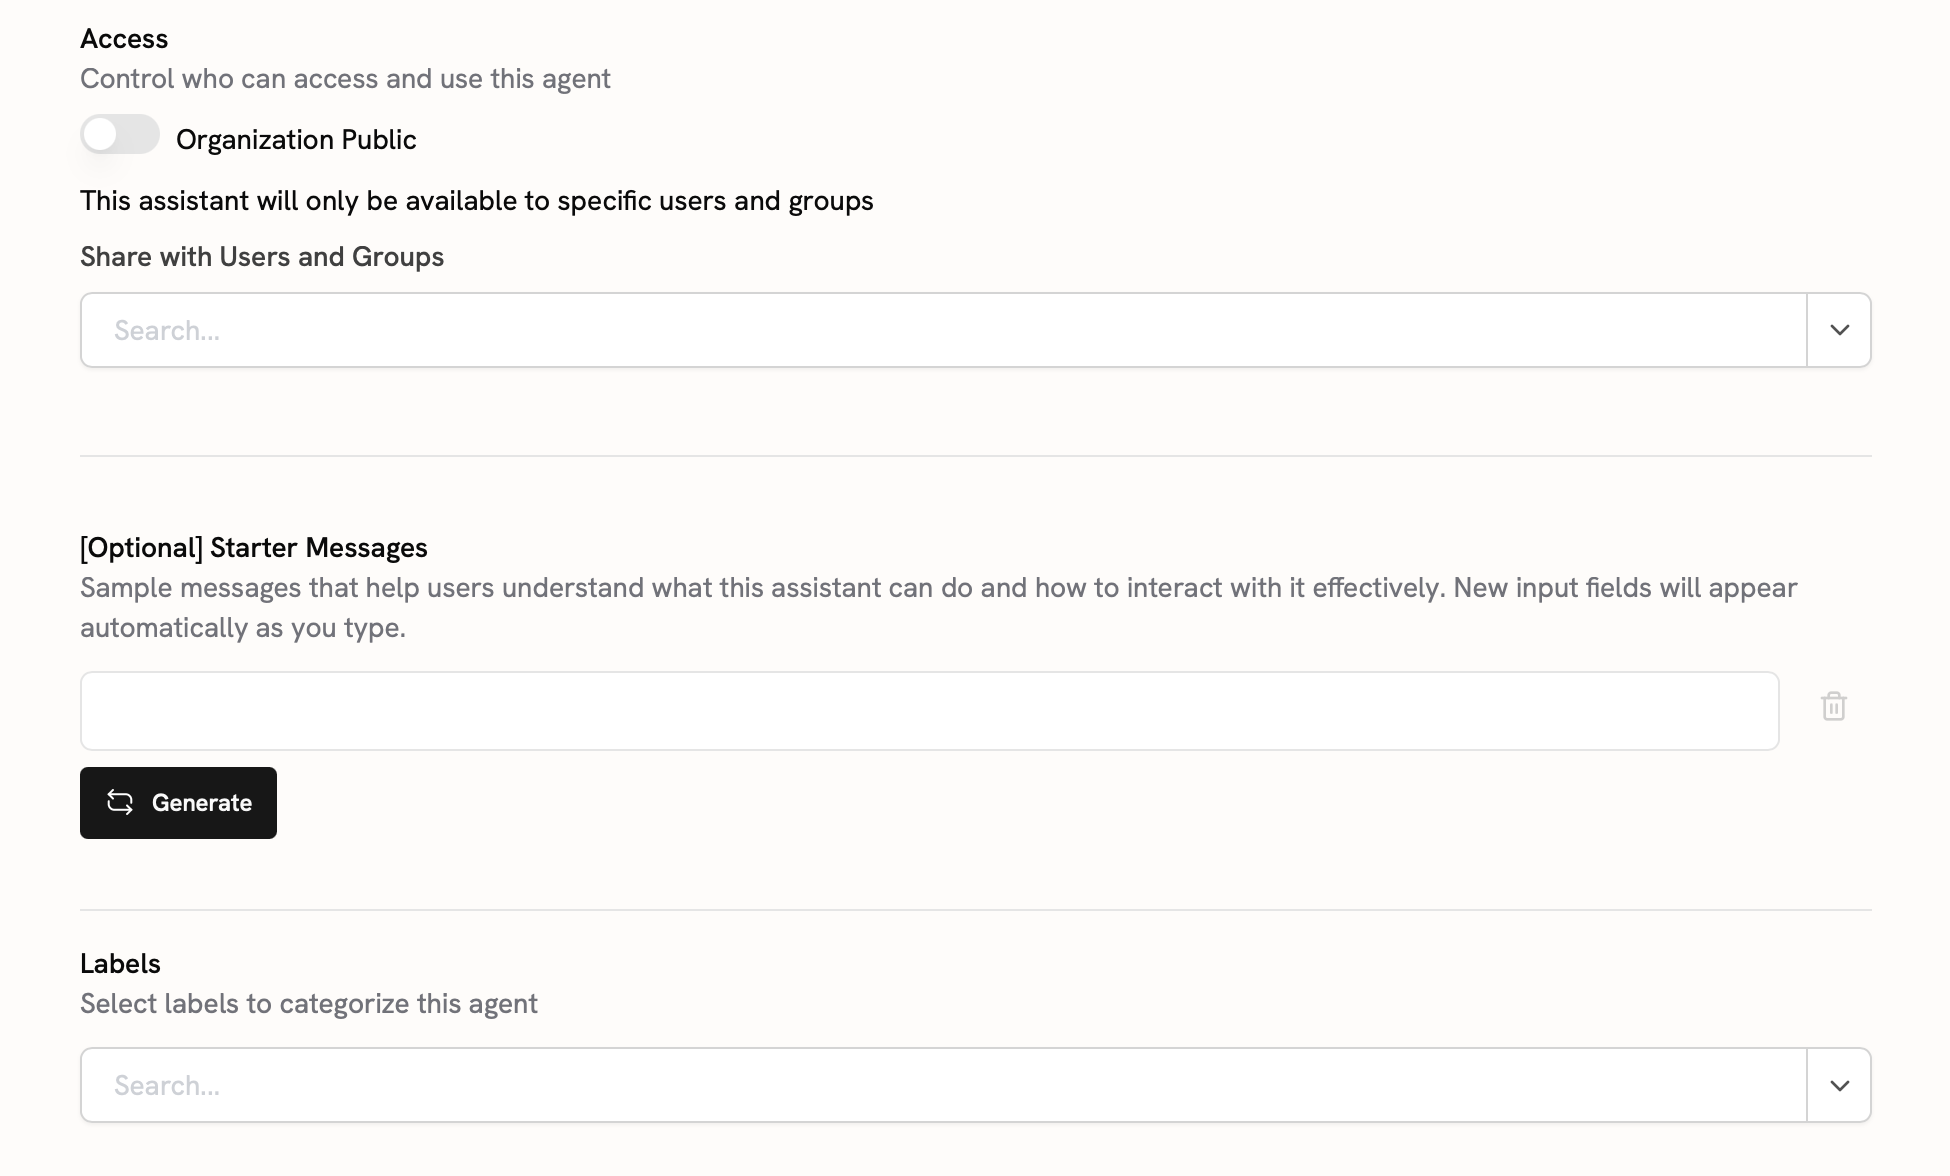

5
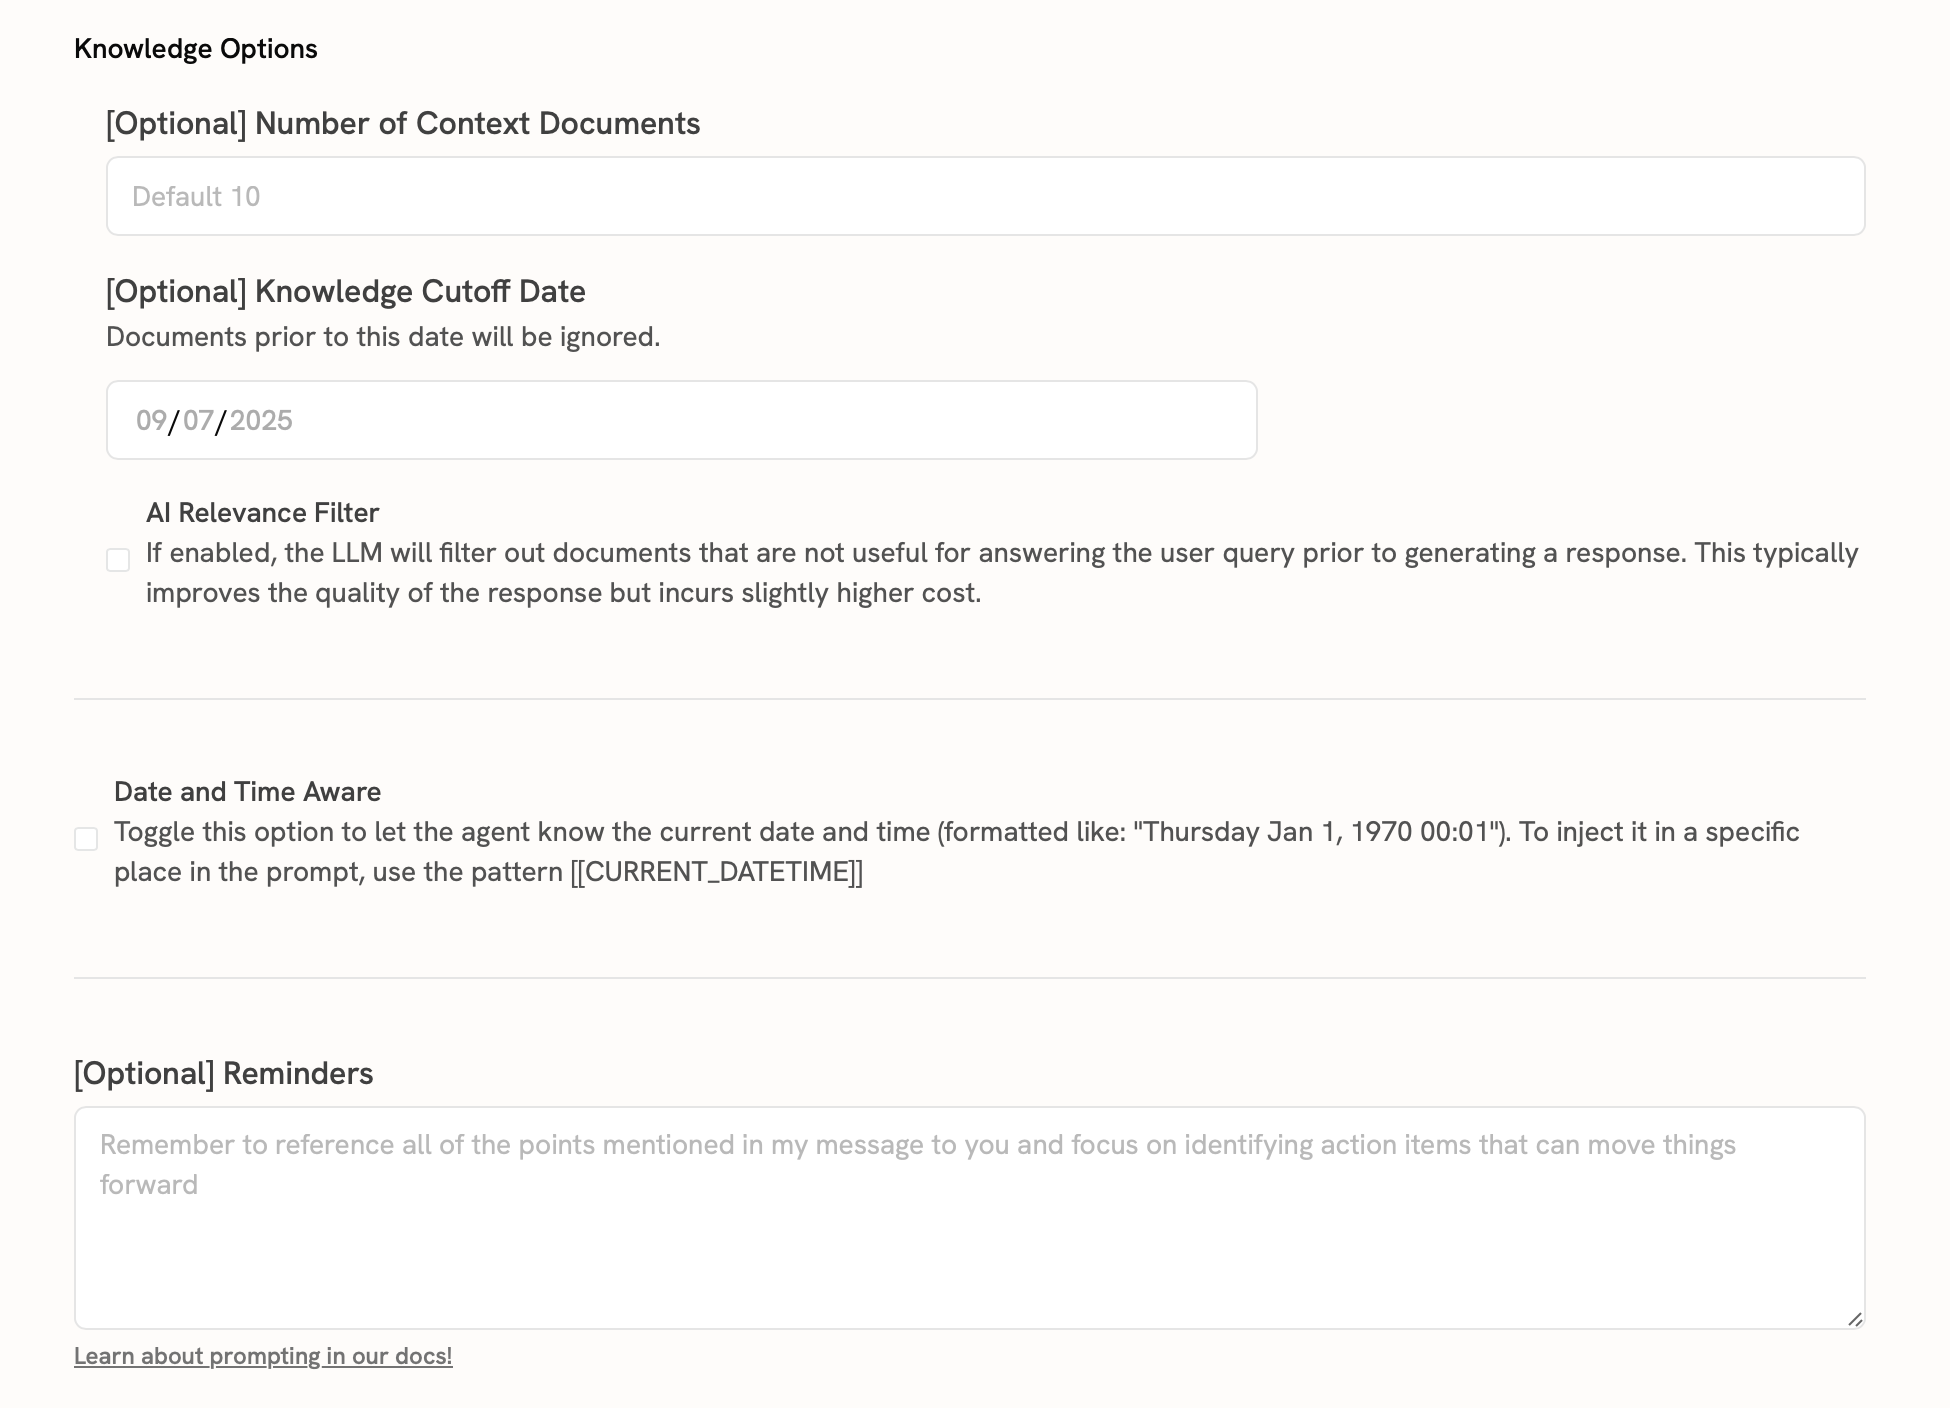
Configure Knowledge Options
Finally, you can configure certain knowledge options for your Agent.