Guide
1
Navigate to Azure Portal Resources
Go to the Azure Portal and navigate to the Azure OpenAI Service.

2
Create an Azure OpenAI Deployment
Click Create and fill out the required fields in each section. Default values are usually sufficient.The deployment may take a few minutes to complete.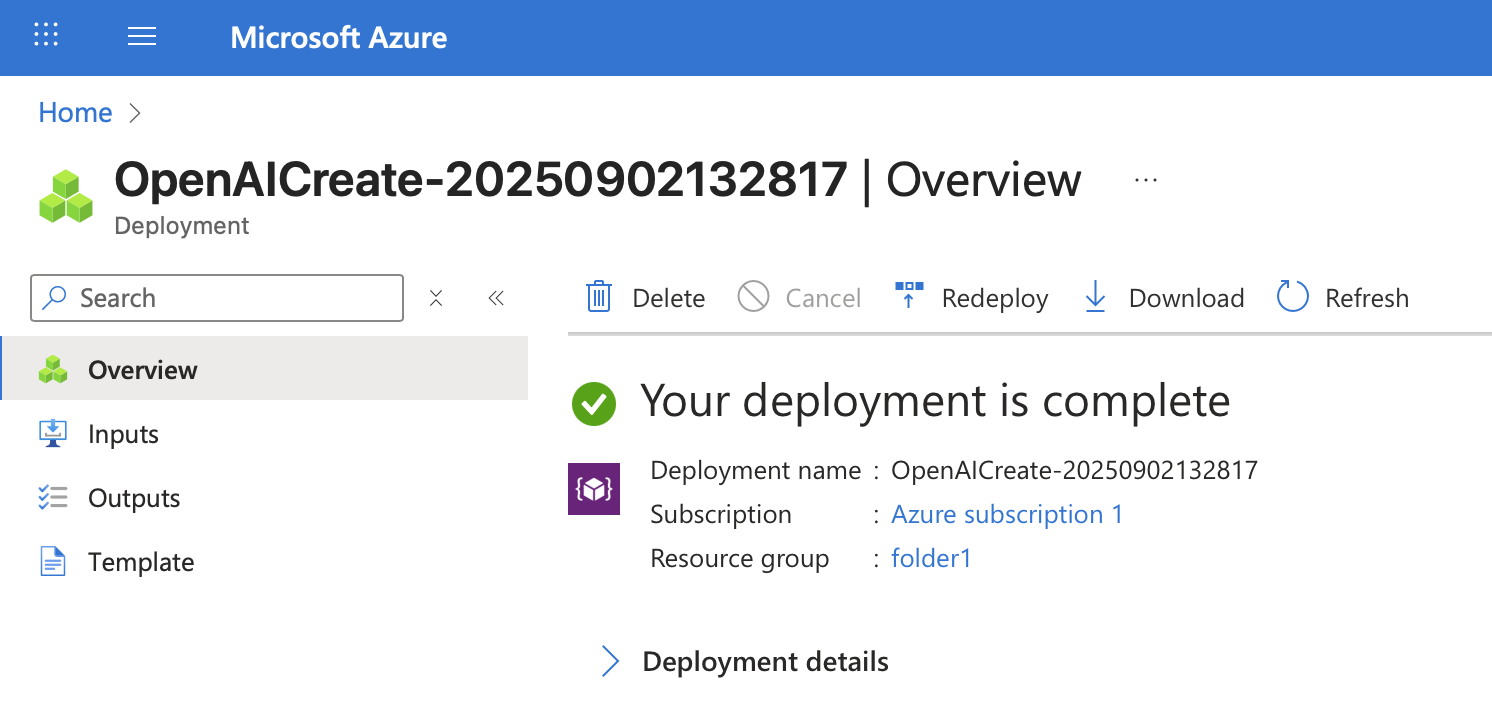

3
Create a Model Deployment
Go to the Azure OpenAI Service and select your new AI resource.Navigate to the Model Catalog tab and select the model you want to use with Onyx.
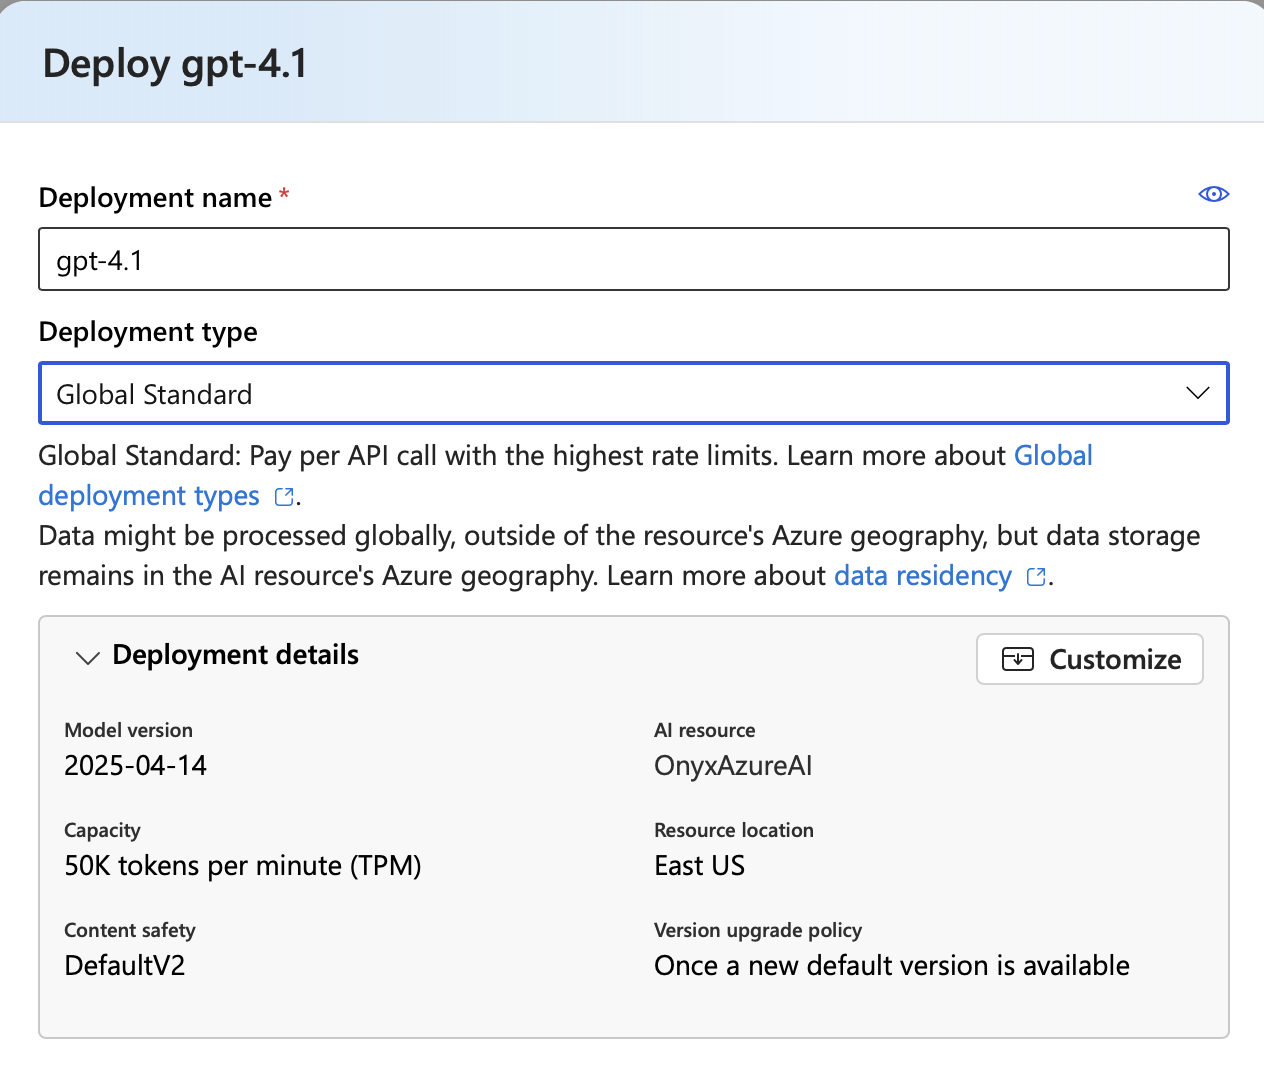
Click Use this model → Deploy to selected resource.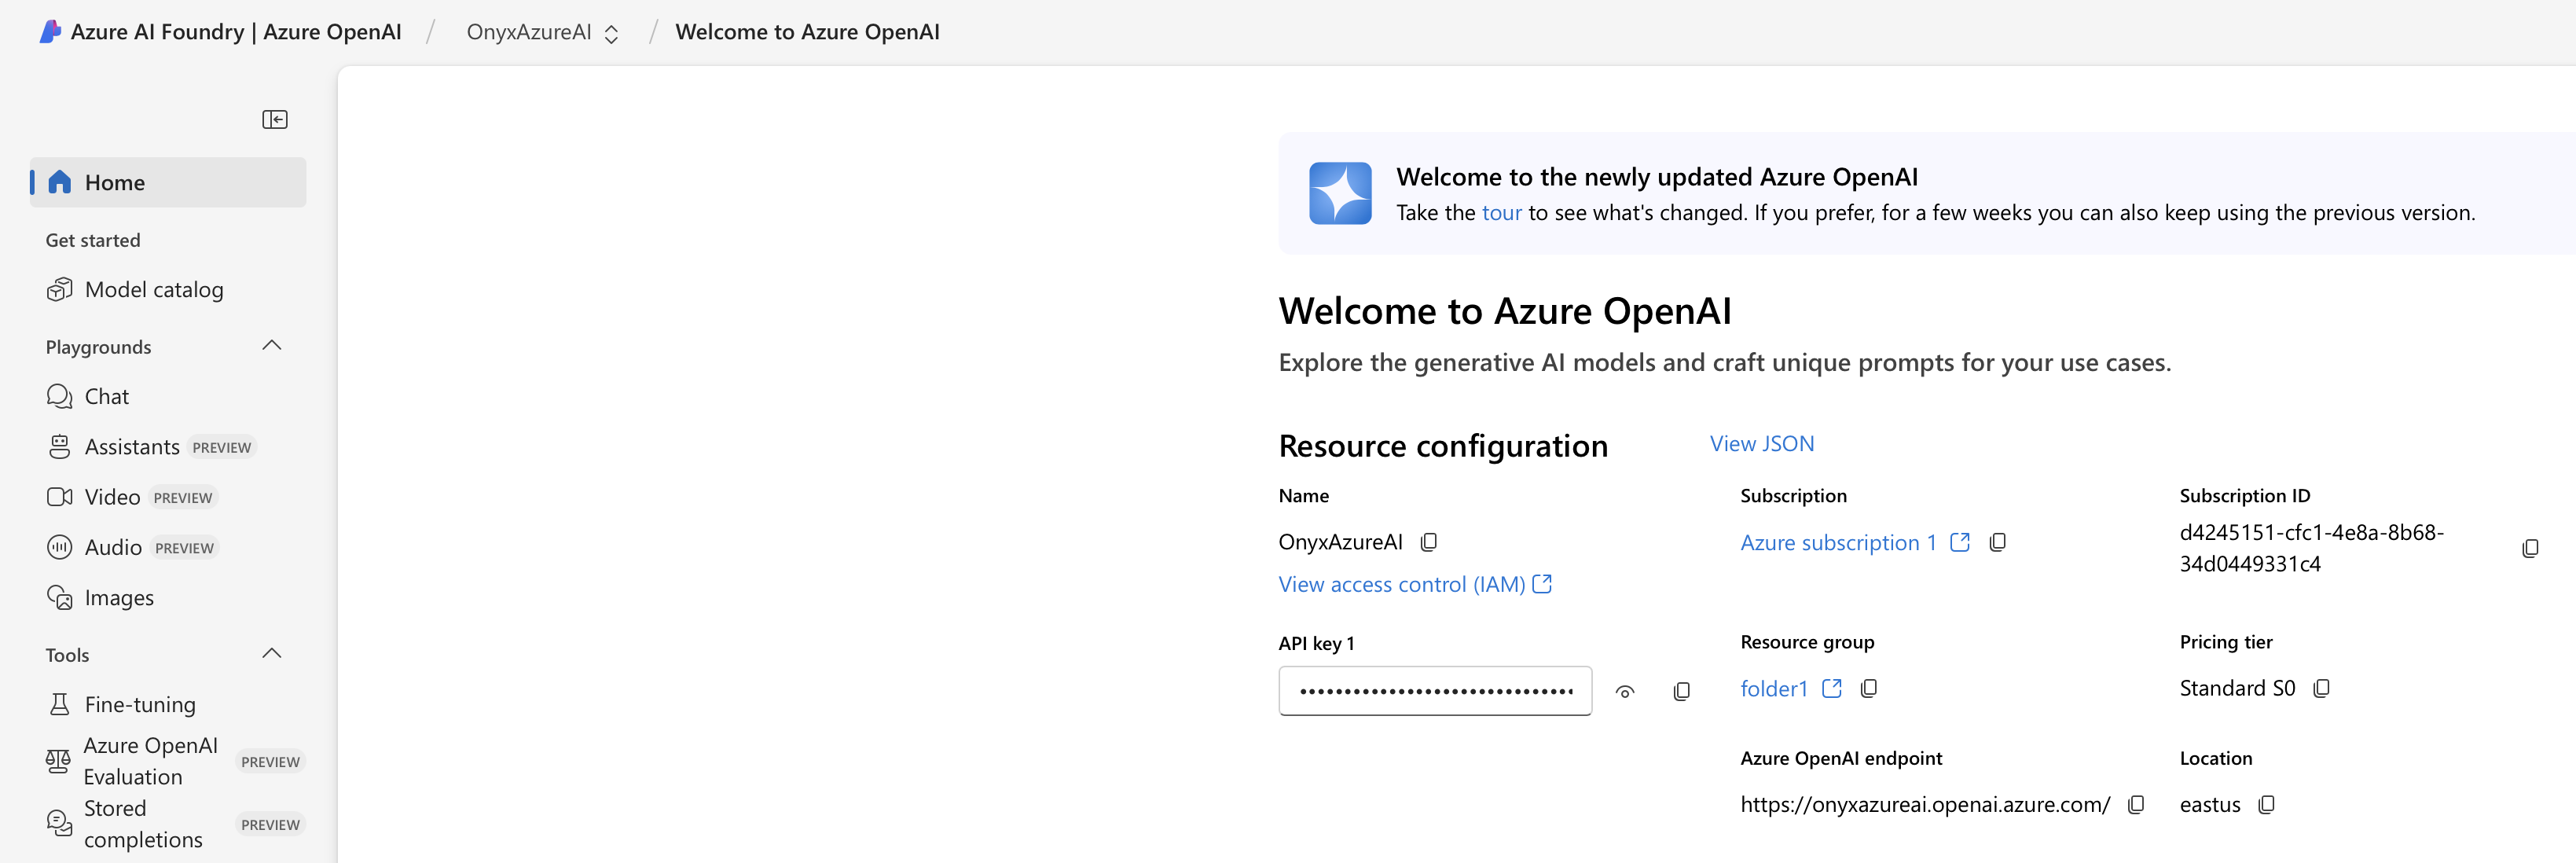


4
Save Your Deployment Details and Credentials
In your deployed model page, save the Target URI and API Key. Your Target URI has the API Base,
API Version, and Deployment Name necessary to configure the provider in Onyx.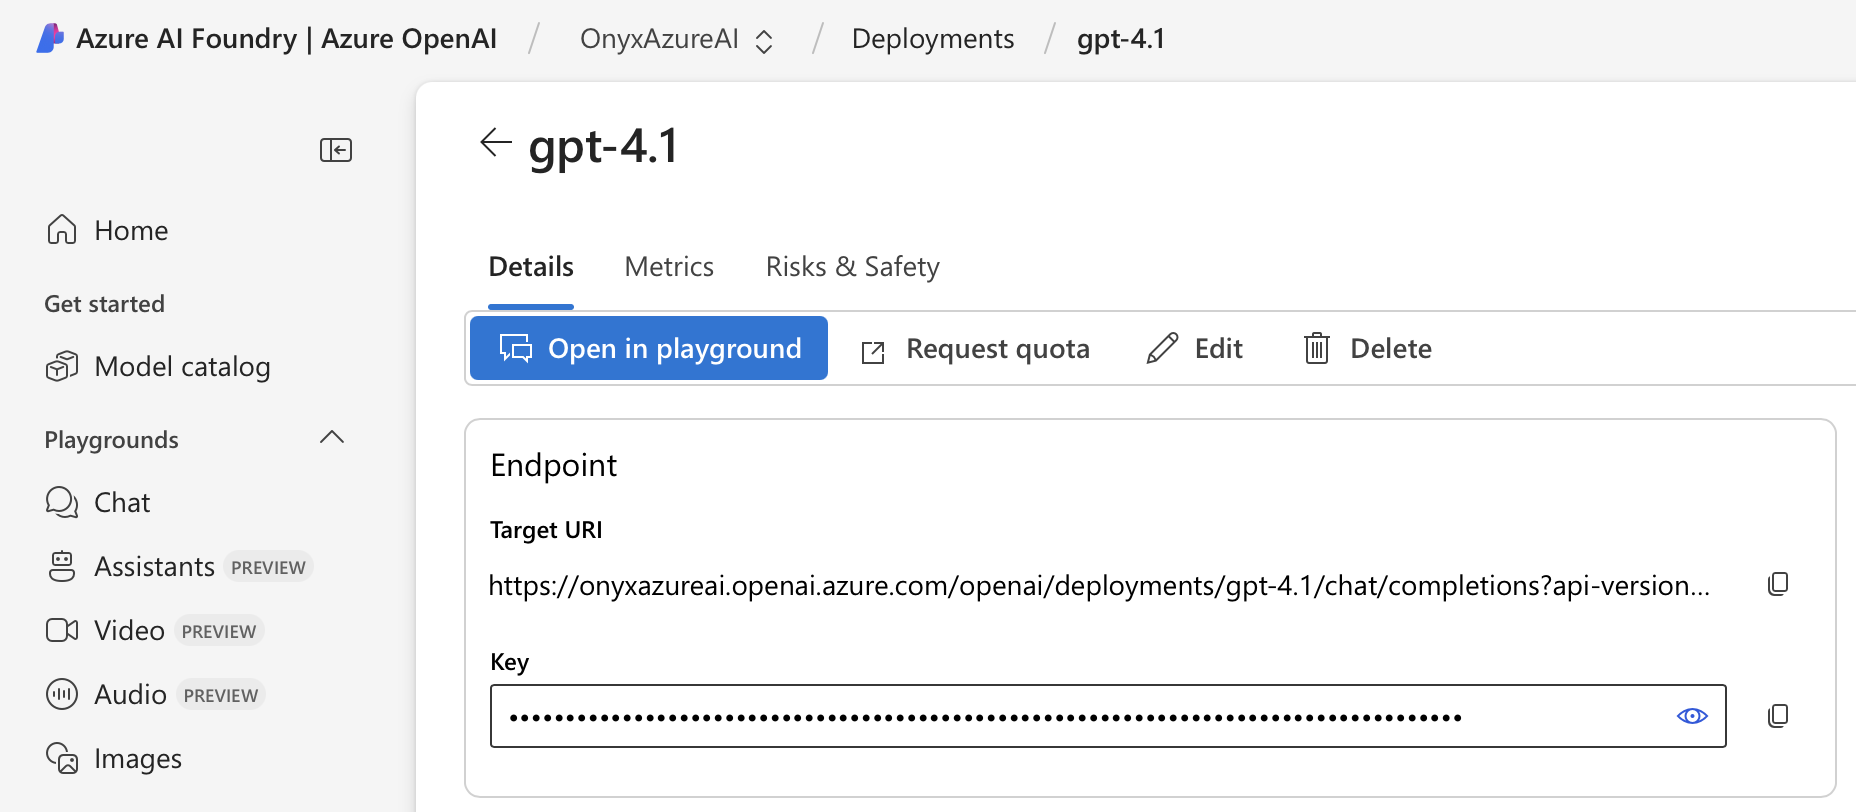

5
Navigate to AI Model Configuration Page
Access the Admin Panel from your user profile icon → Admin Panel → LLM
6
Configure Azure OpenAI Provider
Select Azure OpenAI from the available providers.Give this configuration a Display Name.Paste your API Key into the API Key field.From your Target URI, extract the API Base, API Version, and Deployment NameExample:
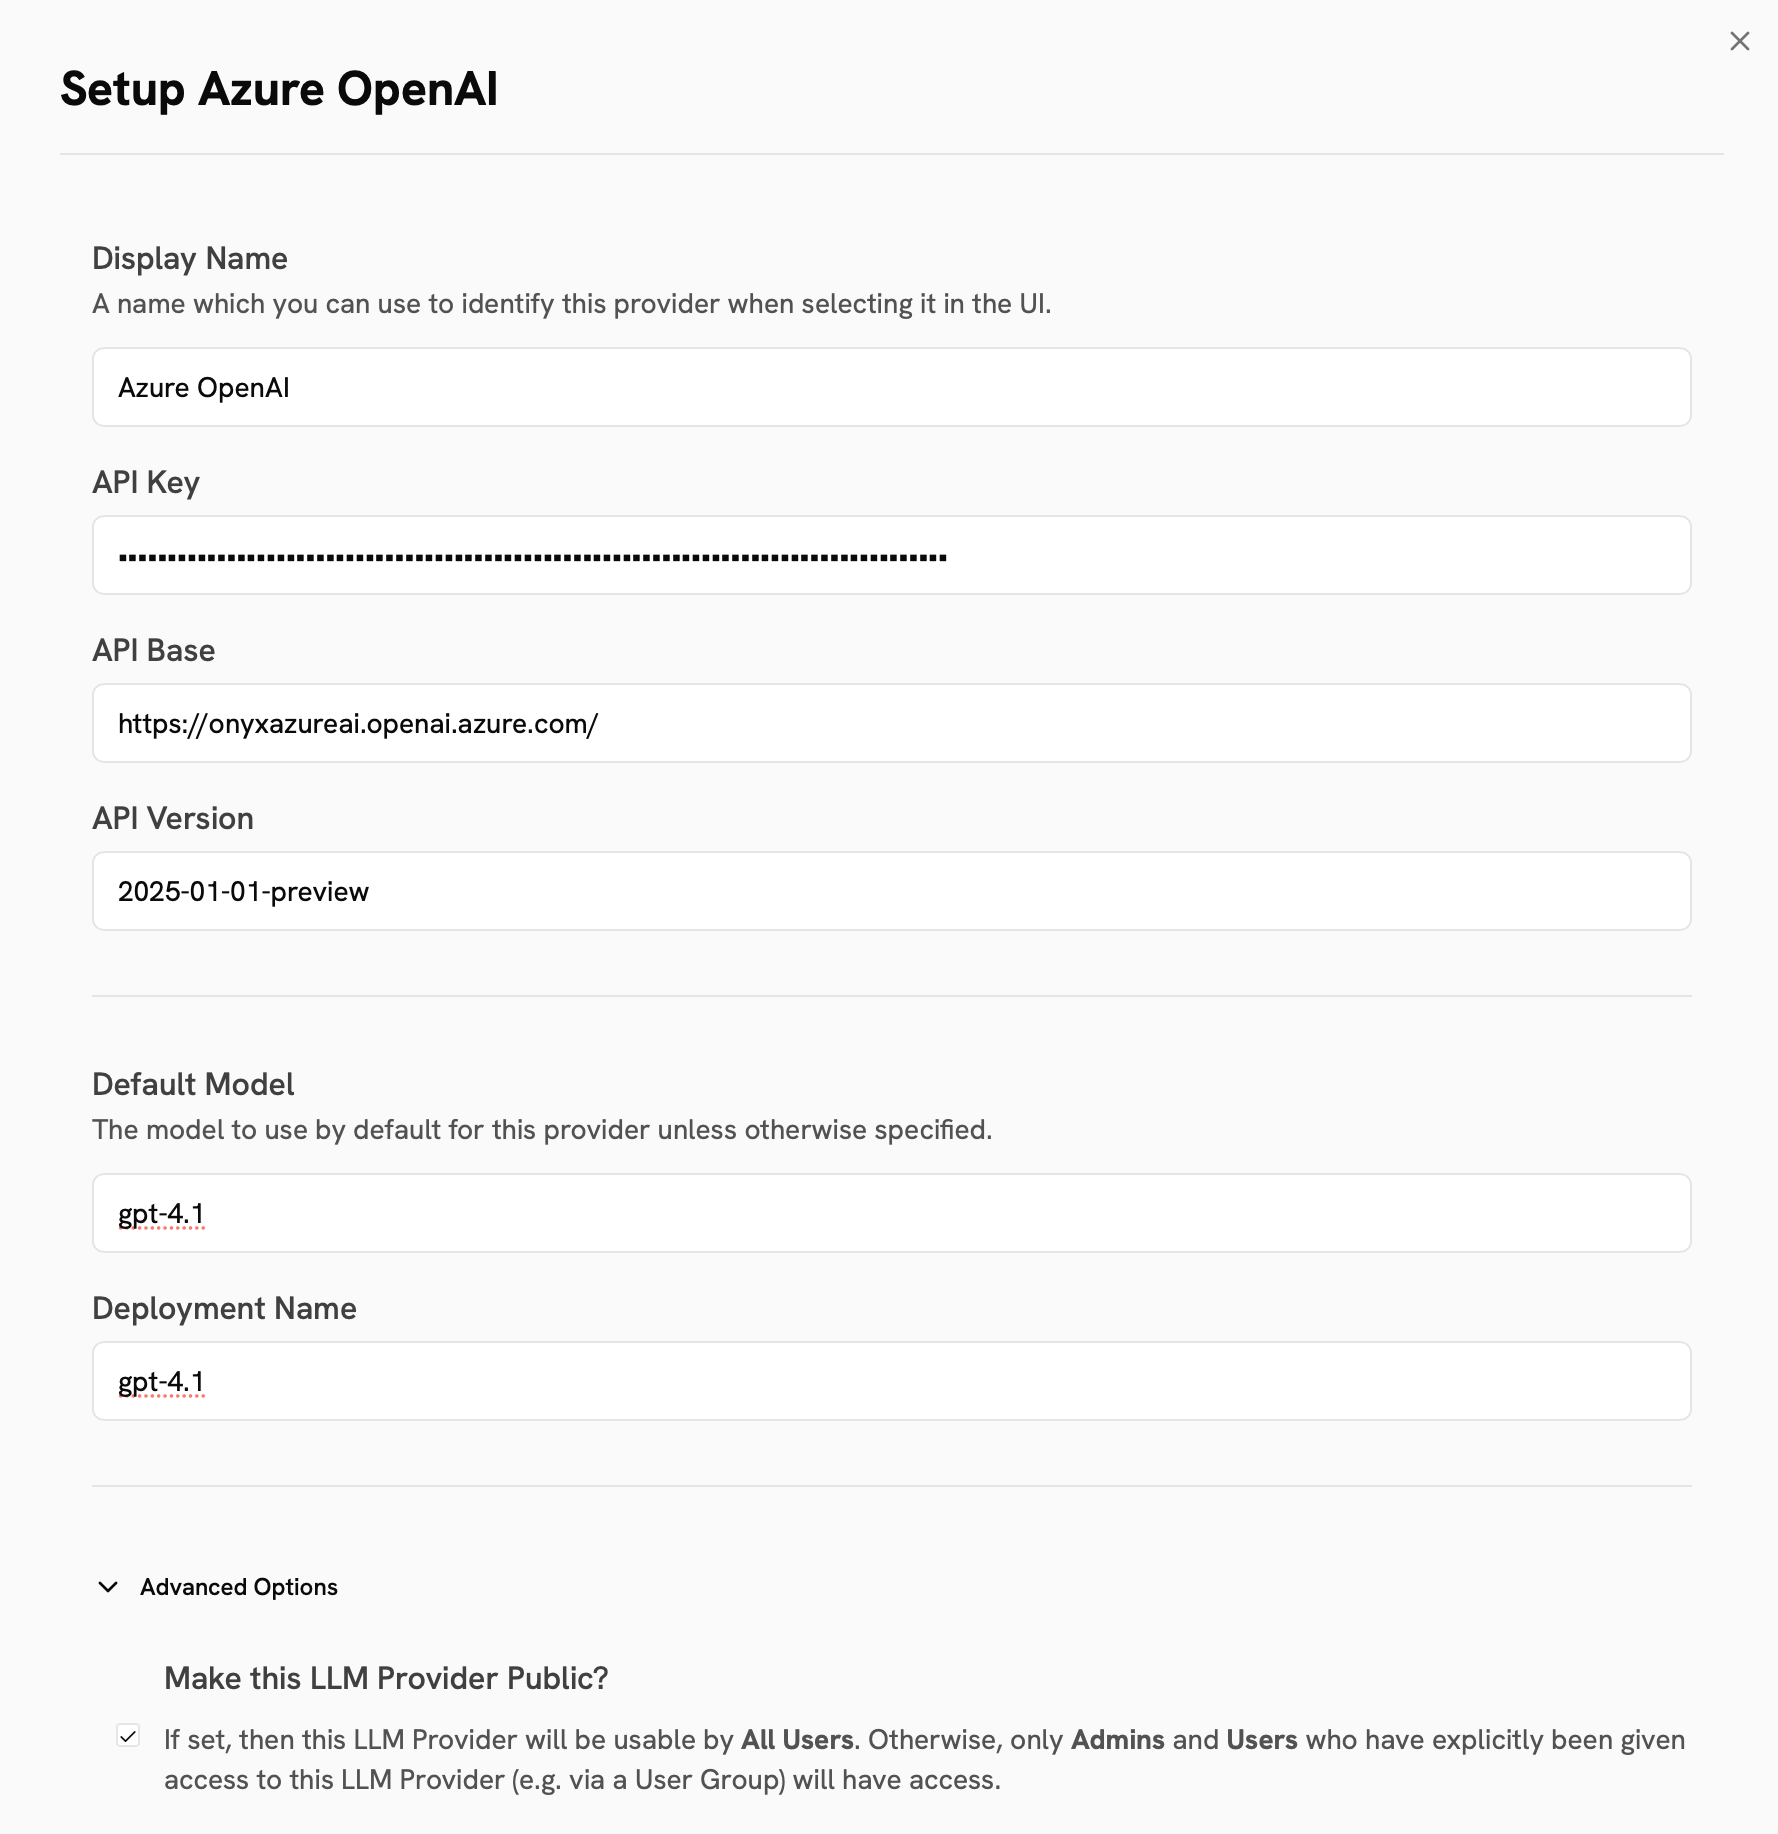
https://onyxazureai.openai.azure.com/openai/deployments/gpt-4.1/chat/completions?api-version=2025-01-01-preview
7
Configure Default Model and Provider Access
The Default Model is selected automatically for new custom Agents and Chat sessions.
You should put the model you deployed into this field.In the Advanced Options, you may select whether or not the provider is public to all users in Onyx.If set to private,
the provider’s models will be available to Admins and User Groups you explicitly assign the provider to.