

ChatGPT on the web
Your ChatGPT workspace must allow custom MCP servers.1
Open Add custom MCP server
Open Customize > Plugins and select Add > Add custom MCP server.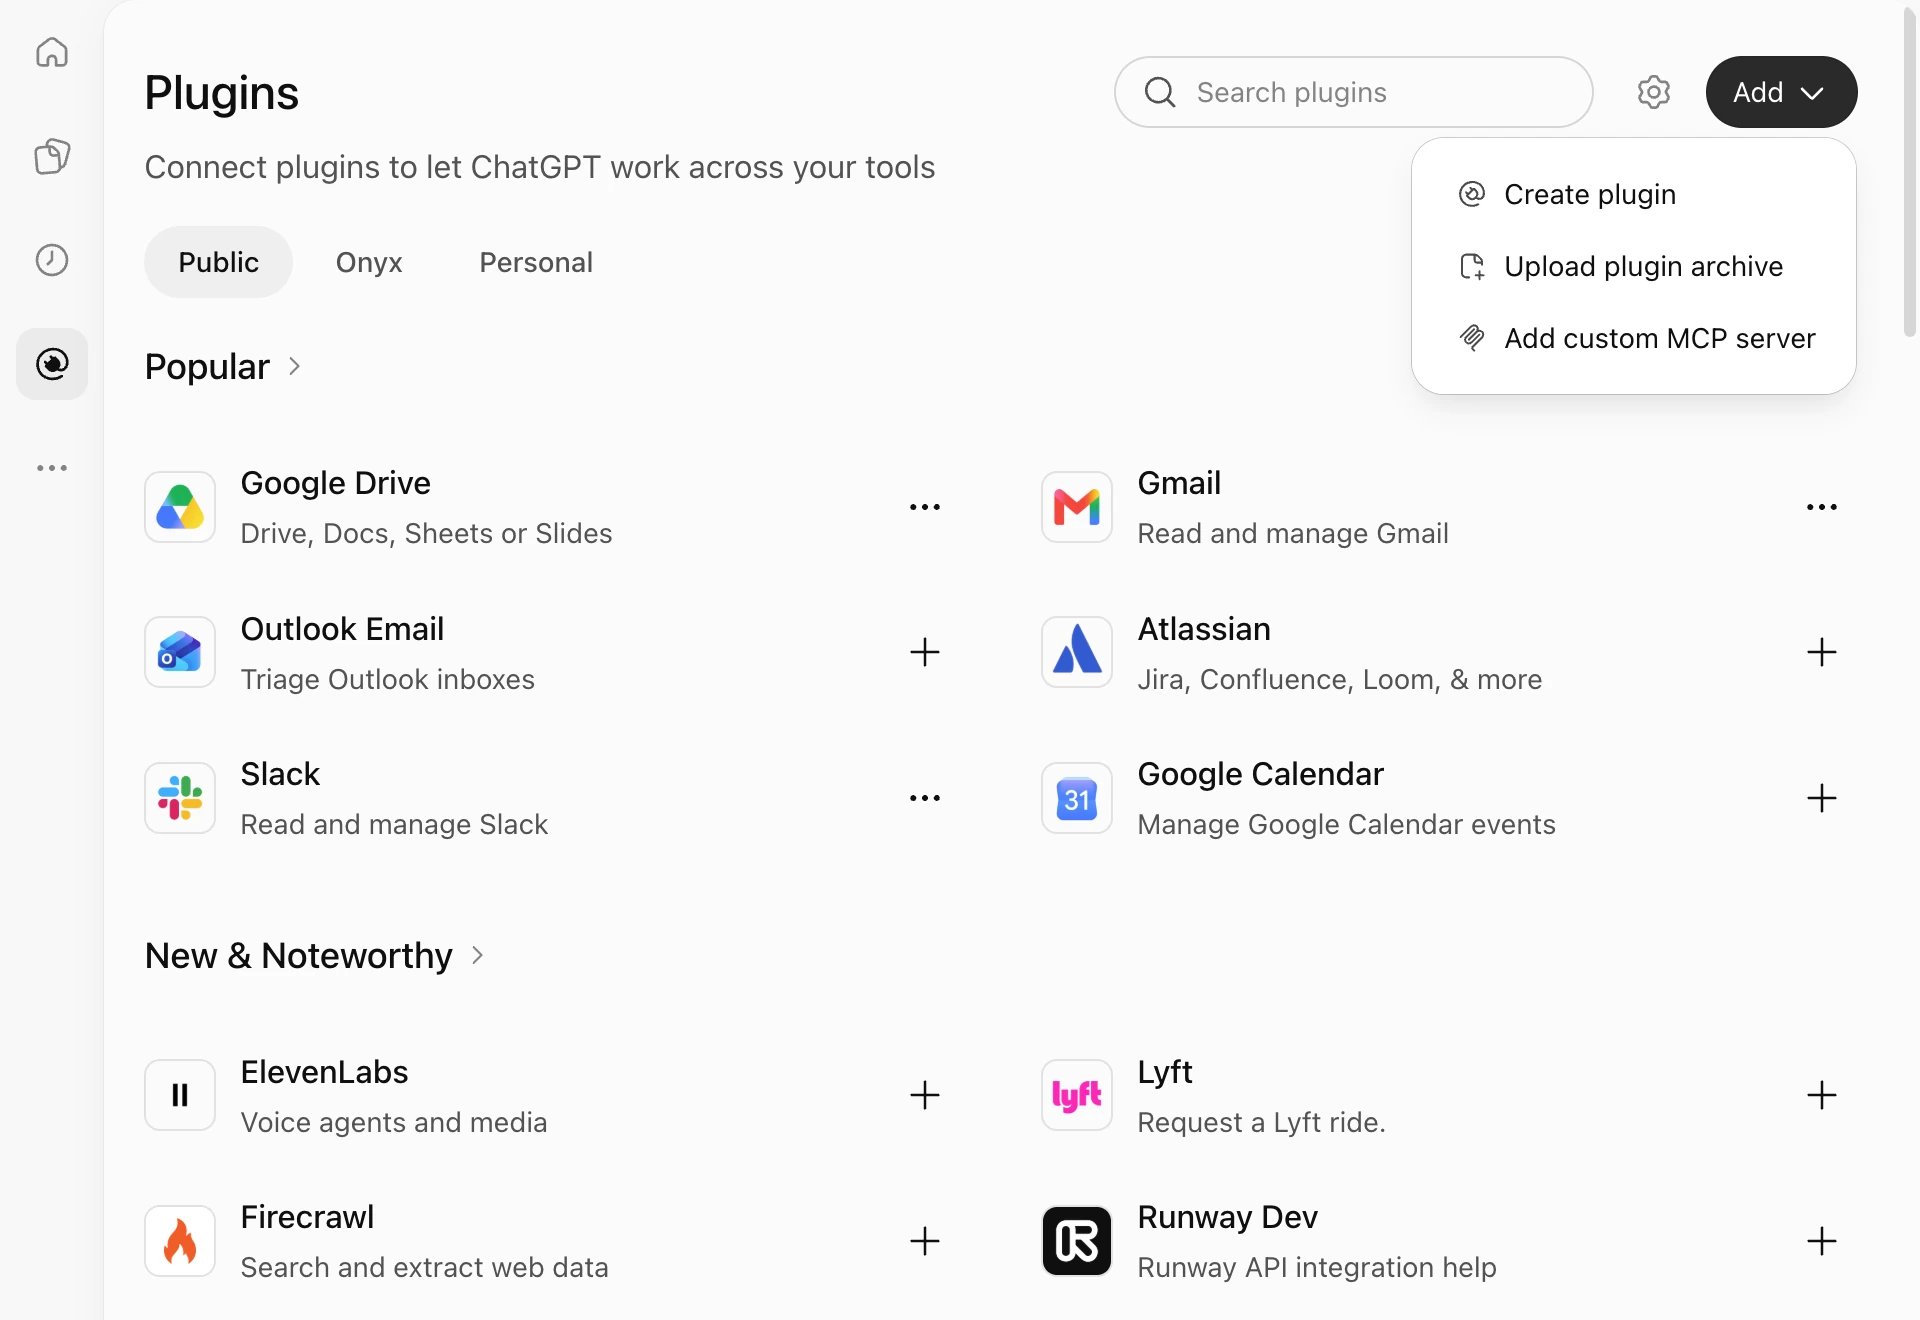
2
Enter the Onyx MCP URL
Enter Onyx as the Name and your Onyx MCP URL as the Server URL.
Keep OAuth as the Authentication.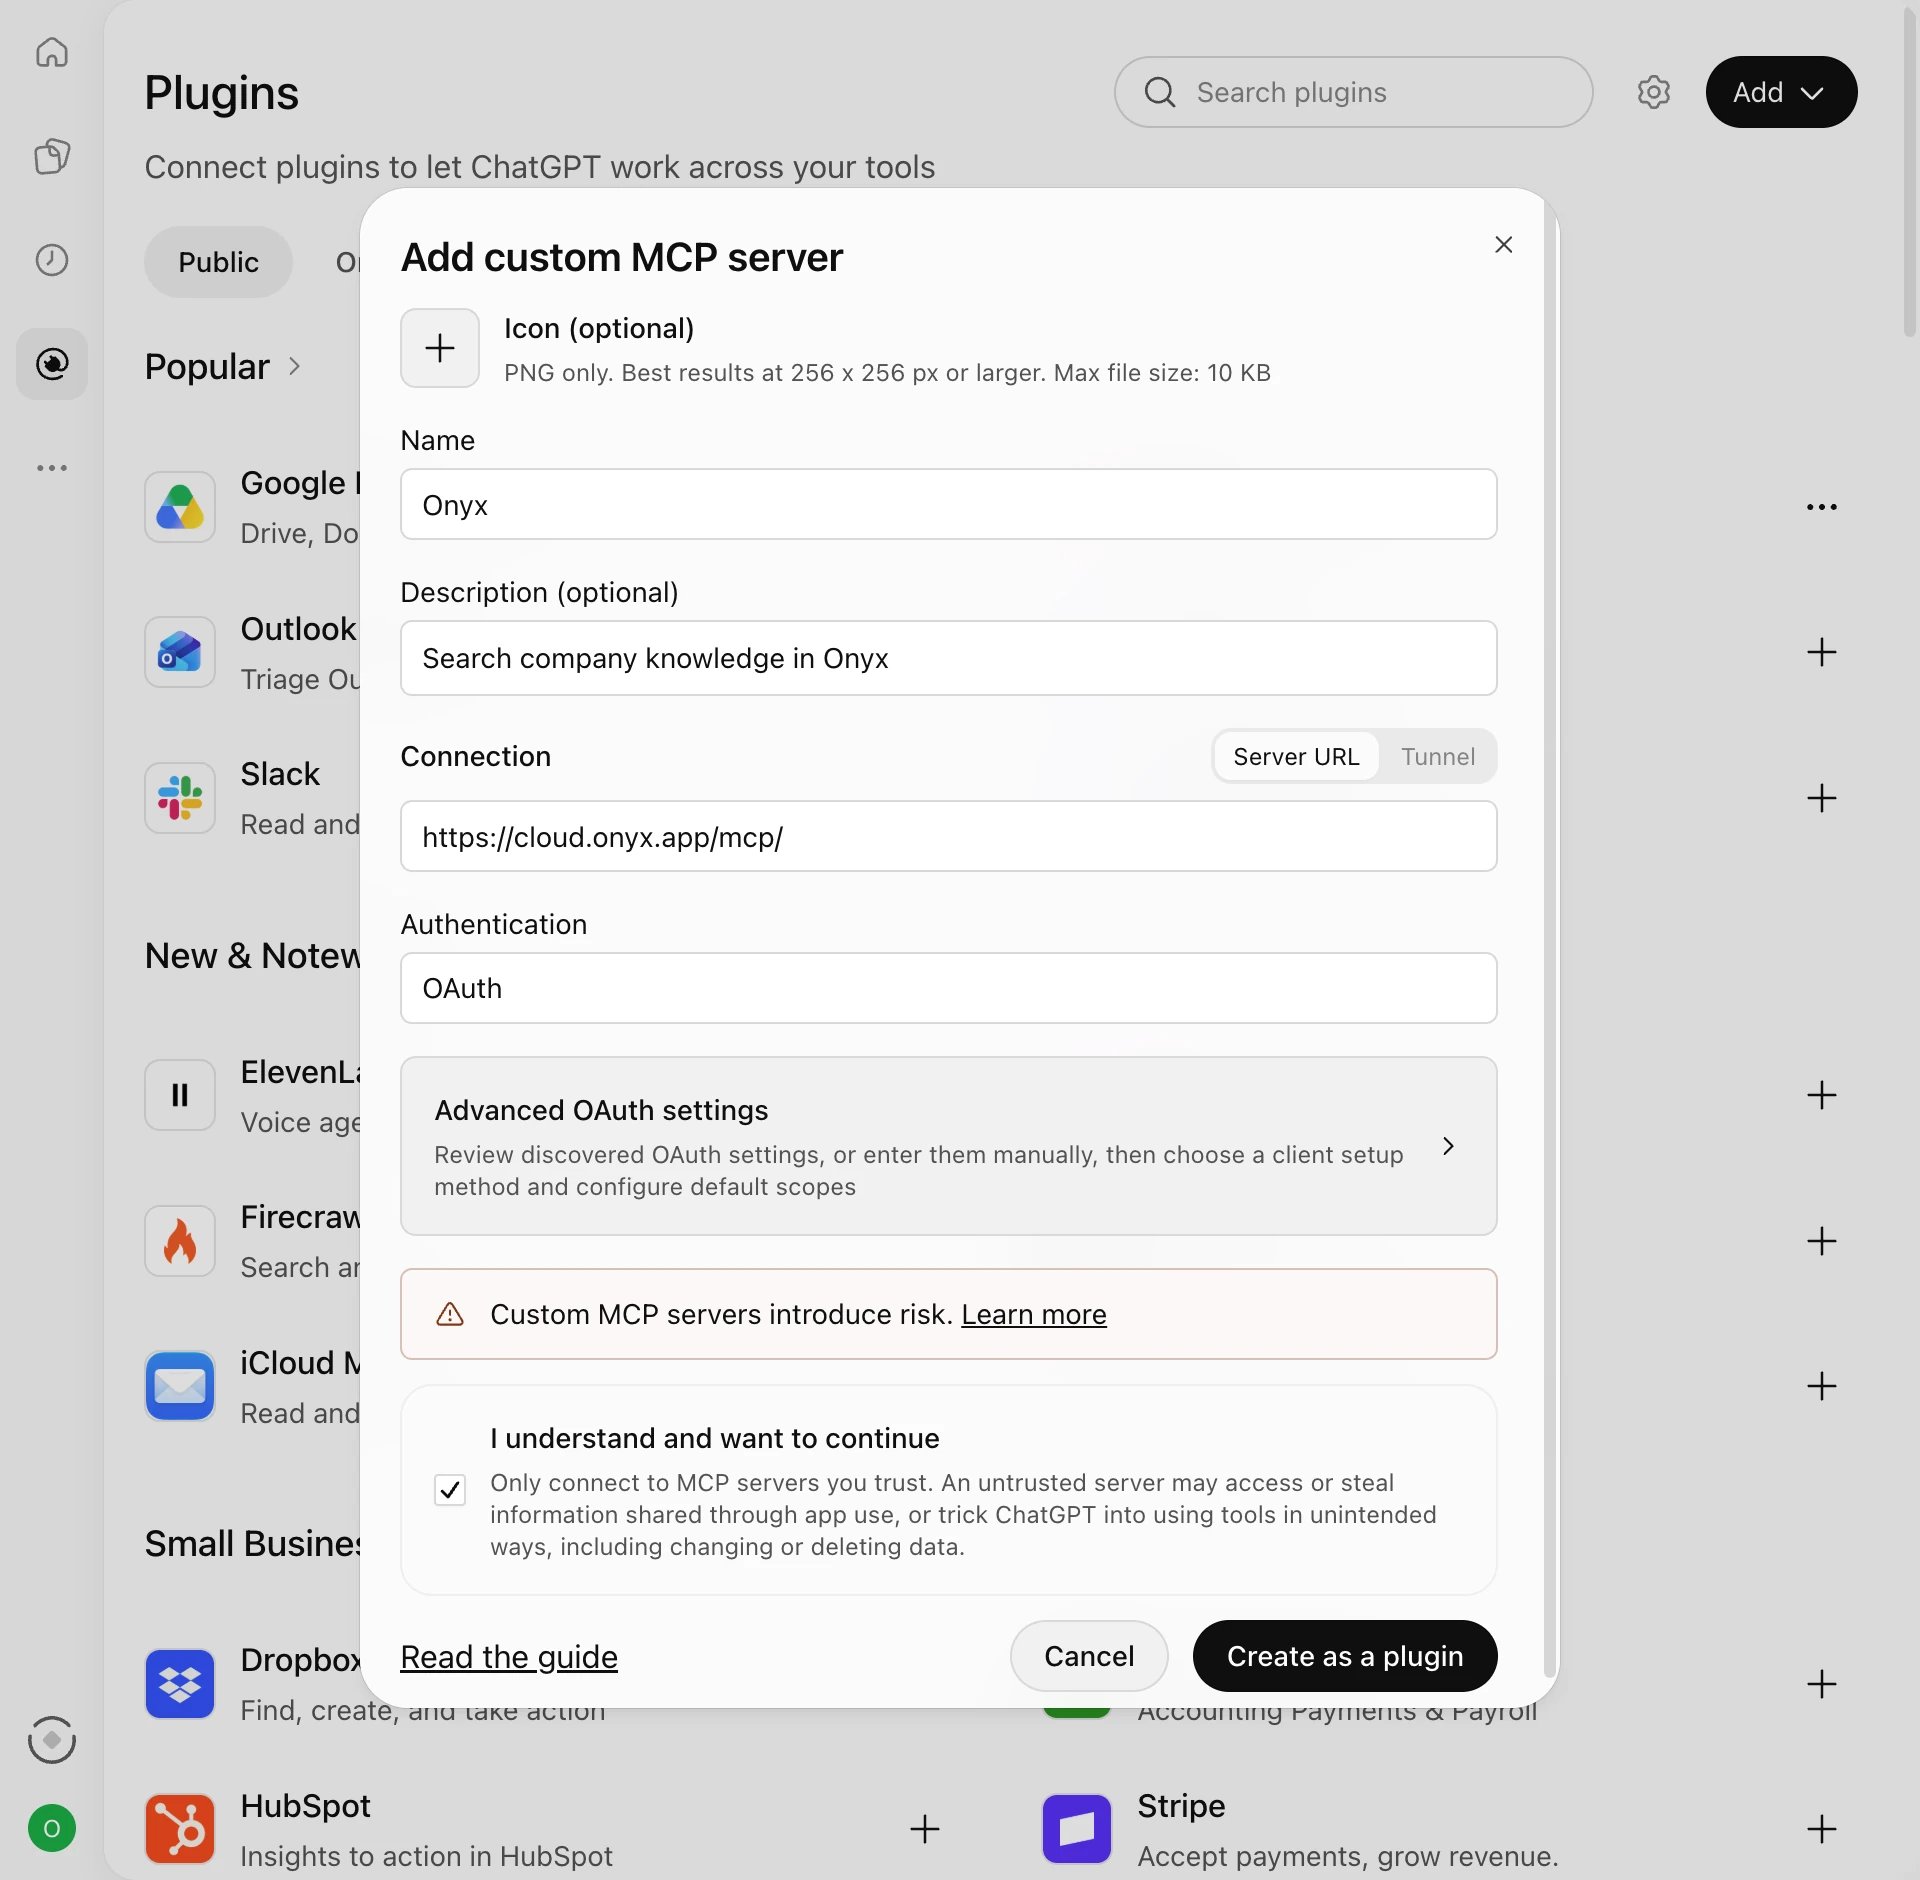
3
Select Dynamic Client Registration
Open Advanced OAuth settings and set Registration method to Dynamic Client Registration (DCR).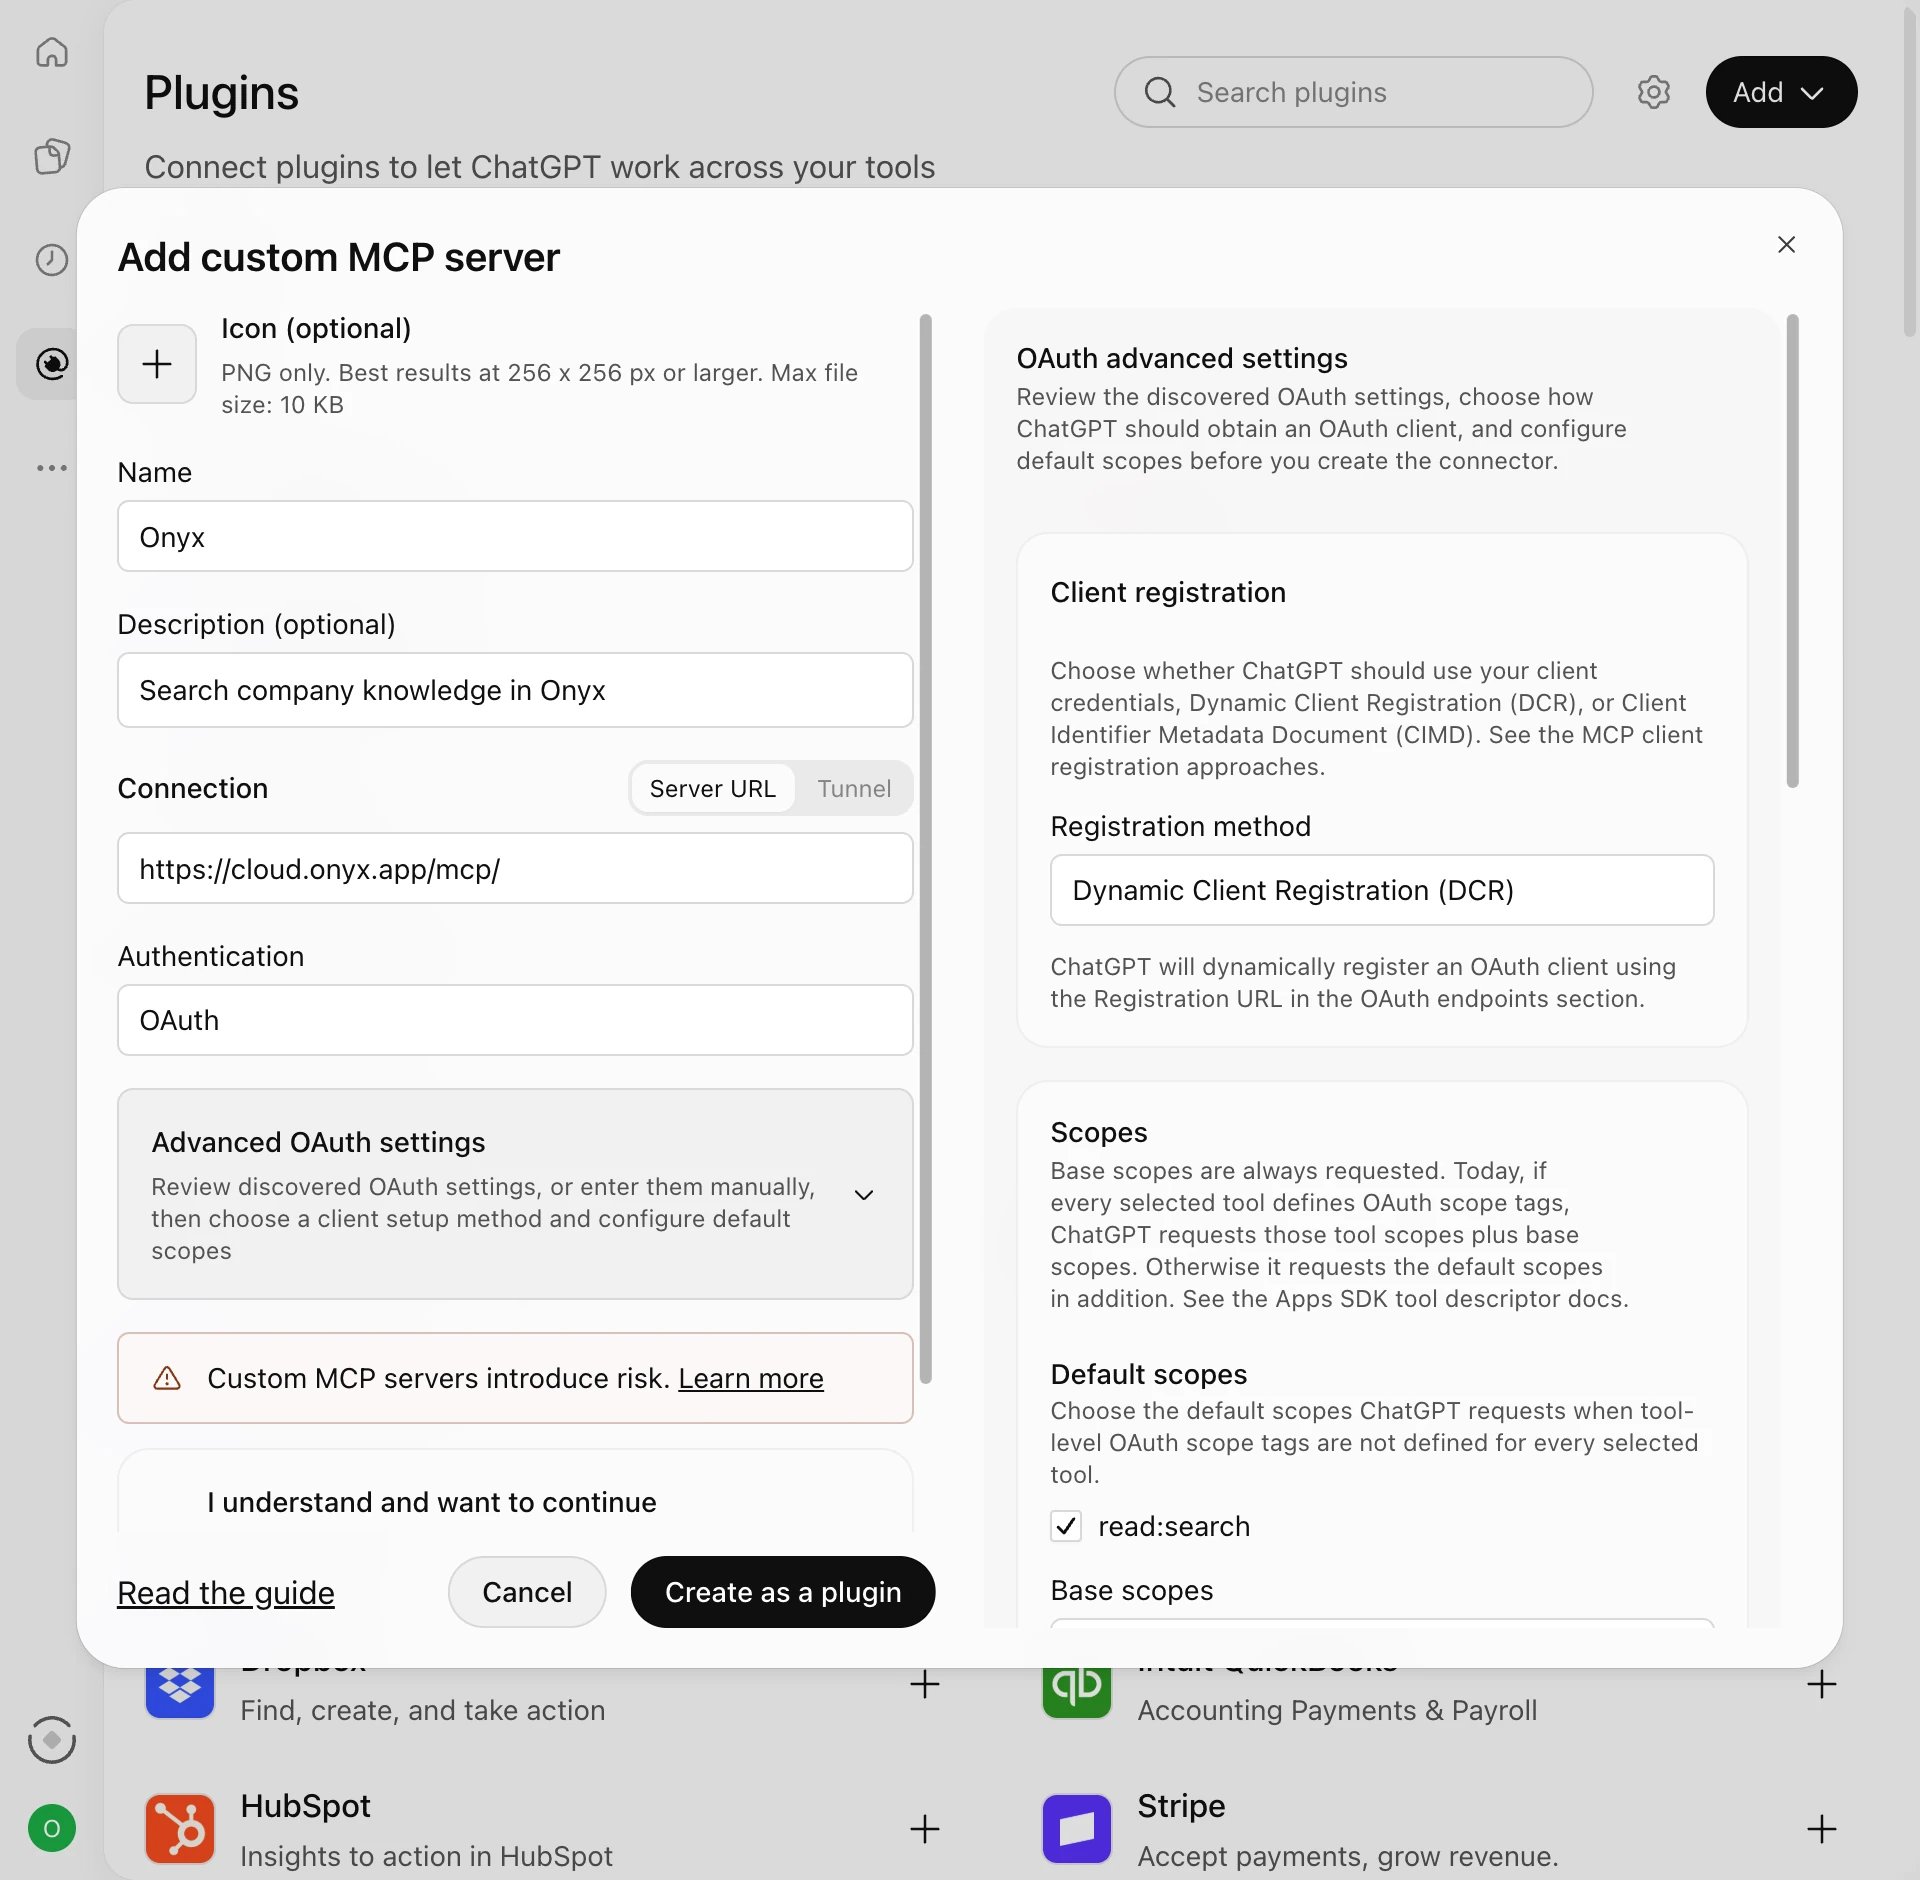
4
Create the plugin and sign in
Select I understand and want to continue, then Create as a plugin, then Continue to Onyx.
Sign in and select Allow access.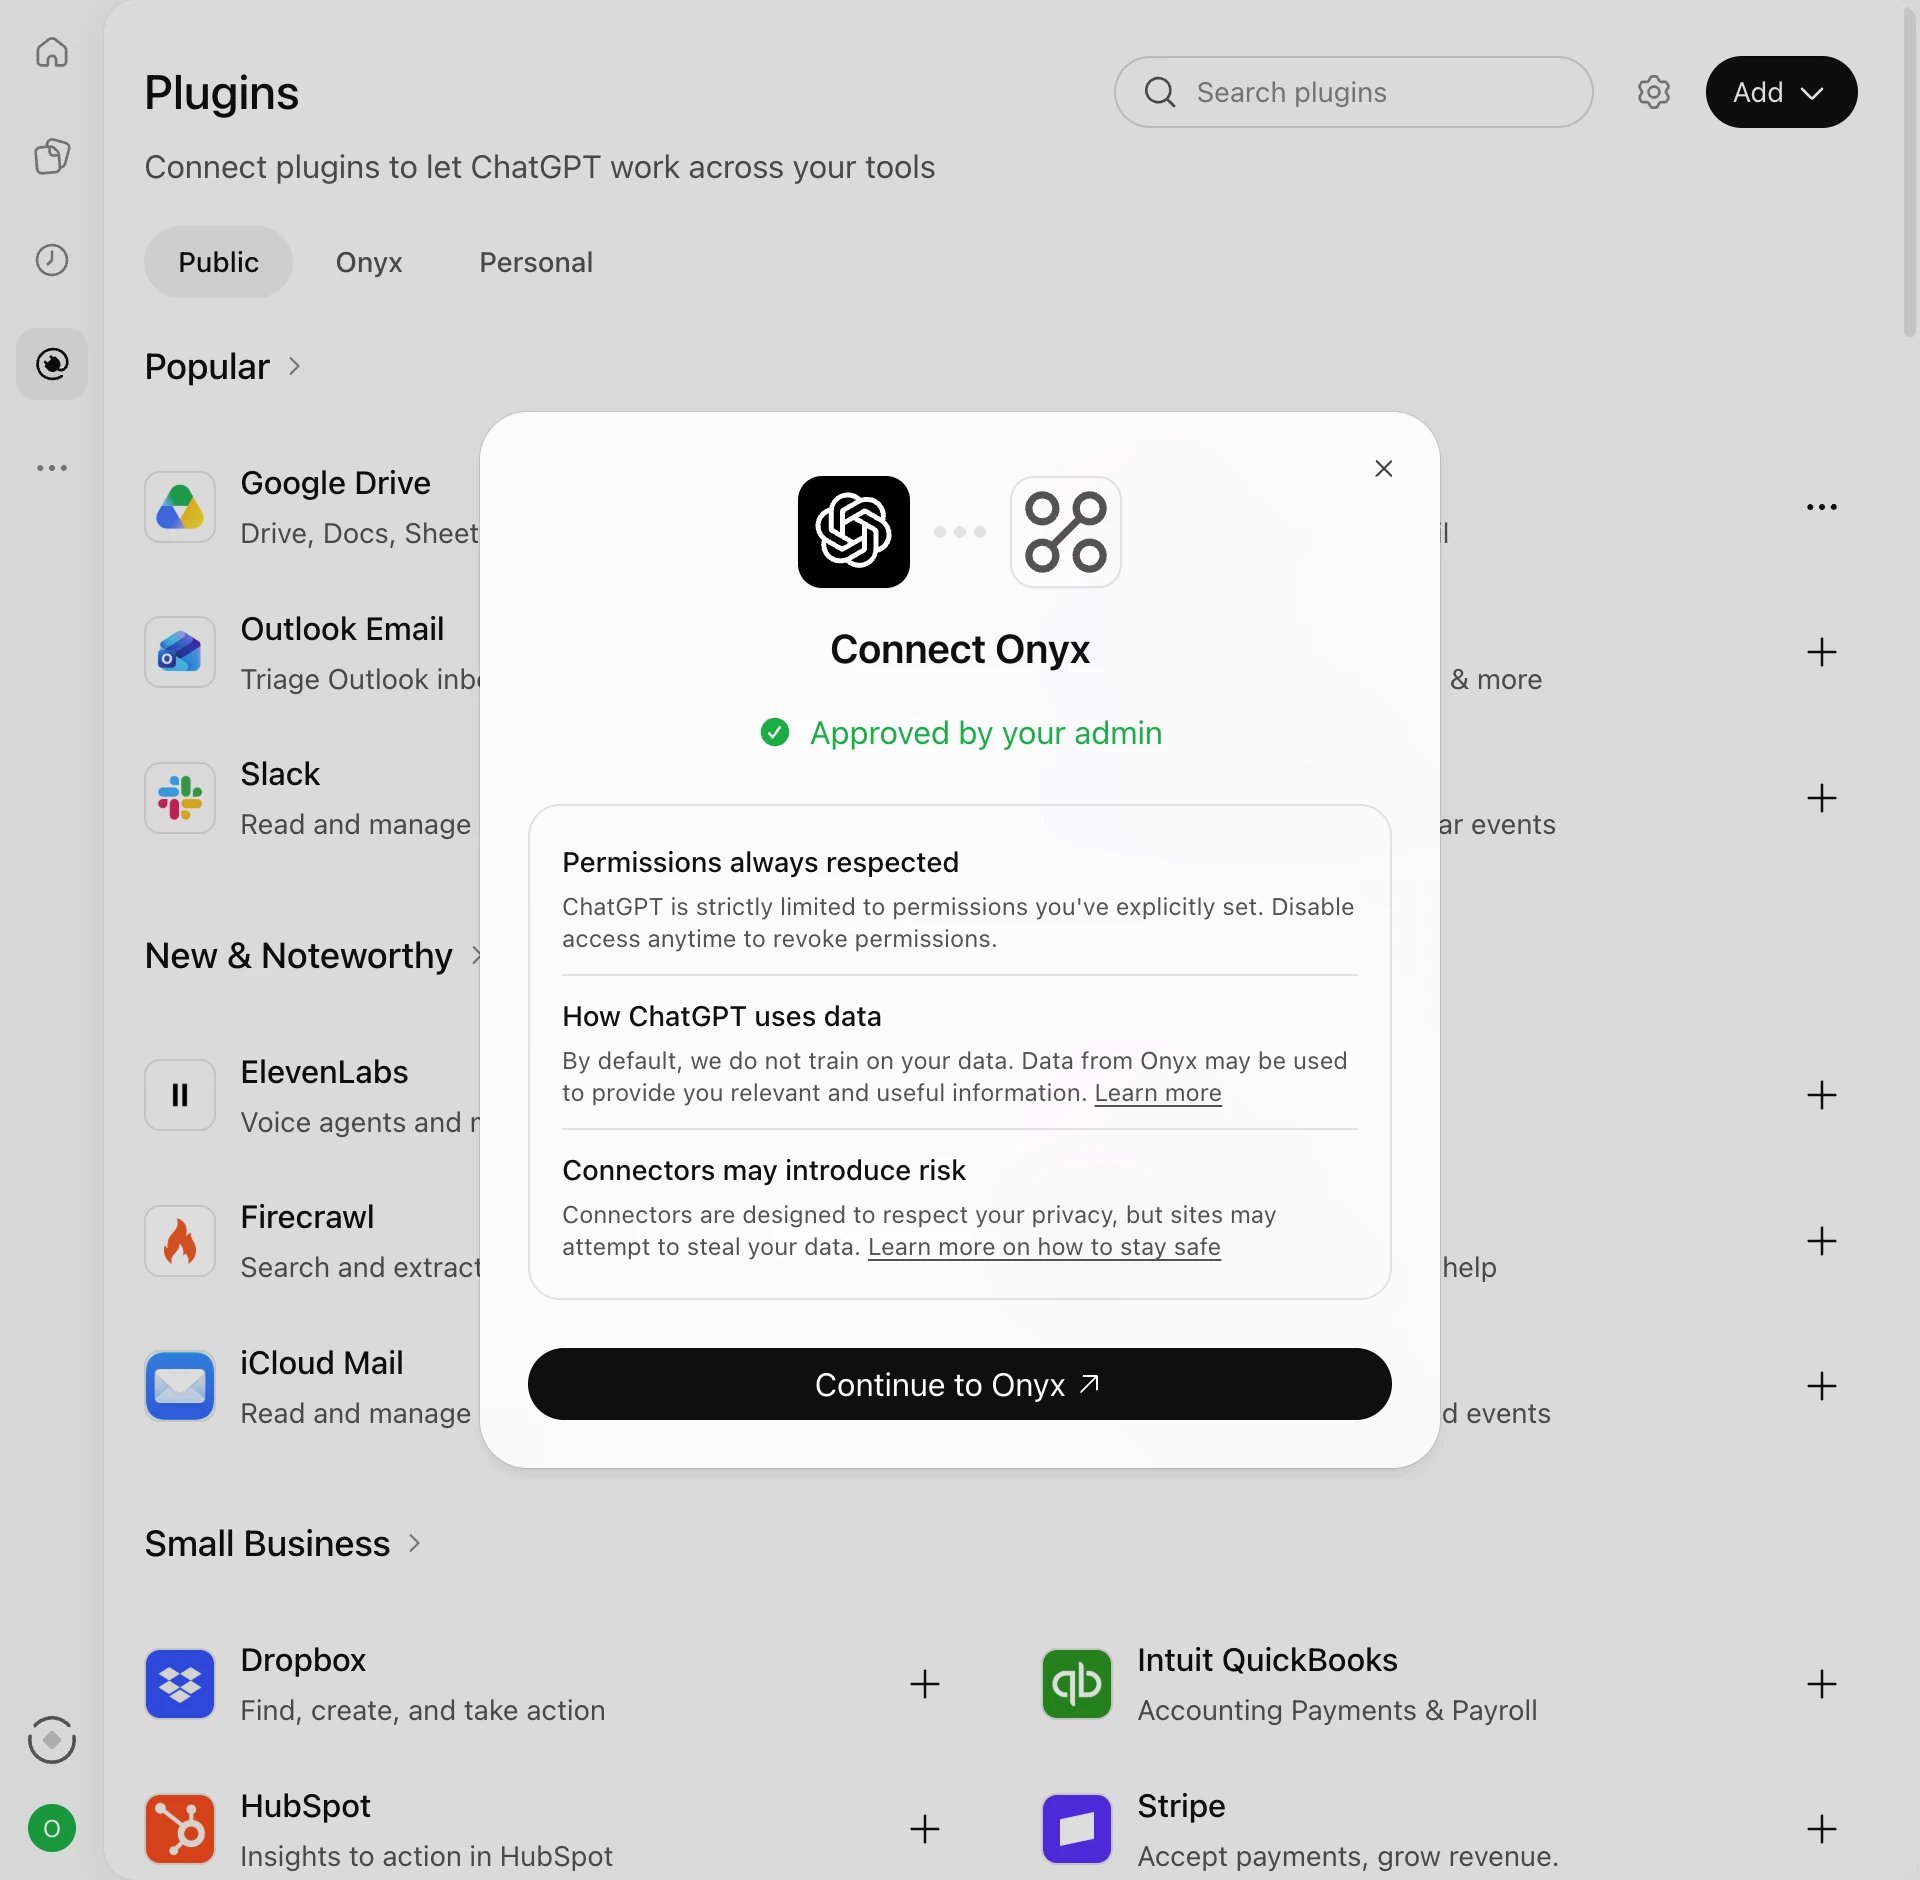
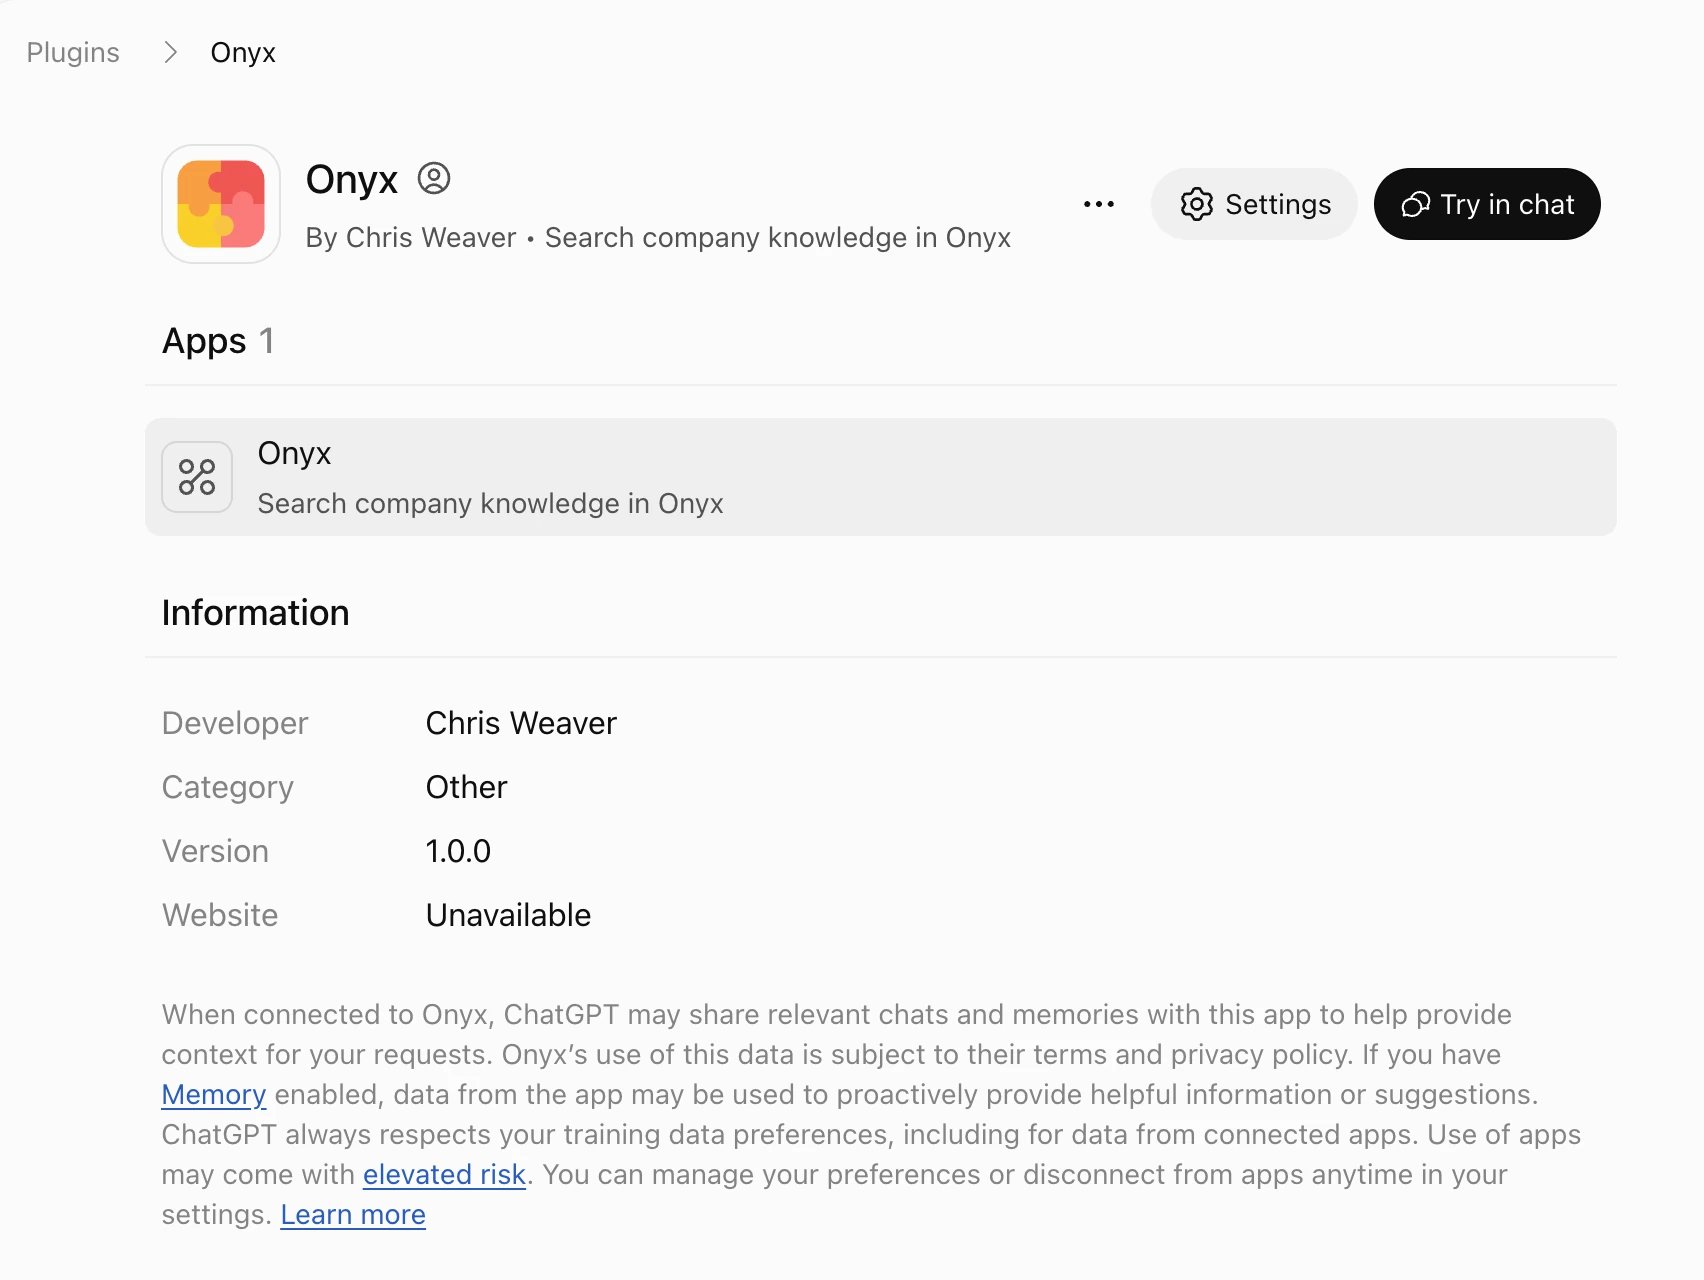
5
Use Onyx in a chat
Select Try in chat, or type 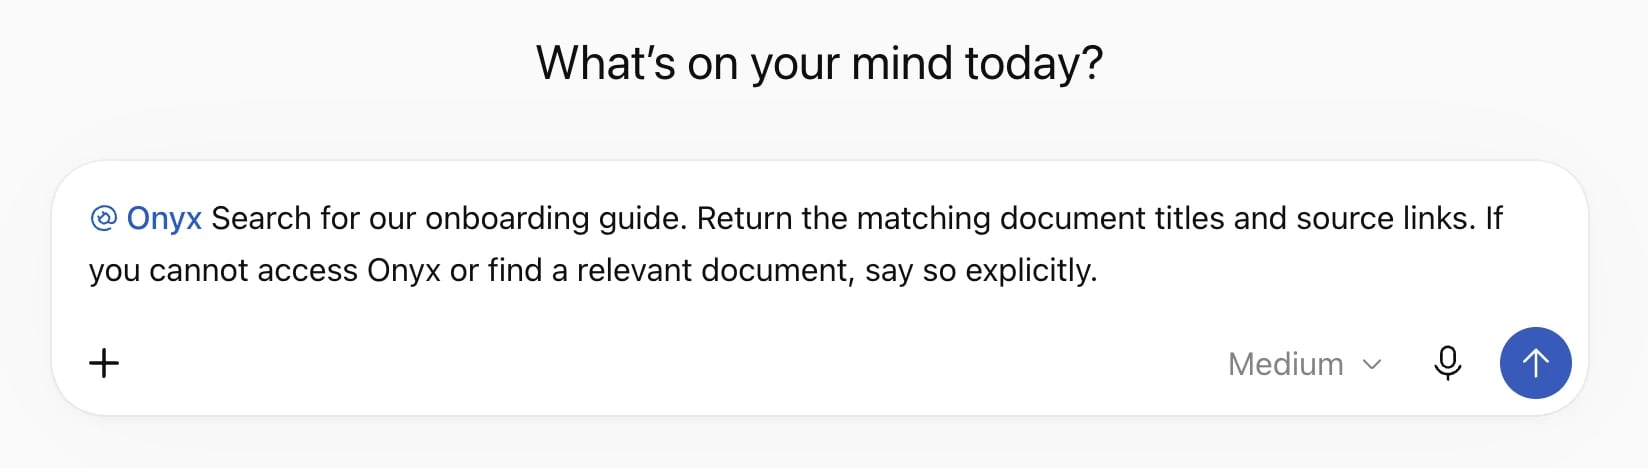
@Onyx before your question in any chat.
Send the test prompt to check the connection.ChatGPT desktop
The desktop app shares~/.codex/config.toml with Codex.
If you already added Onyx in Codex, it is already in the server list.
1
Add the server
Open Settings > MCP servers and select Add server. Name it Onyx, choose Streamable HTTP,
and enter your Onyx MCP URL.
2
Restart and sign in
Save and select Restart. Select Authenticate for Onyx, sign in, and select Allow access.
3
Check the connection
Enter
/mcp to see connected servers.
Send the test prompt.