Onyx Agents are customized AI assistants with unique instructions, knowledge sources, and Actions.

Managing Agents

On the Agents page in the Admin Panel, you can see all of the Agents in your organization. From this page, you can create new Agents, edit existing configurations, designate featured Agents, hide or show certain Agents, and delete them.
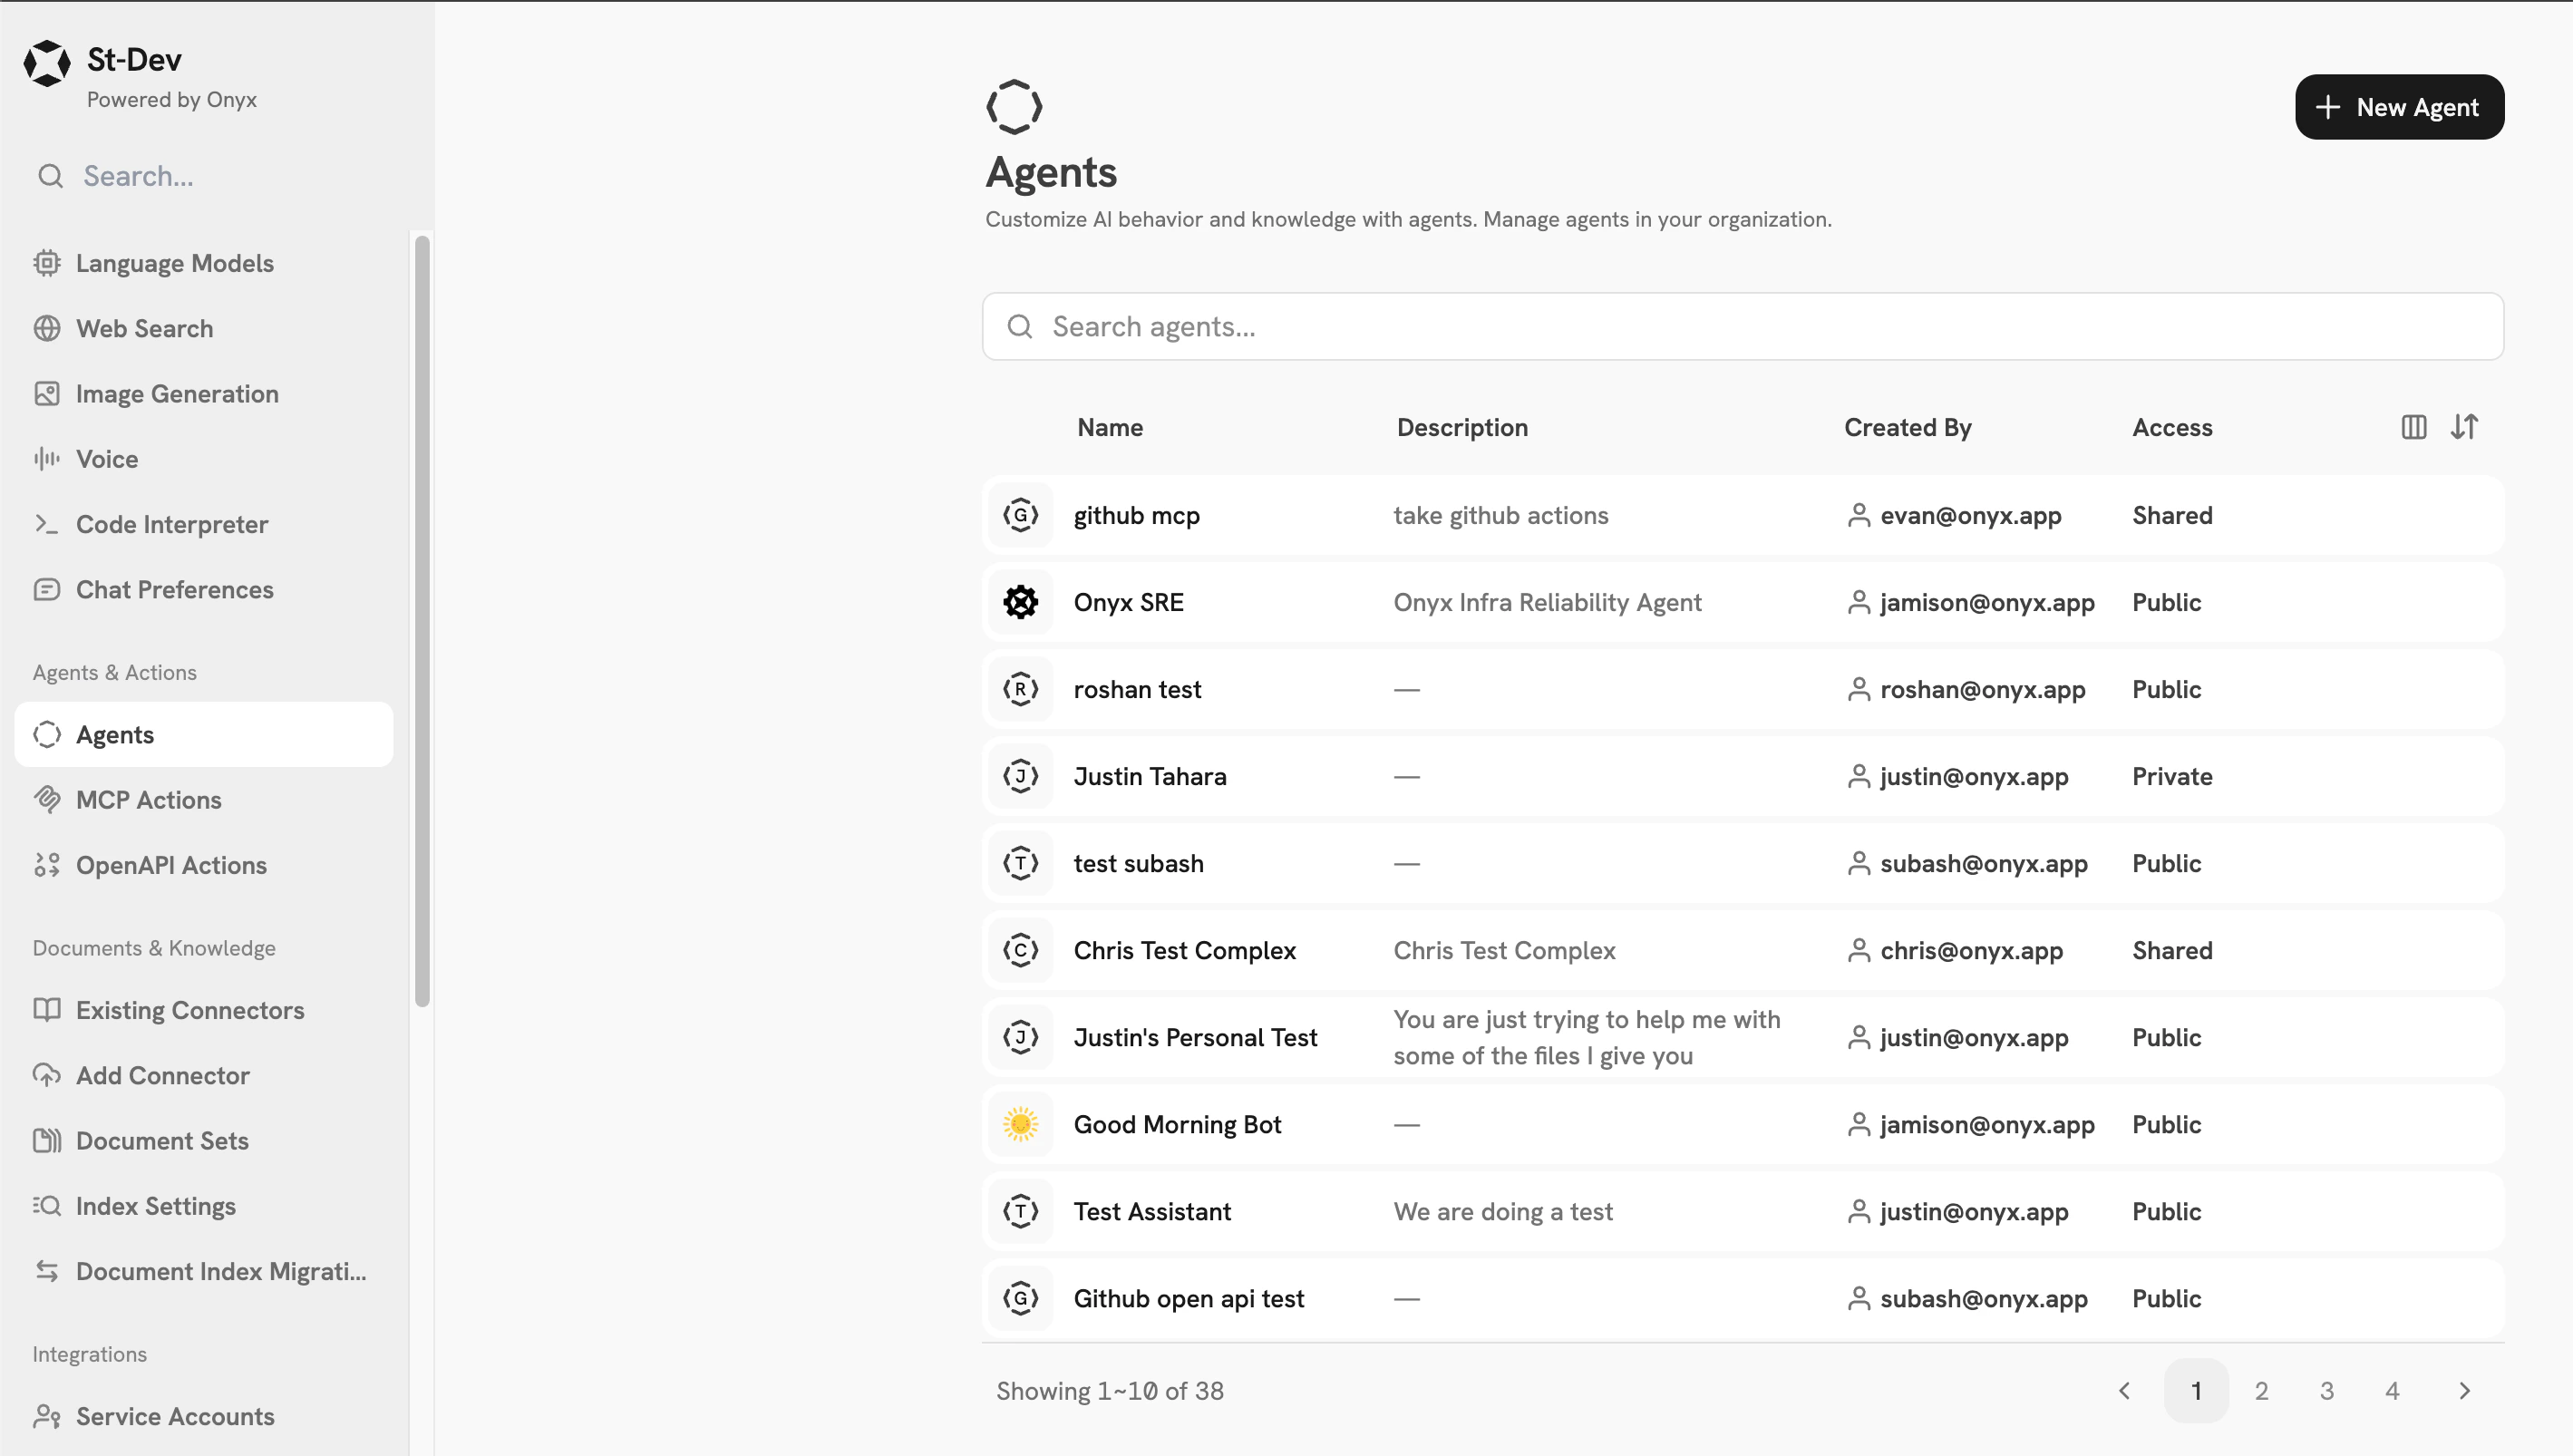
 Onyx Agents Overview page showing available agents

Creating Agents

1

Create a New Agent

Navigate to the Admin Panel and click Agents in the sidebar. Click New Agent to create a new agent.
2

Name and Prompt your Agent

Give your Assistant a name, description, instructions, and maybe even an icon.To help users understand how to use your Agent, you can add Conversation Starters.Onyx Agent Configuration page
3

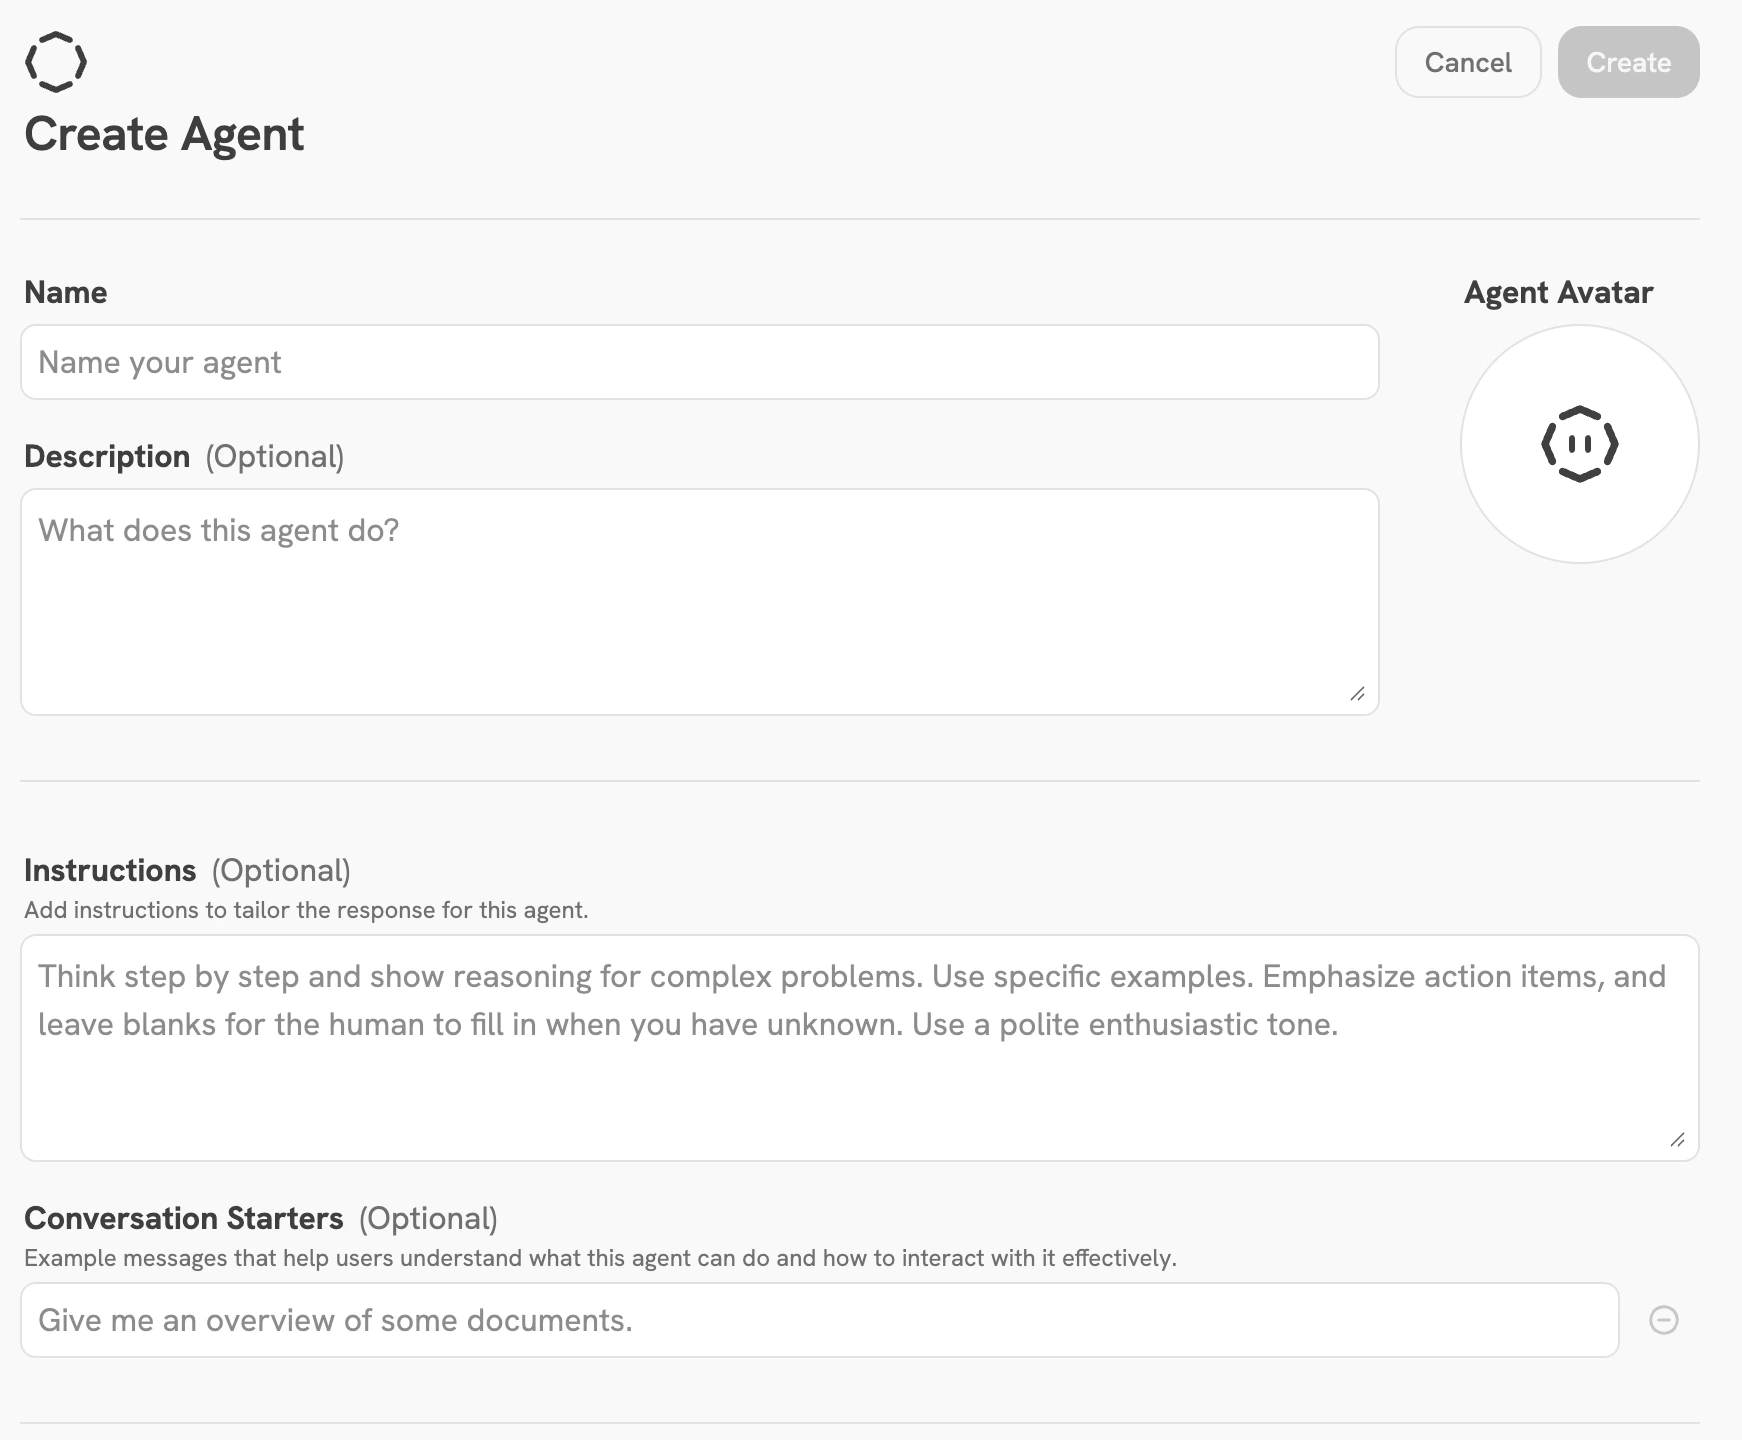
Attach Knowledge to your Agent

Onyx provides several methods for attaching information to Agents.Onyx Agent Knowledge configurationIf Use Knowledge is toggled on but nothing is selected (as in the screenshot above), the agent will have access to anything accessible to the person using the agent. This includes:
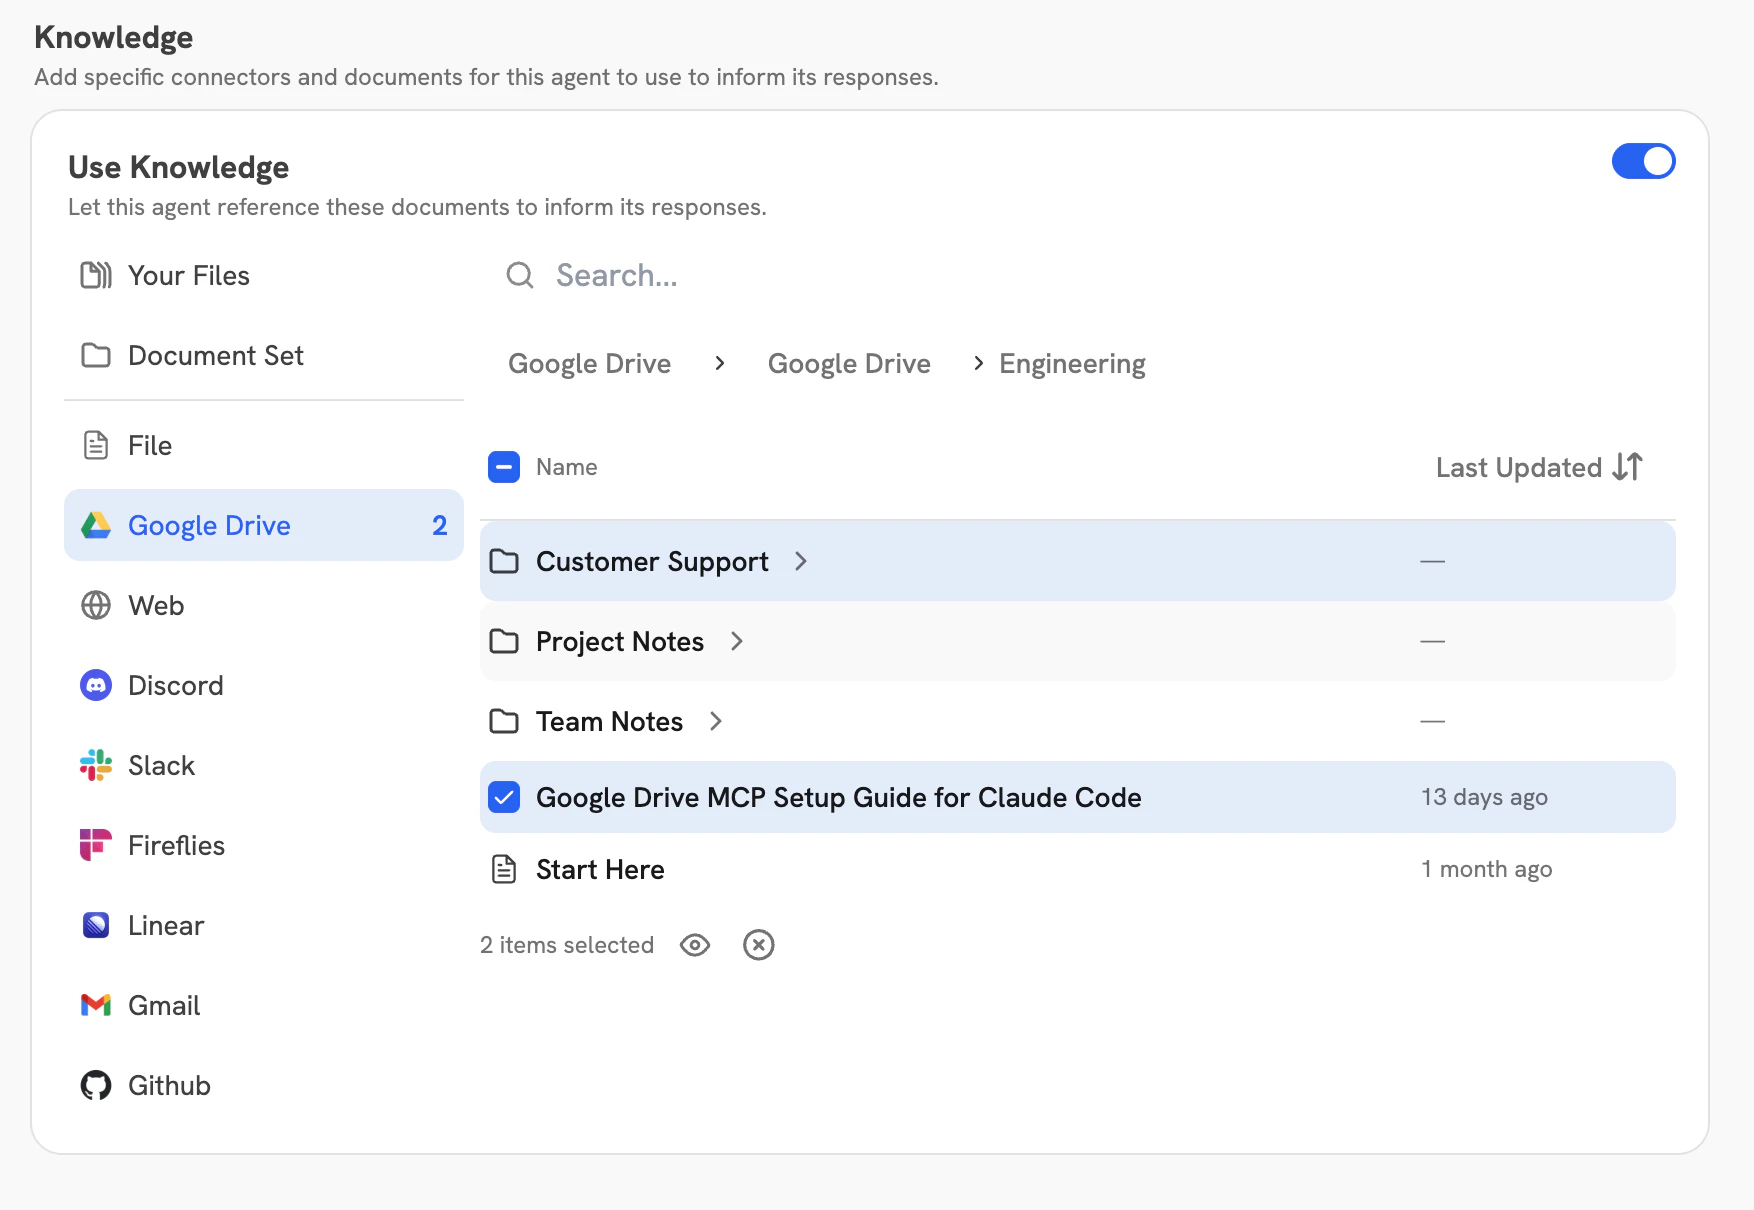
  • Any files that the user has uploaded (“Your Files” in the admin view, visible from the Upload Files icon in the chat window for basic users chatting with the agent)
  • All documents from all public connectors
  • Documents that the user has access to in the external source for permission-synced connectors
See the Connectors page for more detail on permissions.Explicitly selecting anything in Add Knowledge will narrow the Agent’s scope to only that selected knowledge. This can be useful because search quality tends to slowly degrade at scale, so in larger organizations narrowing the scope of what is searched over may improve answer quality.For Onyx versions prior to 3.0 and 3.x deployments that have not yet completed a migration to OpenSearch, the primary way of scoping access to connectors and granting an agent access to private connectors is to put the desired connectors into a Document Set, then select that document set in the Document Sets section of the Add Knowledge pane.
The OpenSearch migration note above is relevant for existing deployments upgrading to 3.x, not new deployments.
This functionality is still available in Onyx 3.x+, but with OpenSearch enabled Onyx also provides a more granular way to attach knowledge to agents. By clicking on specific source types (added by creating a connector of that source type and indexing successfully), you can view the hierarchy of knowledge in your source and select files and folders you want your agent to have access to when searching for knowledge. Selecting a folder gives the agent access to all information in that folder and in all its sub-folders.Onyx Agent hierarchical knowledge selection showing folder and file browsing
4

Give your Agent Tools

Add Actions to your Agent to enable it to perform specific tasks. See Actions Overview for more information.Onyx Agent Configuration page
5

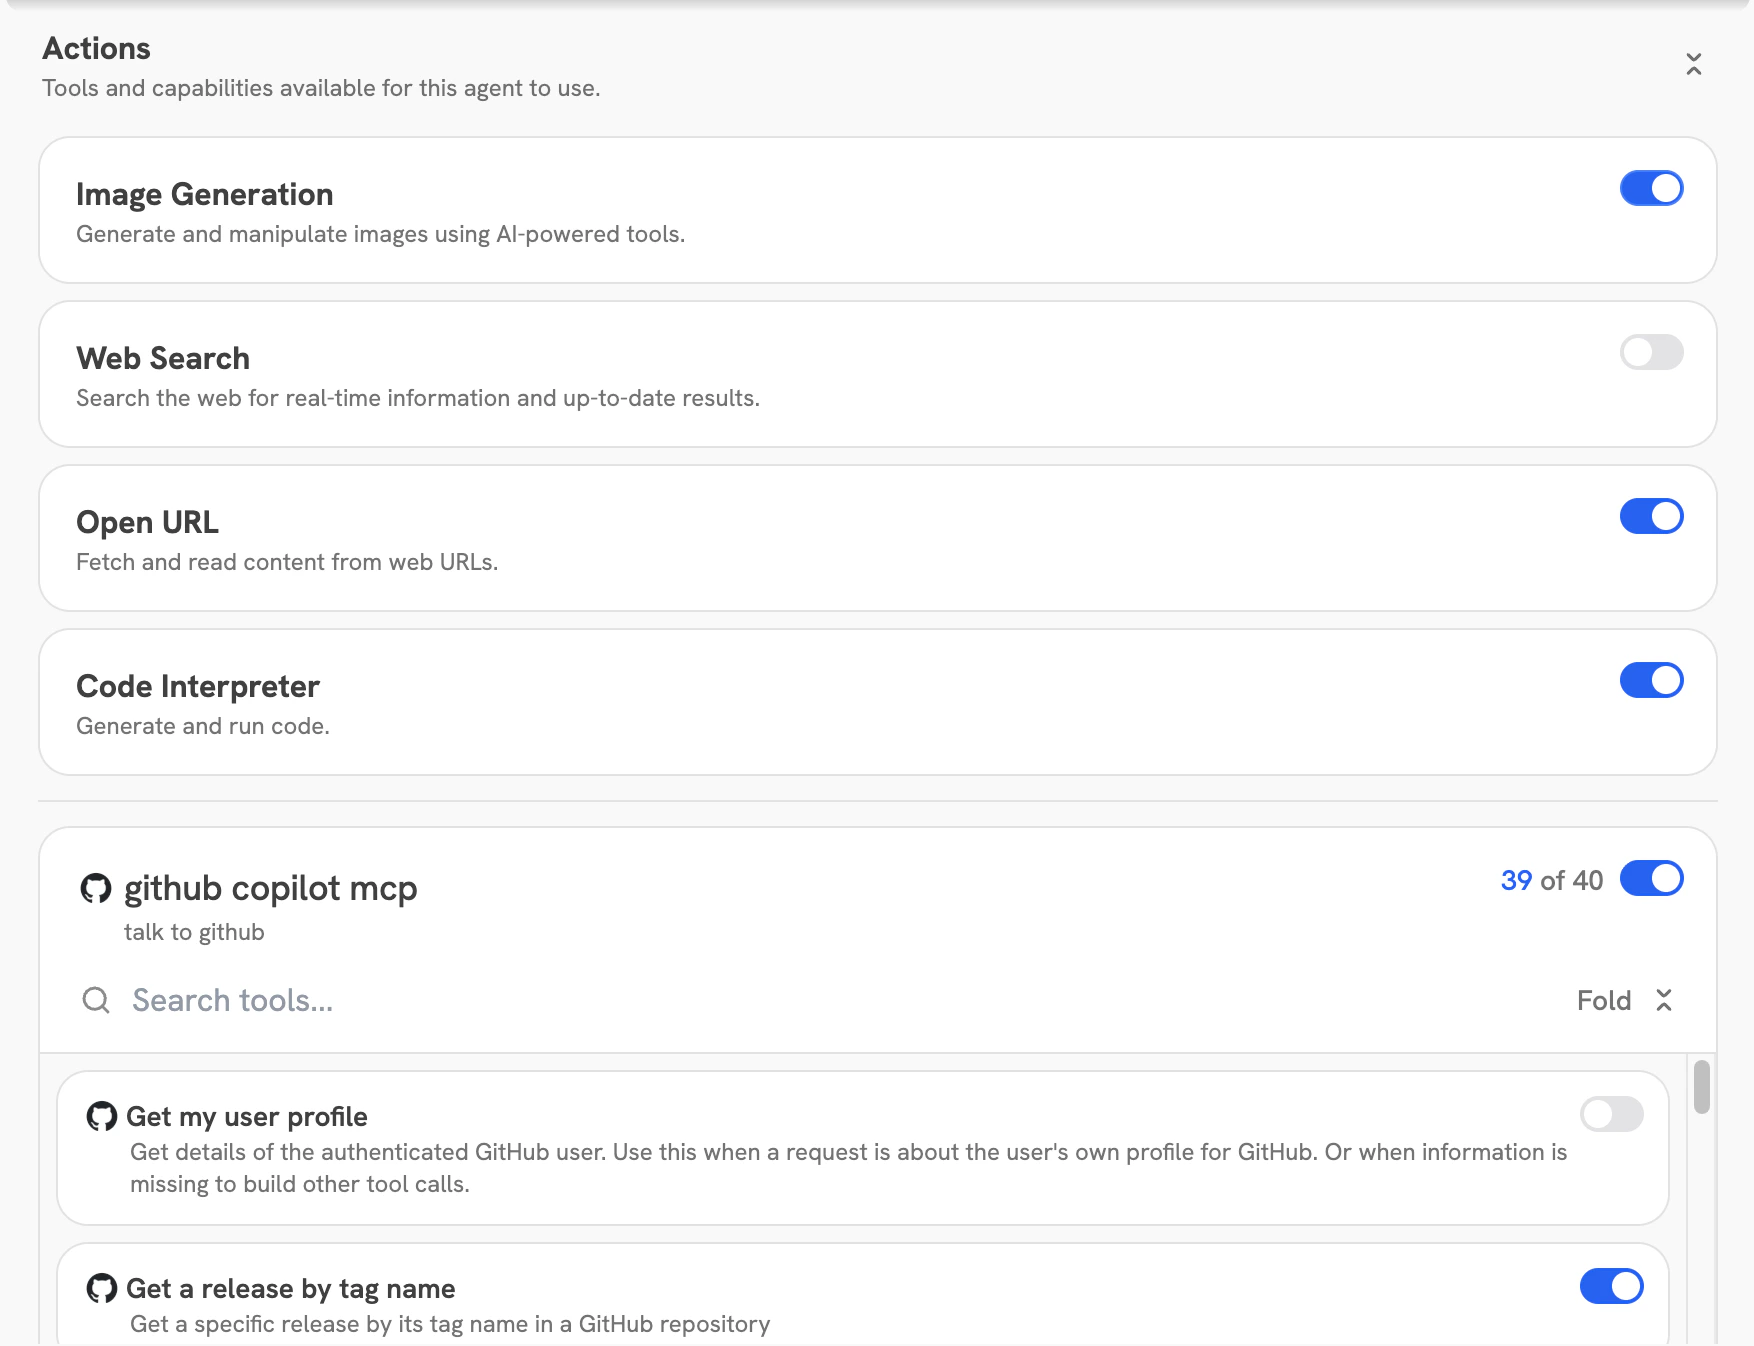
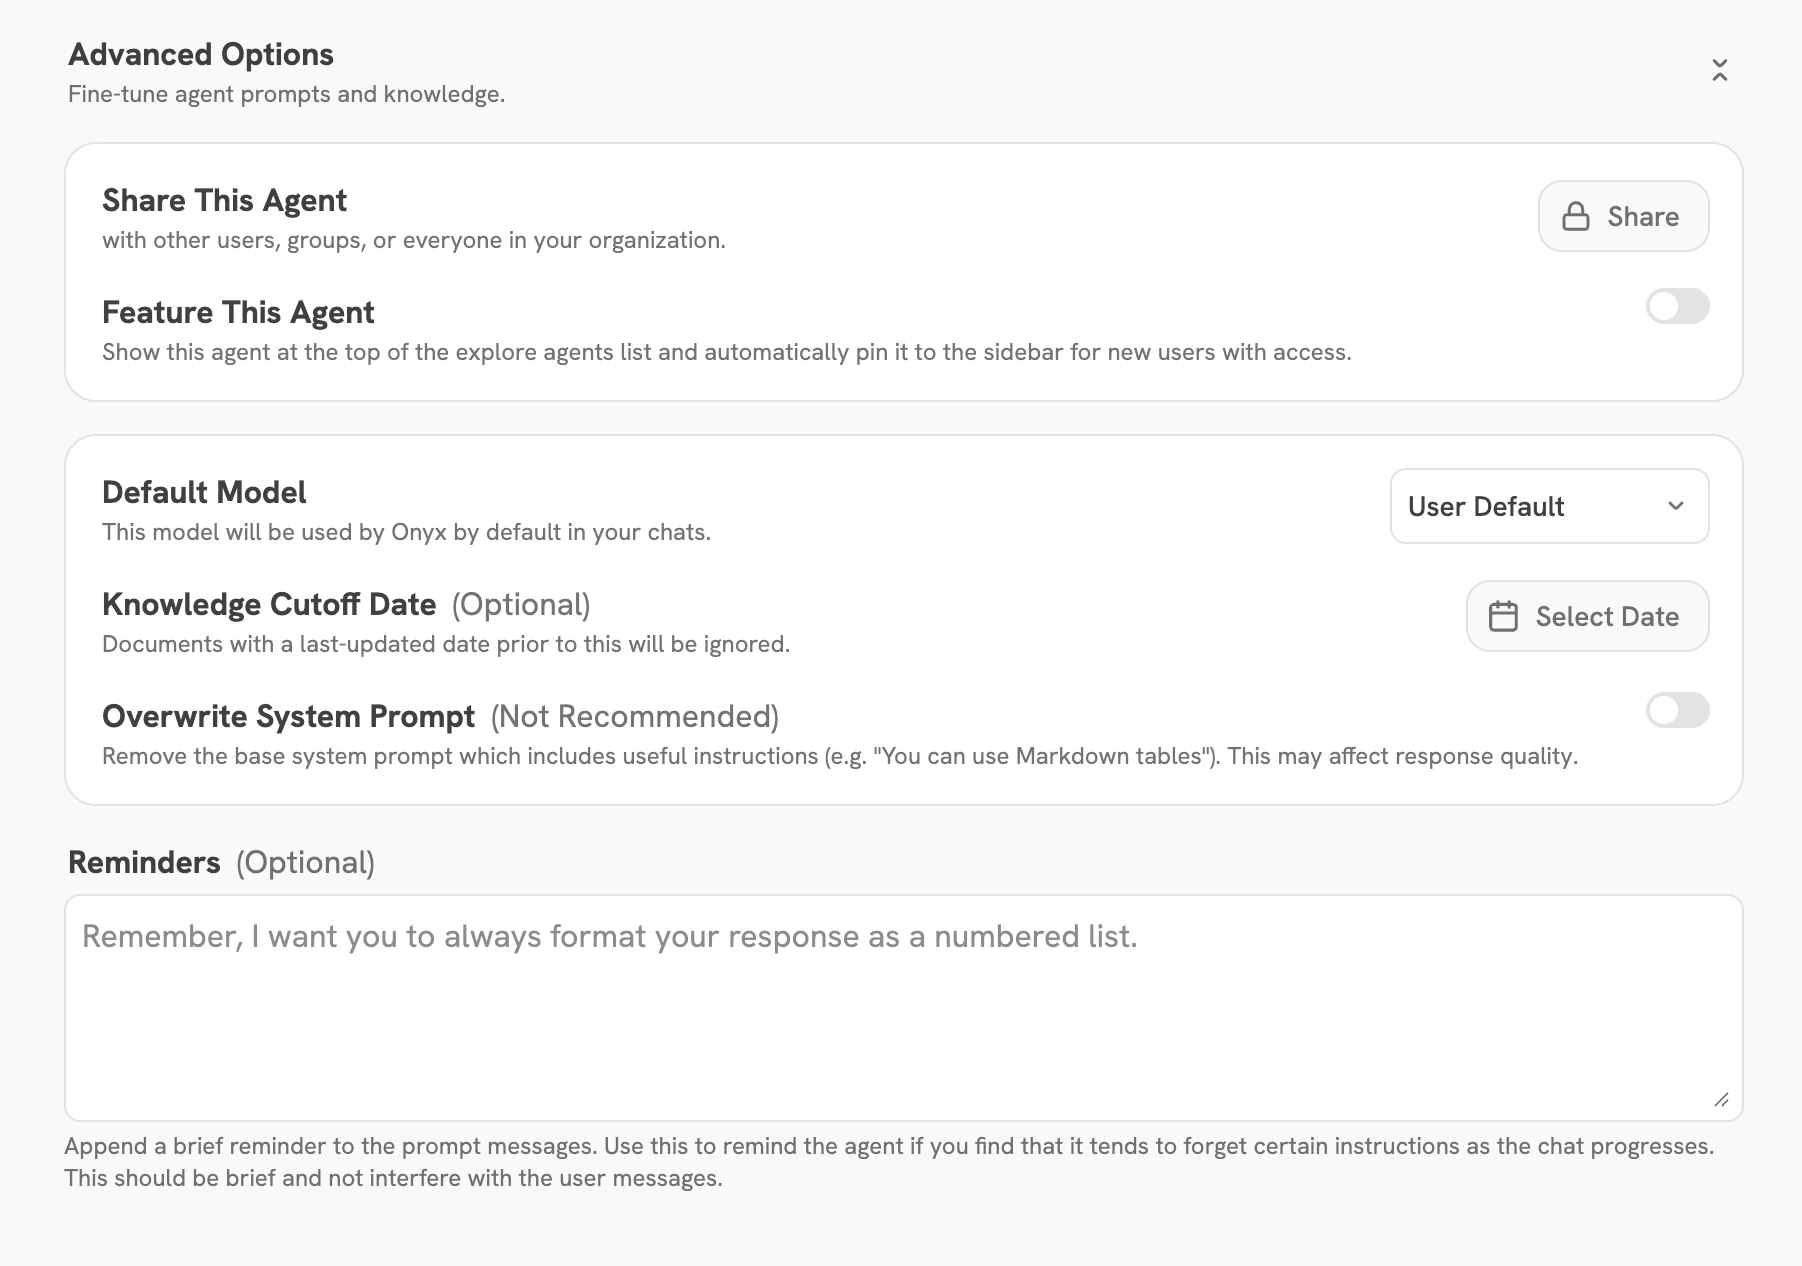
Agent Configuration (Advanced)

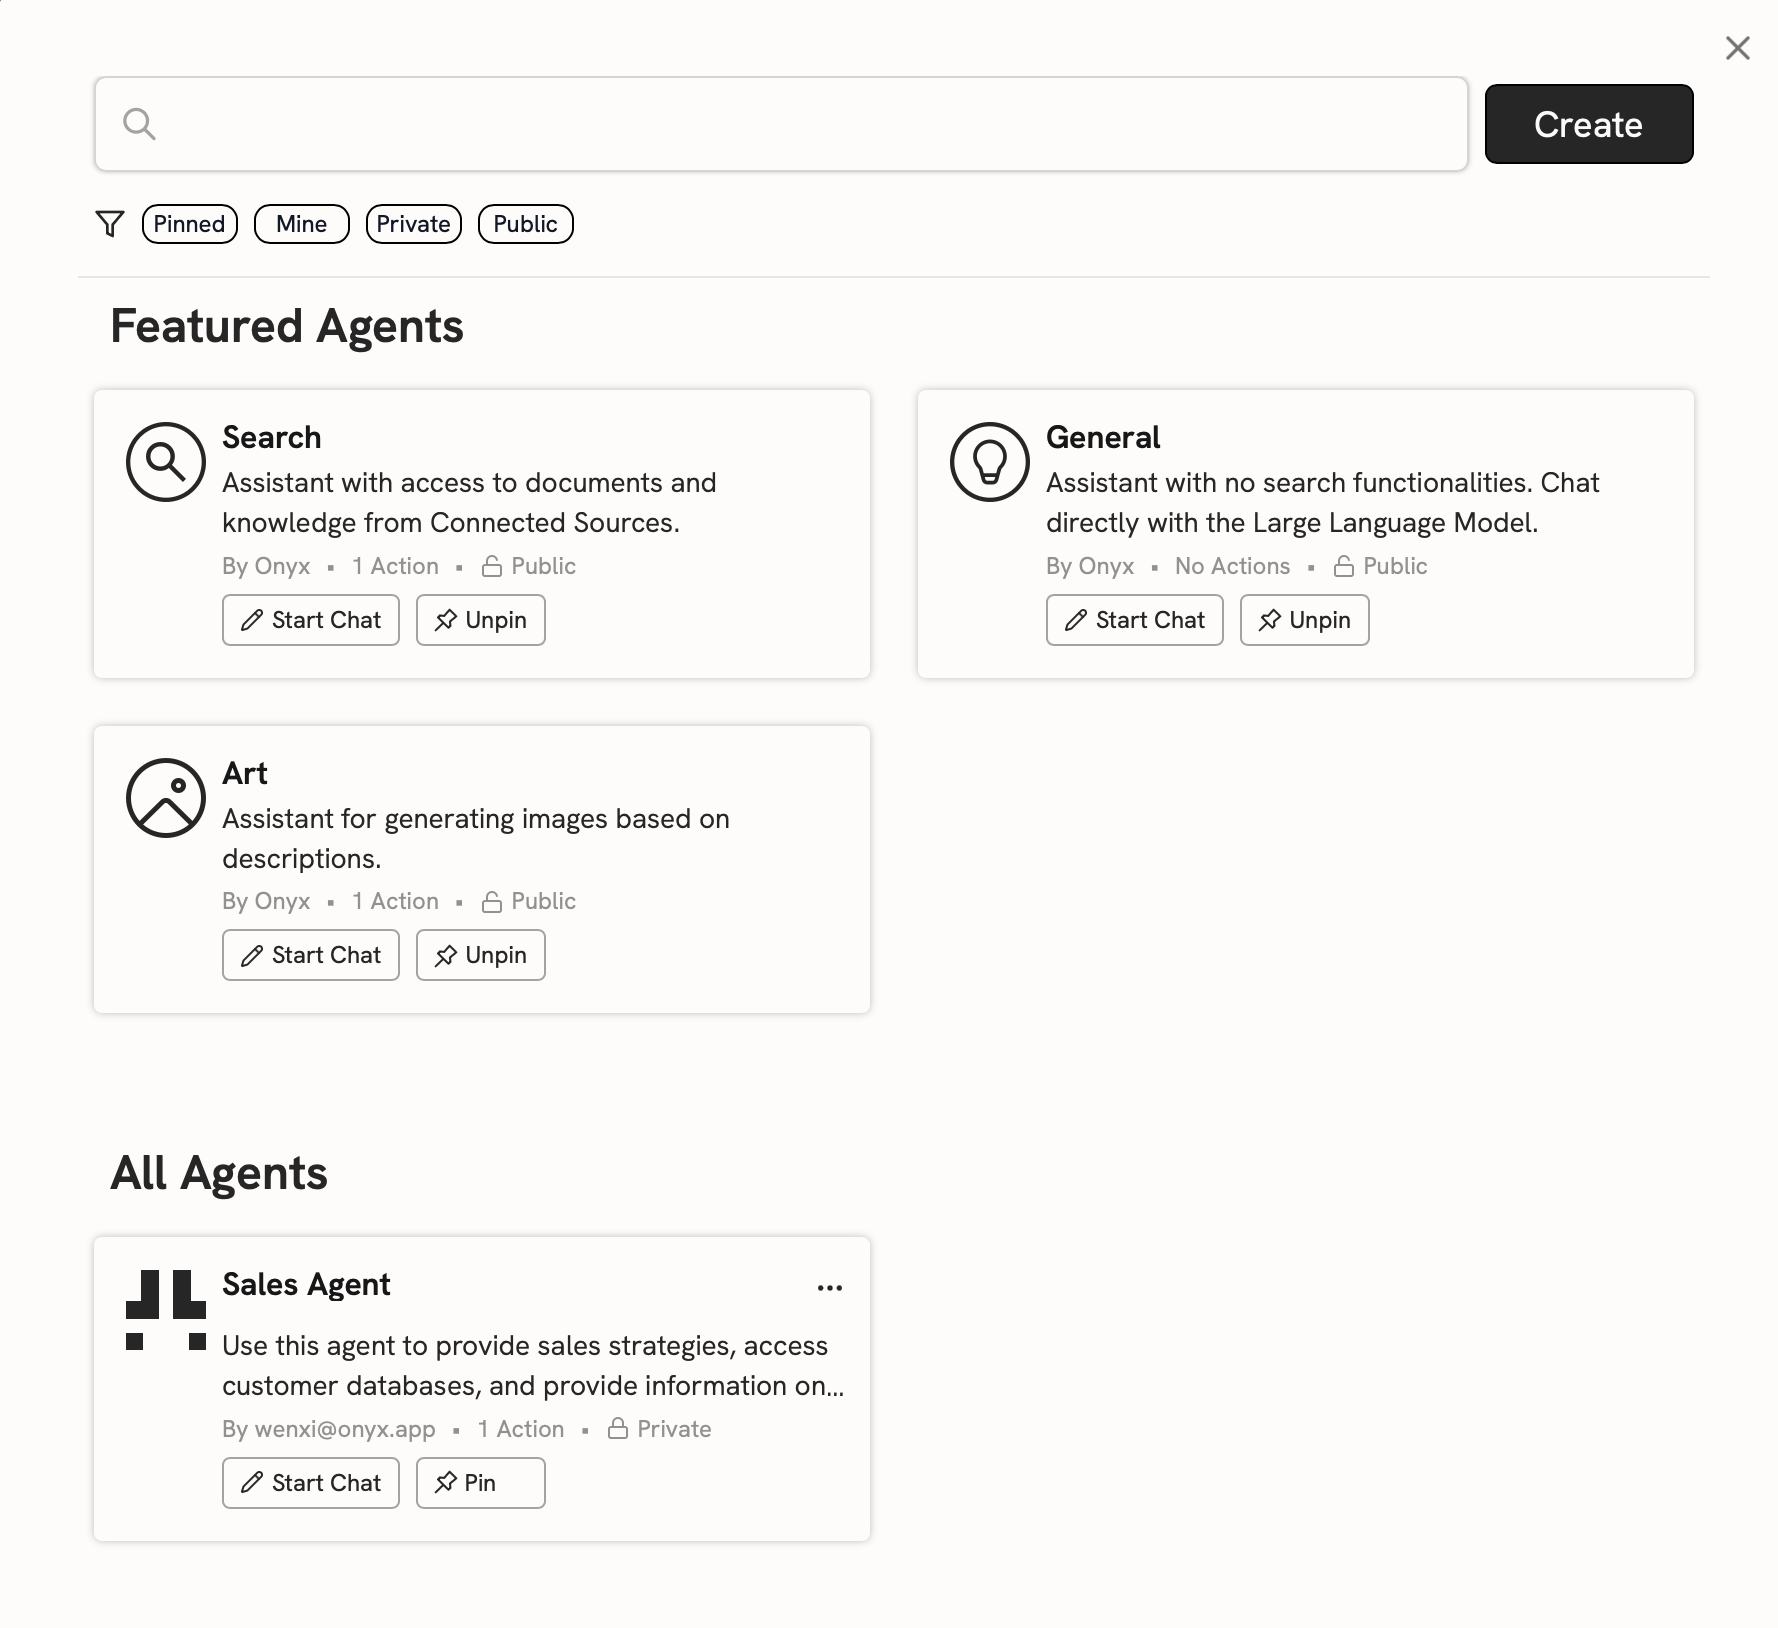
You can publish your Agent to your entire organization or share it with specific users or groups.If you set your Agent as Featured, your users will see it at the top of the Agents explorer.You can configure the default language model for your Agent.You can also configure certain knowledge options for your Agent, such as a knowledge cutoff date and overwriting the system prompt.Onyx Agent advanced configuration options
Once you’ve published your Agent, you can find it in the Explore Agents page from the Chat sidebar. Onyx Explore Agents page