How it works
The BookStack connector fetches all shelves, books, chapters and pages from the connected instance upon connector setup. From that point on, the connector will pull in everything updated since last sync every 10 minutes.Setting up
Authorization
You will need API credentials for a user in your BookStack instance. To do this:1
Create/select connection user
Find or create a user you’d want to use as the connection user.
- Visibility of BookStack contents will depend on this user’s permissions.
- This user must have a role assigned that has the “Access system API” system permission.
2
Open API Tokens
Edit that user using an admin account, and find the “API Tokens” section at the bottom of the view.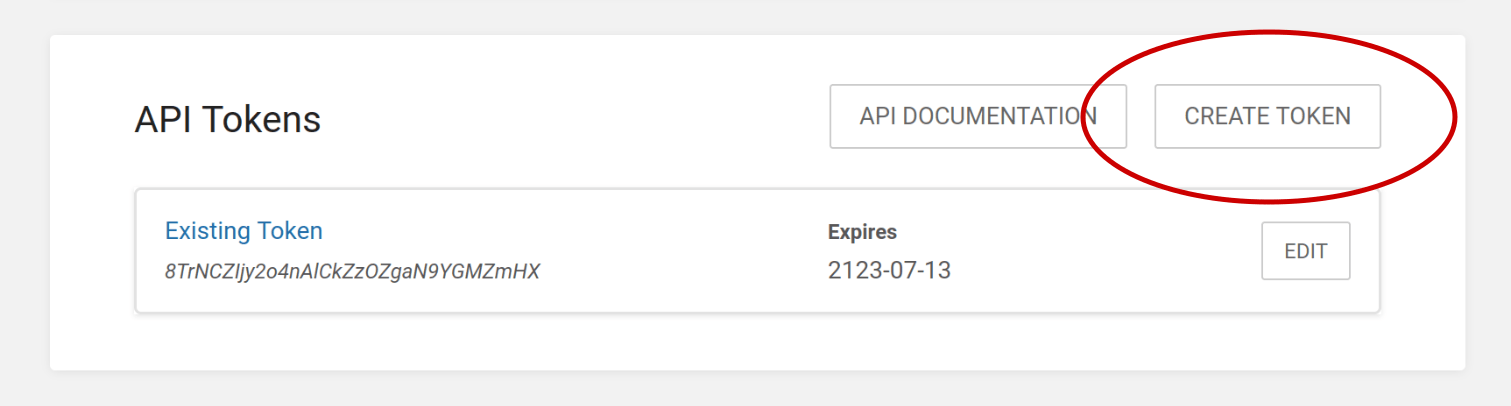
3
Create and copy token
Click the “Create Token” button, then enter a name and (optionally) an expiry date for the token. Then press save.
Copy the shown “Token ID” and “Token Secret” values for the “Indexing” section below.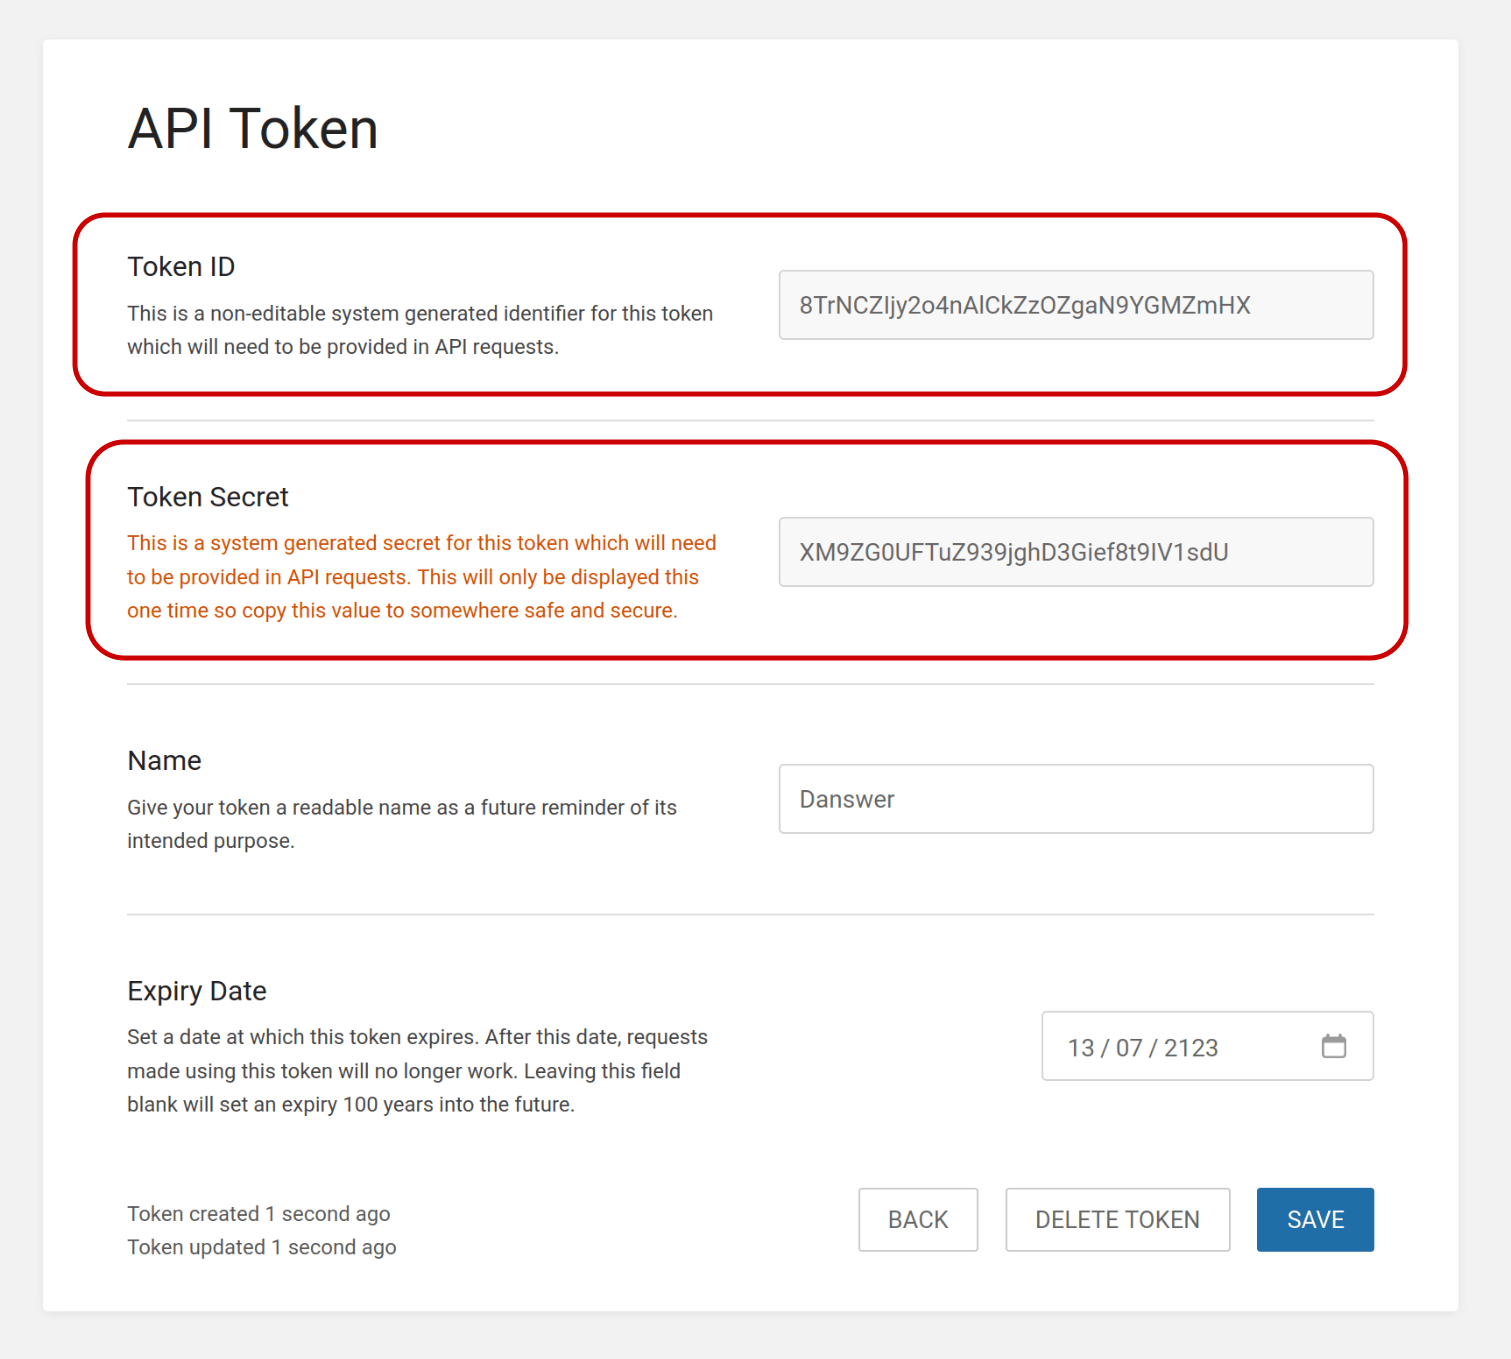
Indexing
1
Open BookStack connector
Navigate to the Admin Panel and select the BookStack connector.
2
Enter URL and tokens
In Step 1, provide the base URL of your BookStack instance,
along with the API Token ID and the API Token Secret you obtained in the “Authorization” steps above: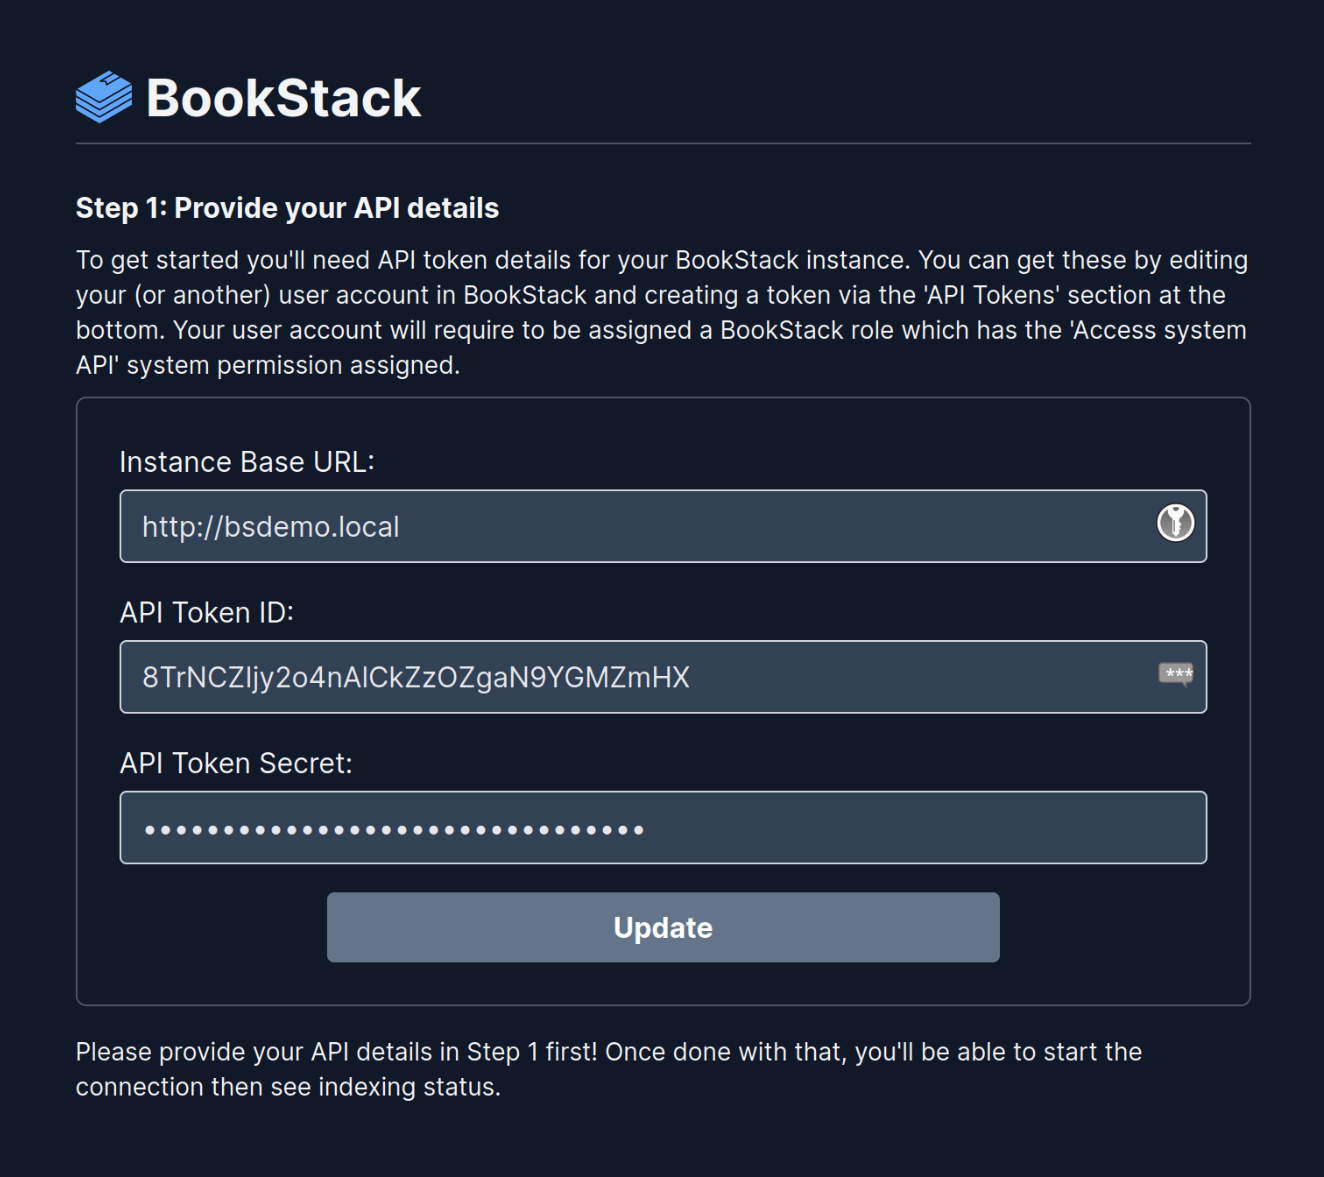
3
Start indexing
Click the 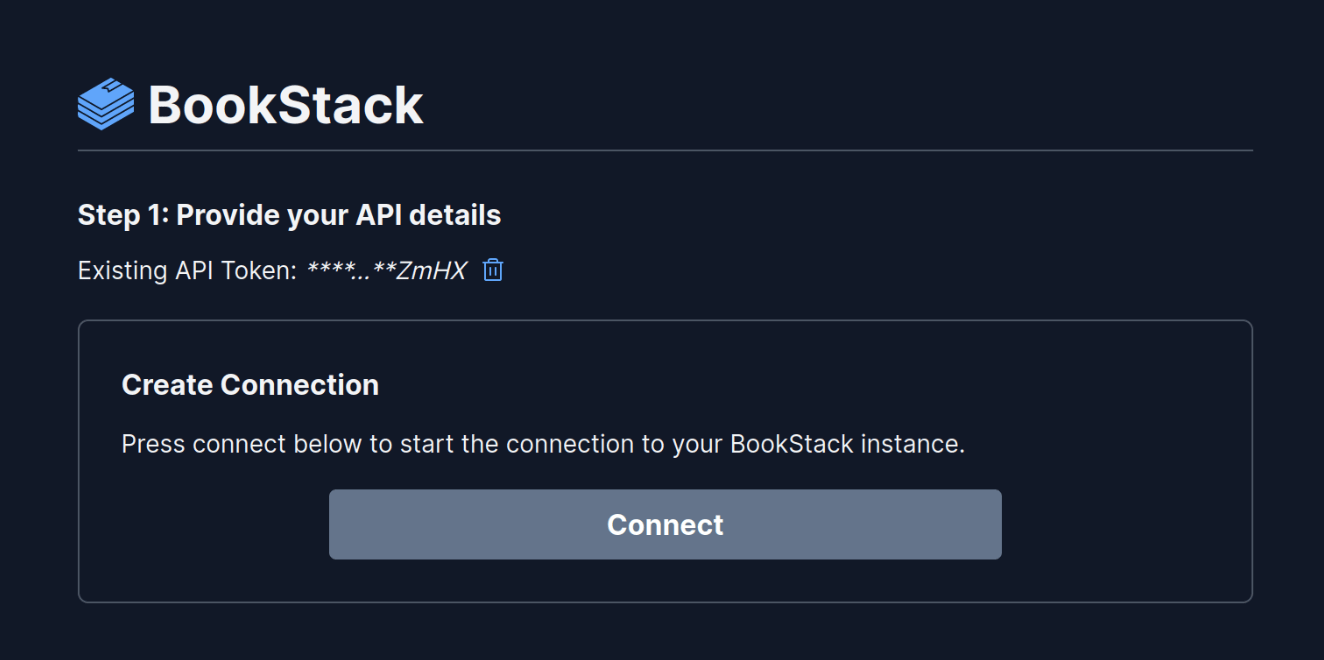
Connect button! Your content will then be pulled into Onyx every 10 minutes.