How it works
The Zendesk Connector can sync content from your Zendesk instance, supporting two content types:- Articles: Syncs all published Articles from your company’s Help Center
- Tickets: Syncs Support Tickets with their comments and metadata
Content Types
Articles
- Syncs all published articles from Zendesk Help Center
- Includes article content, labels, and content tags
- Tracks author information and update timestamps
- Skips draft articles and articles with specific skip labels (configurable)
Tickets
- Syncs support tickets with full comment threads
- Includes ticket metadata (status, priority, tags, type)
- Tracks submitter and commenter information
- Excludes deleted tickets
- Note: Requires active Zendesk Support Product
Current Limitations
- Articles: Does not allow filtering by specific categories or sections
- Tickets: Requires Zendesk Support Product to be active
Setting up
Authorization
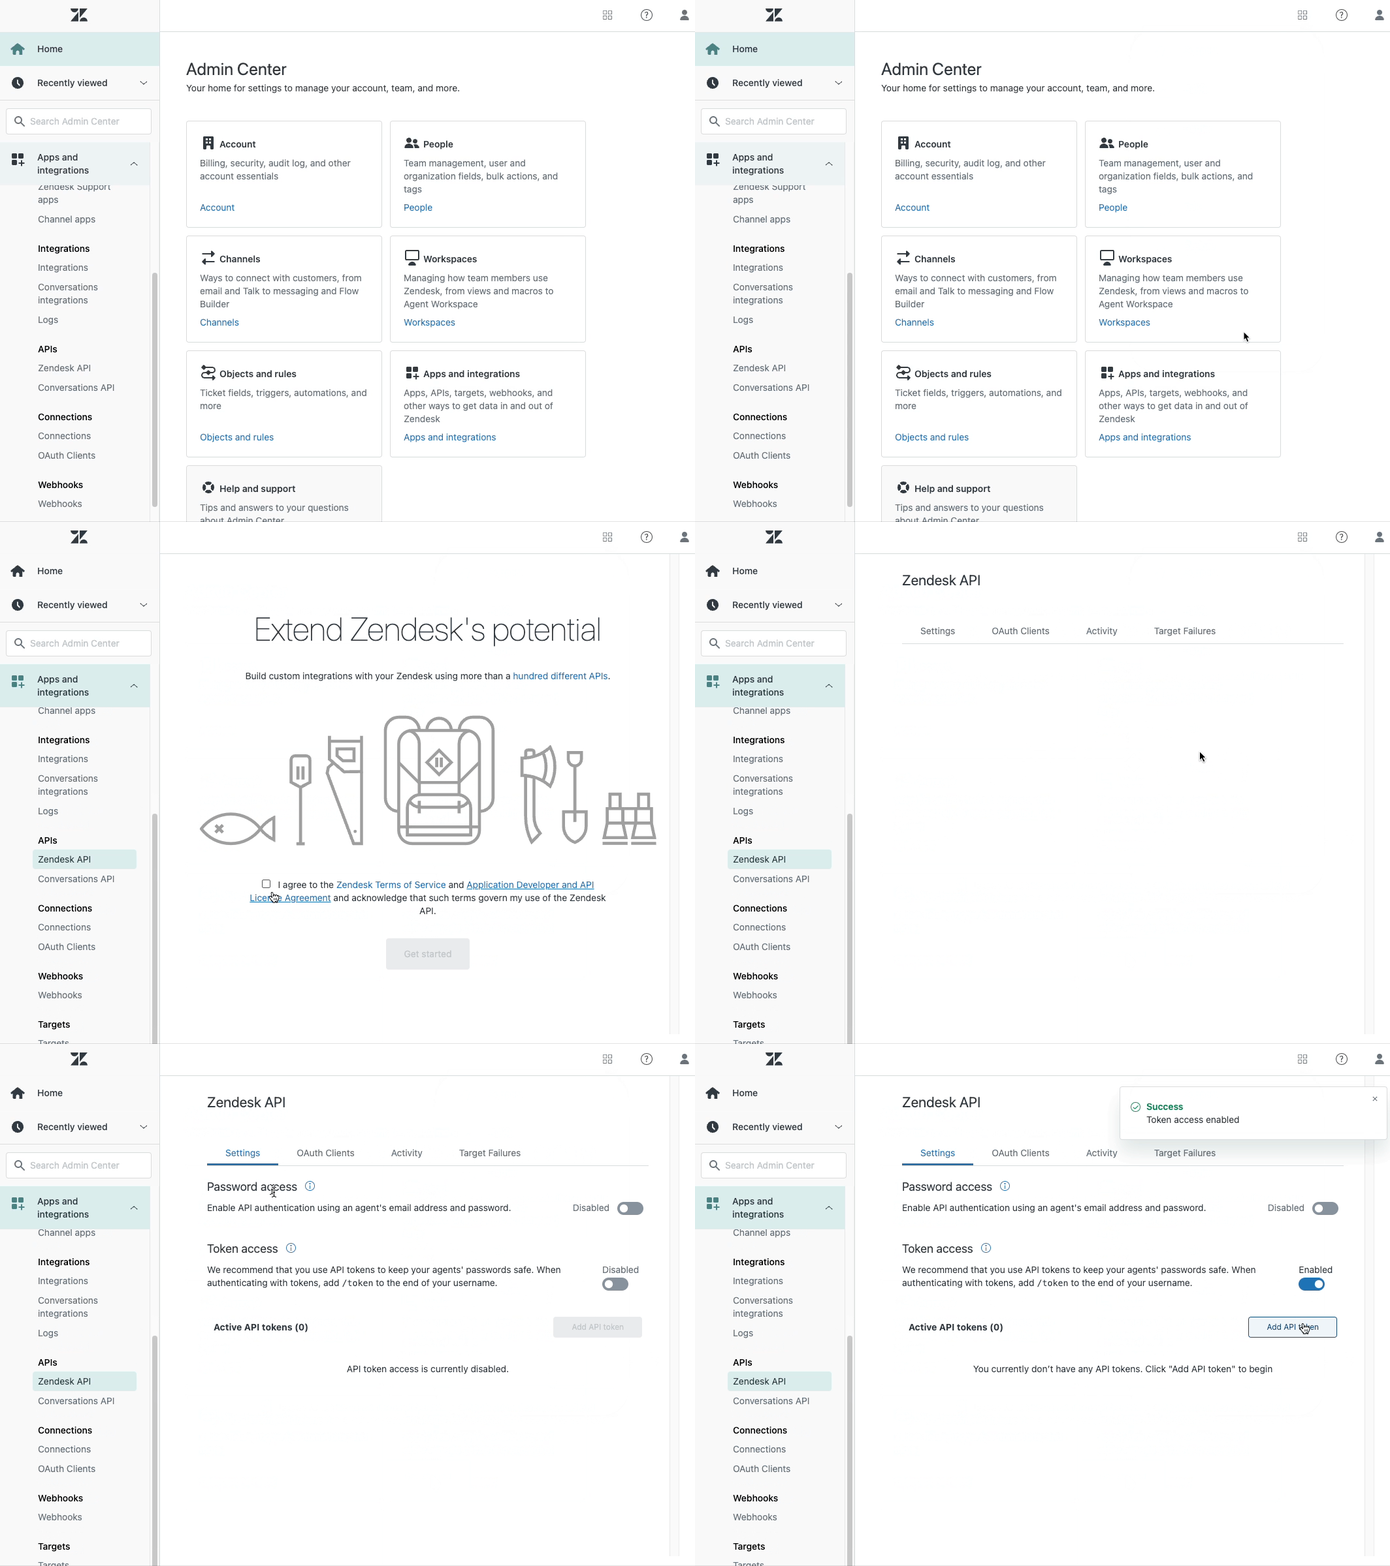
The Zendesk Connector requires 3 things to connect:- Subdomain: Your Zendesk subdomain (e.g.,
your-companyfromyour-company.zendesk.com) - Email: Email address of the API token owner
- API Token: Zendesk API token for authentication

Indexing
1
Add Zendesk connector
Navigate to the Admin Panel and select
Add Connector followed by the Zendesk tile2
Choose content type
Choose your content type (Articles or Tickets)
3
Provide authentication
Provide the authentication information from the section above
4
Start syncing
Click connect to start syncing content from Zendesk
Metadata
The connector extracts and indexes the following metadata:Articles
- Labels (article labels)
- Content tags
- Author information
- Update timestamps
Tickets
- Status (open, pending, solved, etc.)
- Priority level
- Tags
- Ticket type
- Submitter information
- Comment history with authors and timestamps