How it works
The Oracle Cloud Infrastructure (OCI) Storage connector pulls in all documents from the specified OCI bucket. It supports various file formats including PDF, DOC, DOCX, TXT, and more. Documents are updated every 1 day.Setting up
Authorization
1
Open Oracle Cloud Console
Log into your Oracle Cloud Console.
2
Open User Settings
Click on the user icon in the top-right corner and select “User Settings”.
3
Open Customer Secret Keys
Under “Resources”, click on “Customer Secret Keys”.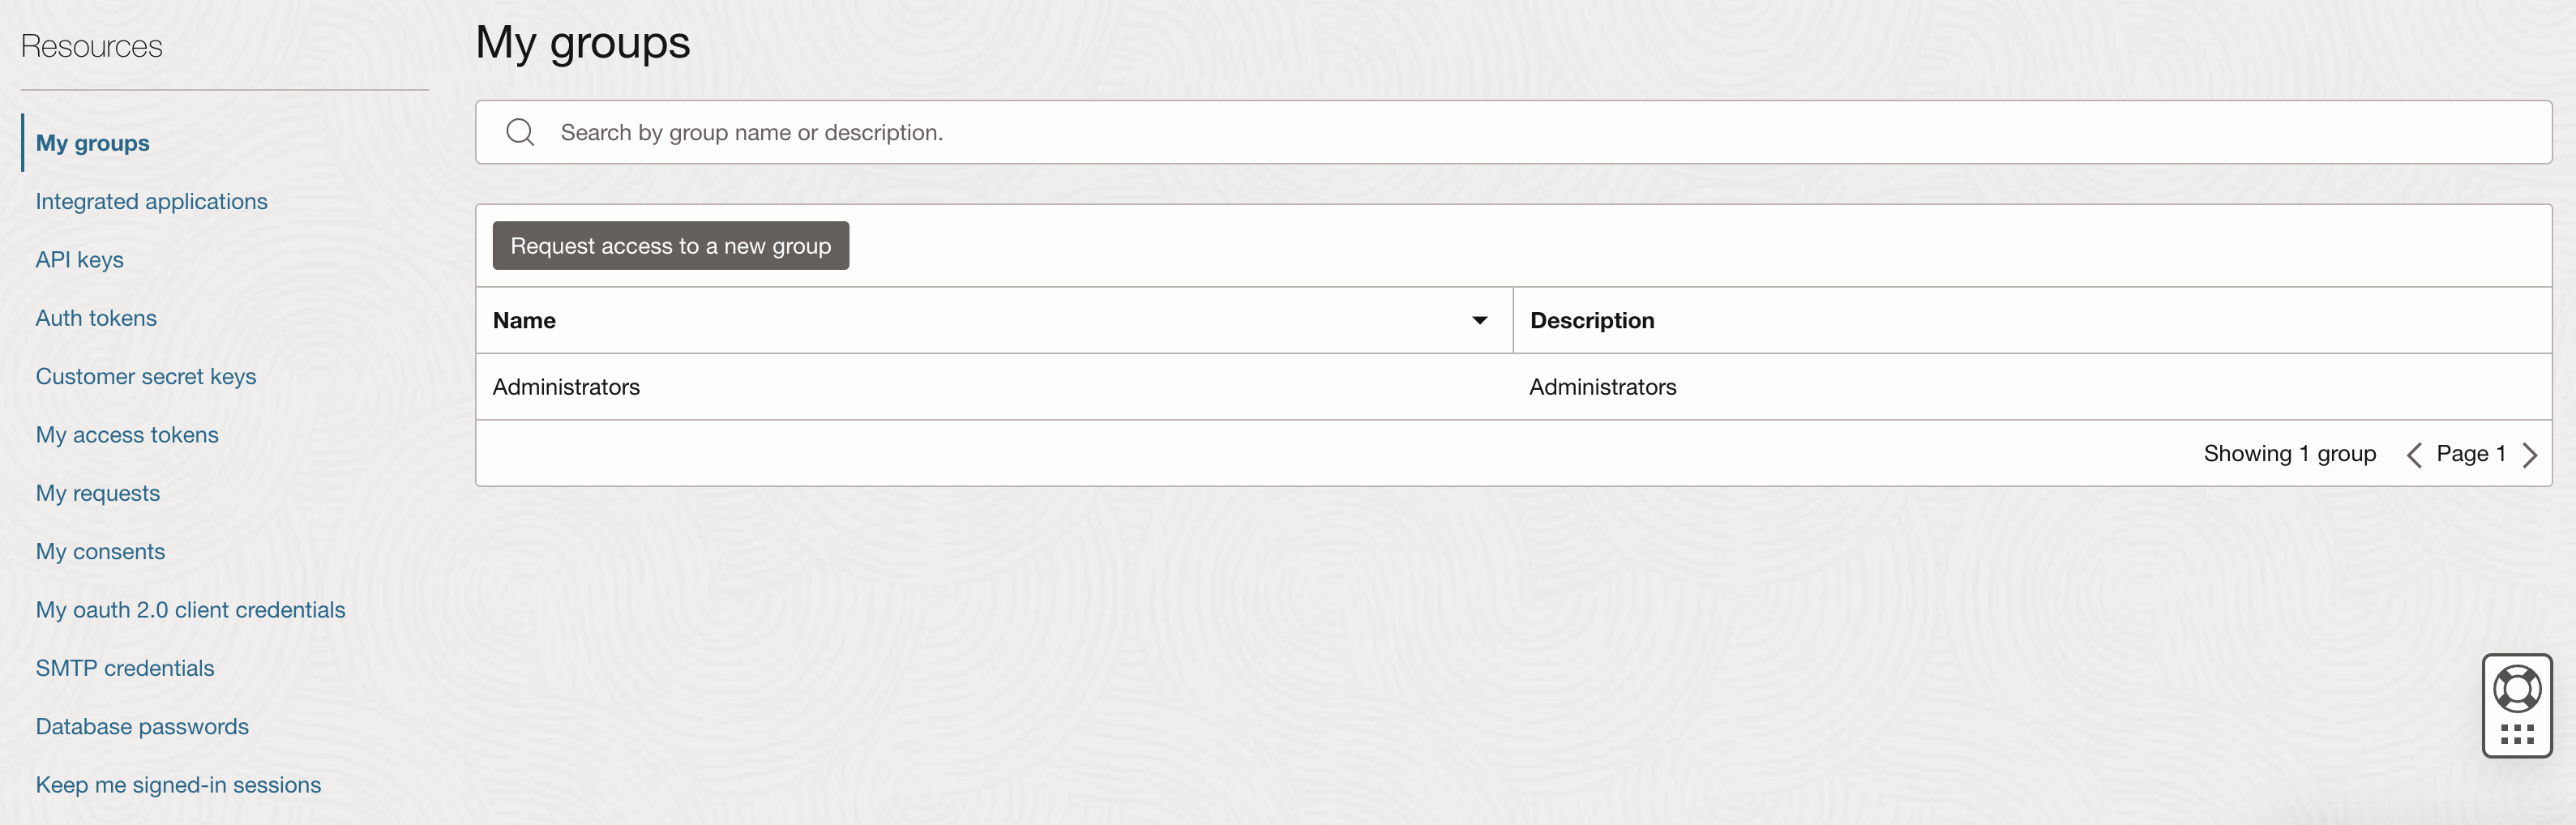
4
Generate Secret Key
Click “Generate Secret Key”.
5
Name the key
Enter a friendly name for your key (e.g., “OnyxOCIConnector”).
6
Generate and copy key
Click “Generate Secret Key”. You will see your Secret Key. Make sure to copy the key immediately,
as you won’t be able to retrieve it later.
7
Verify keys list
You should now be taken to the “Customer Secret Keys” page and see a list of keys (including the name of the key you
just generated). The corresponding access key should be present.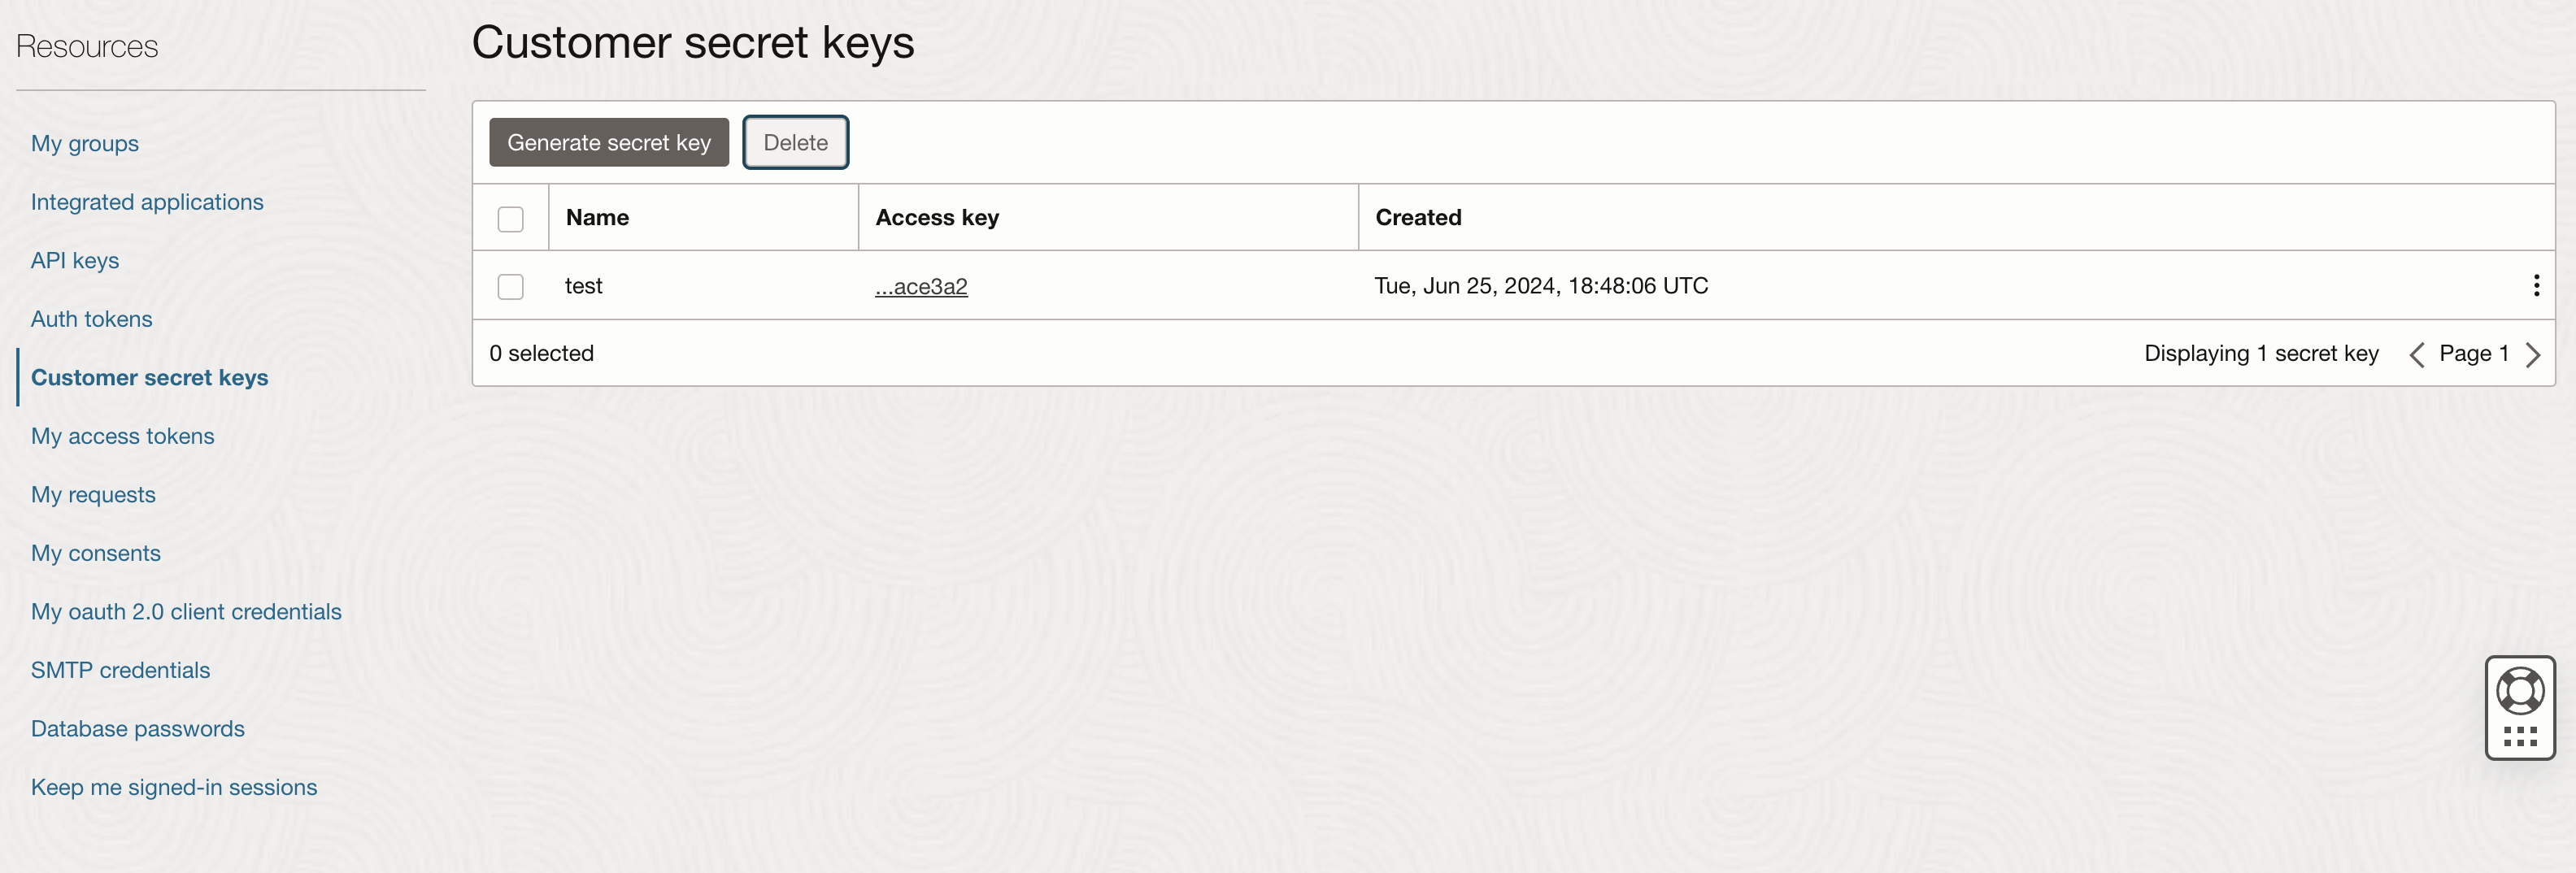

8
Find Object Storage namespace
To find your tenancy’s Object Storage namespace, click on the user icon in the top-right corner and select “Tenancy:
[your tenancy name]”. In the tenancy details, you’ll find the Object Storage namespace.
Indexing
1
Open OCI Storage connector
Navigate to the Admin Panel and select the Oracle Cloud Infrastructure Storage Connector.
2
Enter OCI credentials
In Step 1, provide your OCI credentials:
- Provide your OCI Access Key, Secret Key, Namespace, and Region for authentication.
- These credentials will be used to access your OCI buckets.
3
Save credentials
Click “Update” to save your credentials.
4
Select bucket
In Step 2, specify which OCI bucket you want to make searchable: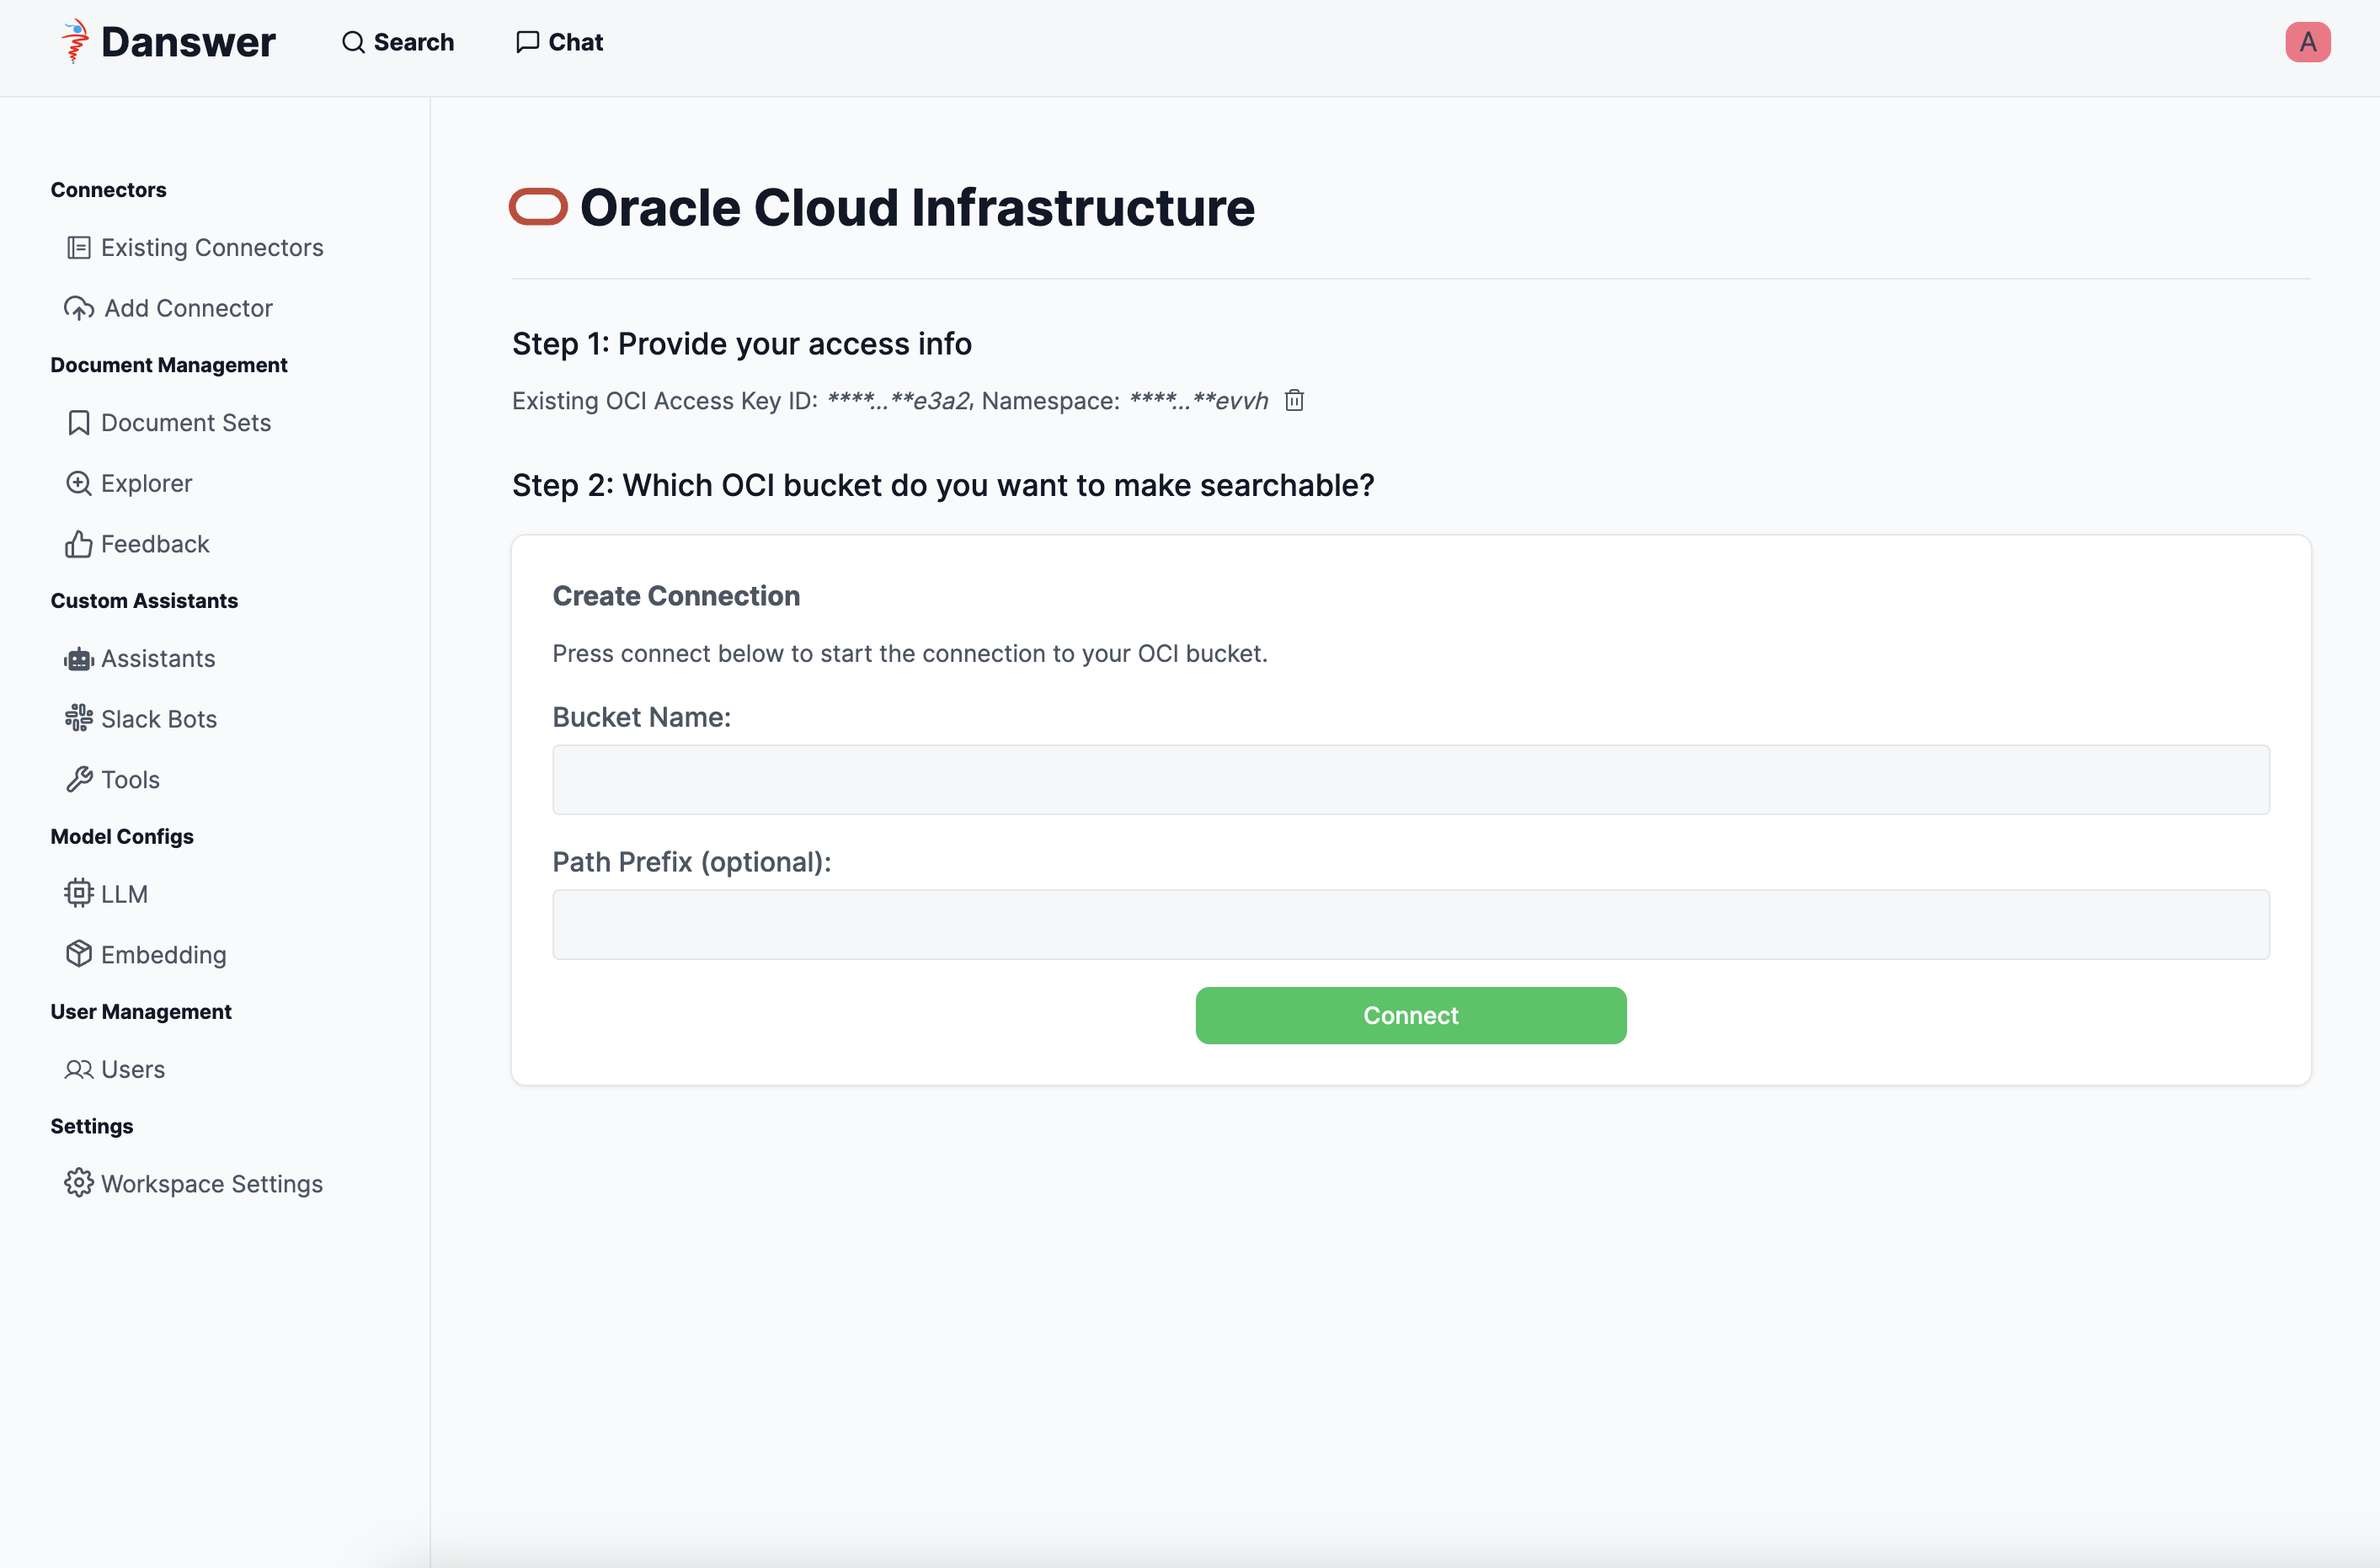
5
Start indexing
Click “Connect” to begin indexing.