Both the data that is retrieved from the source and the data that your users can access through Onyx can be customized
to your needs!
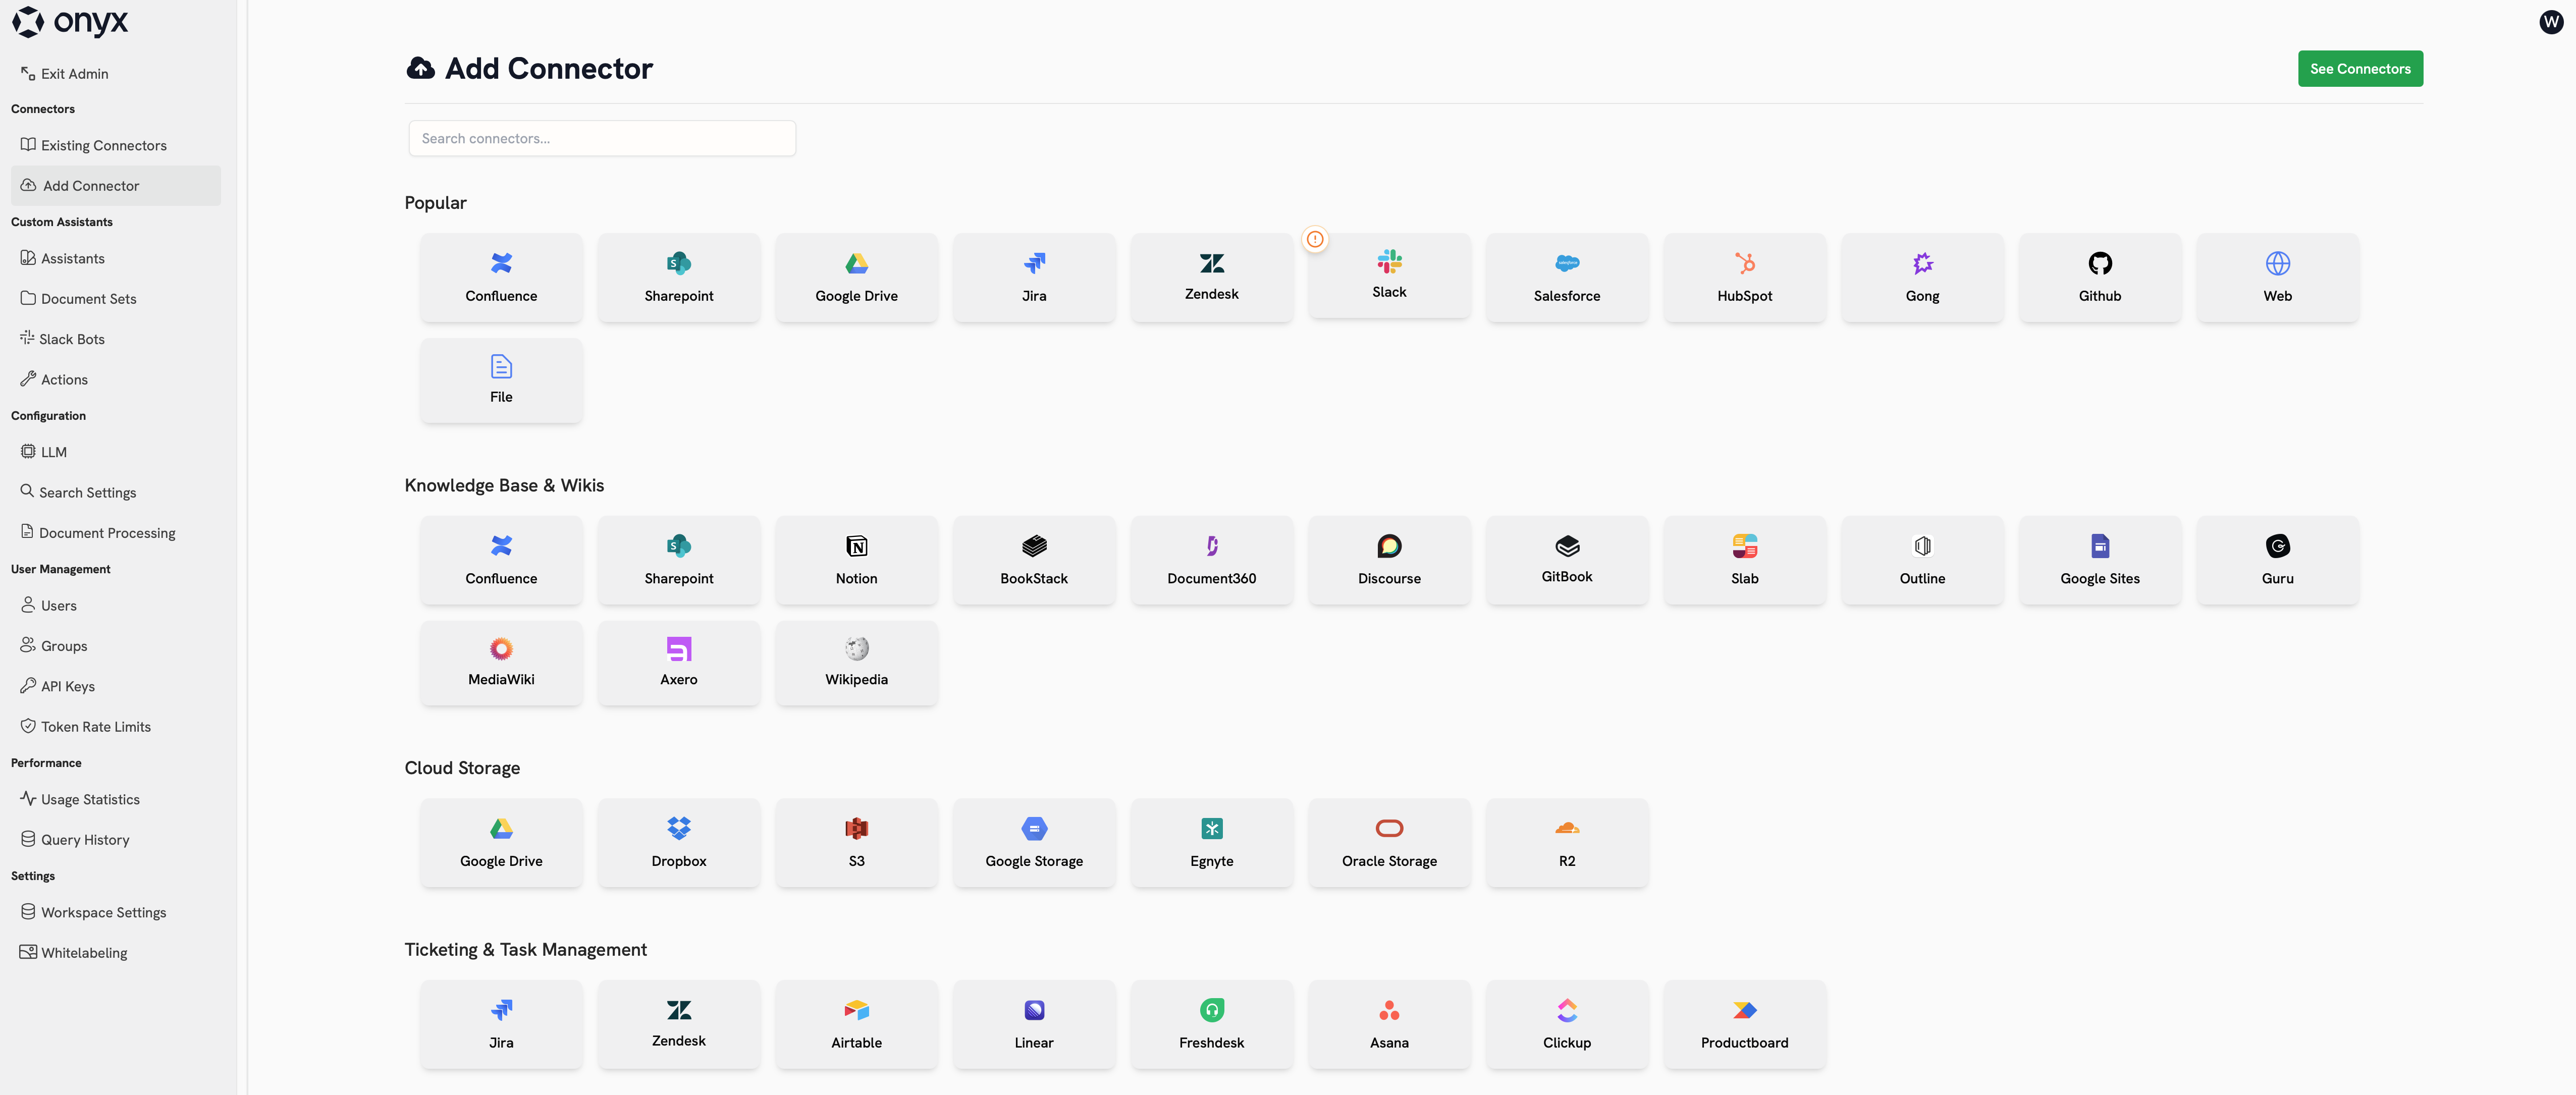
Adding a Connector
To add a new connector, navigate to the Admin Panel and click Add Connector in the sidebar. This page shows all officially supported connectors.You can see unofficial, community-supported connectors by setting
SHOW_EXTRA_CONNECTORS=true in your environment.Credentials
Most Connectors require some form of authentication for Onyx to access your source. This authentication is called a Credential and differs by Connector.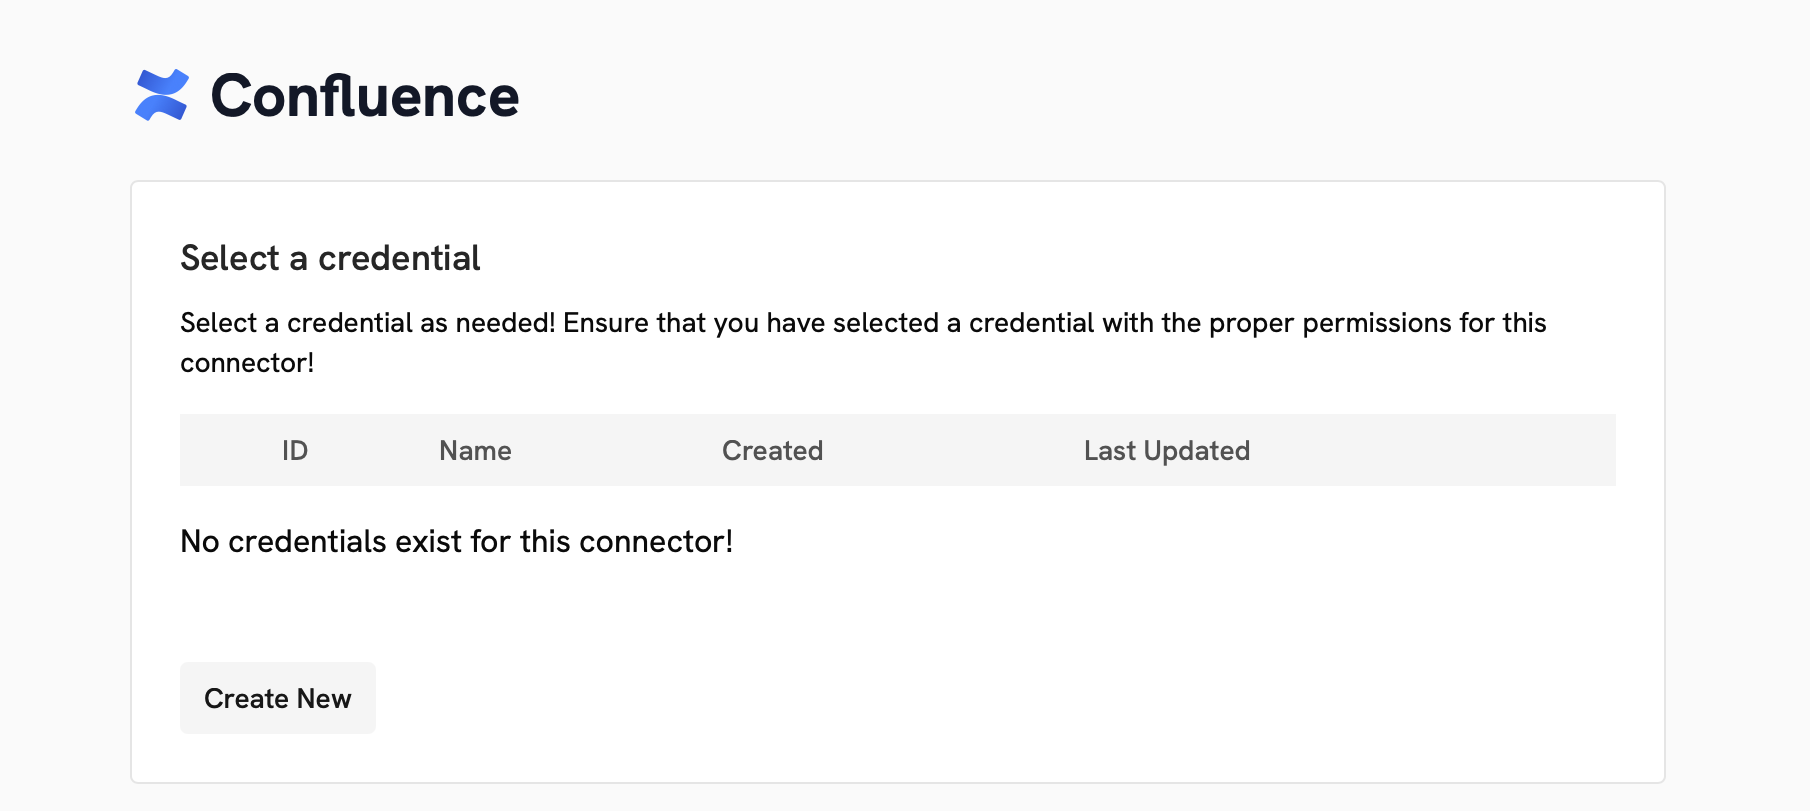
Configuration
Each connector must be given a Name. Additionally, each Connector has its own configuration options to specify the data that should be indexed.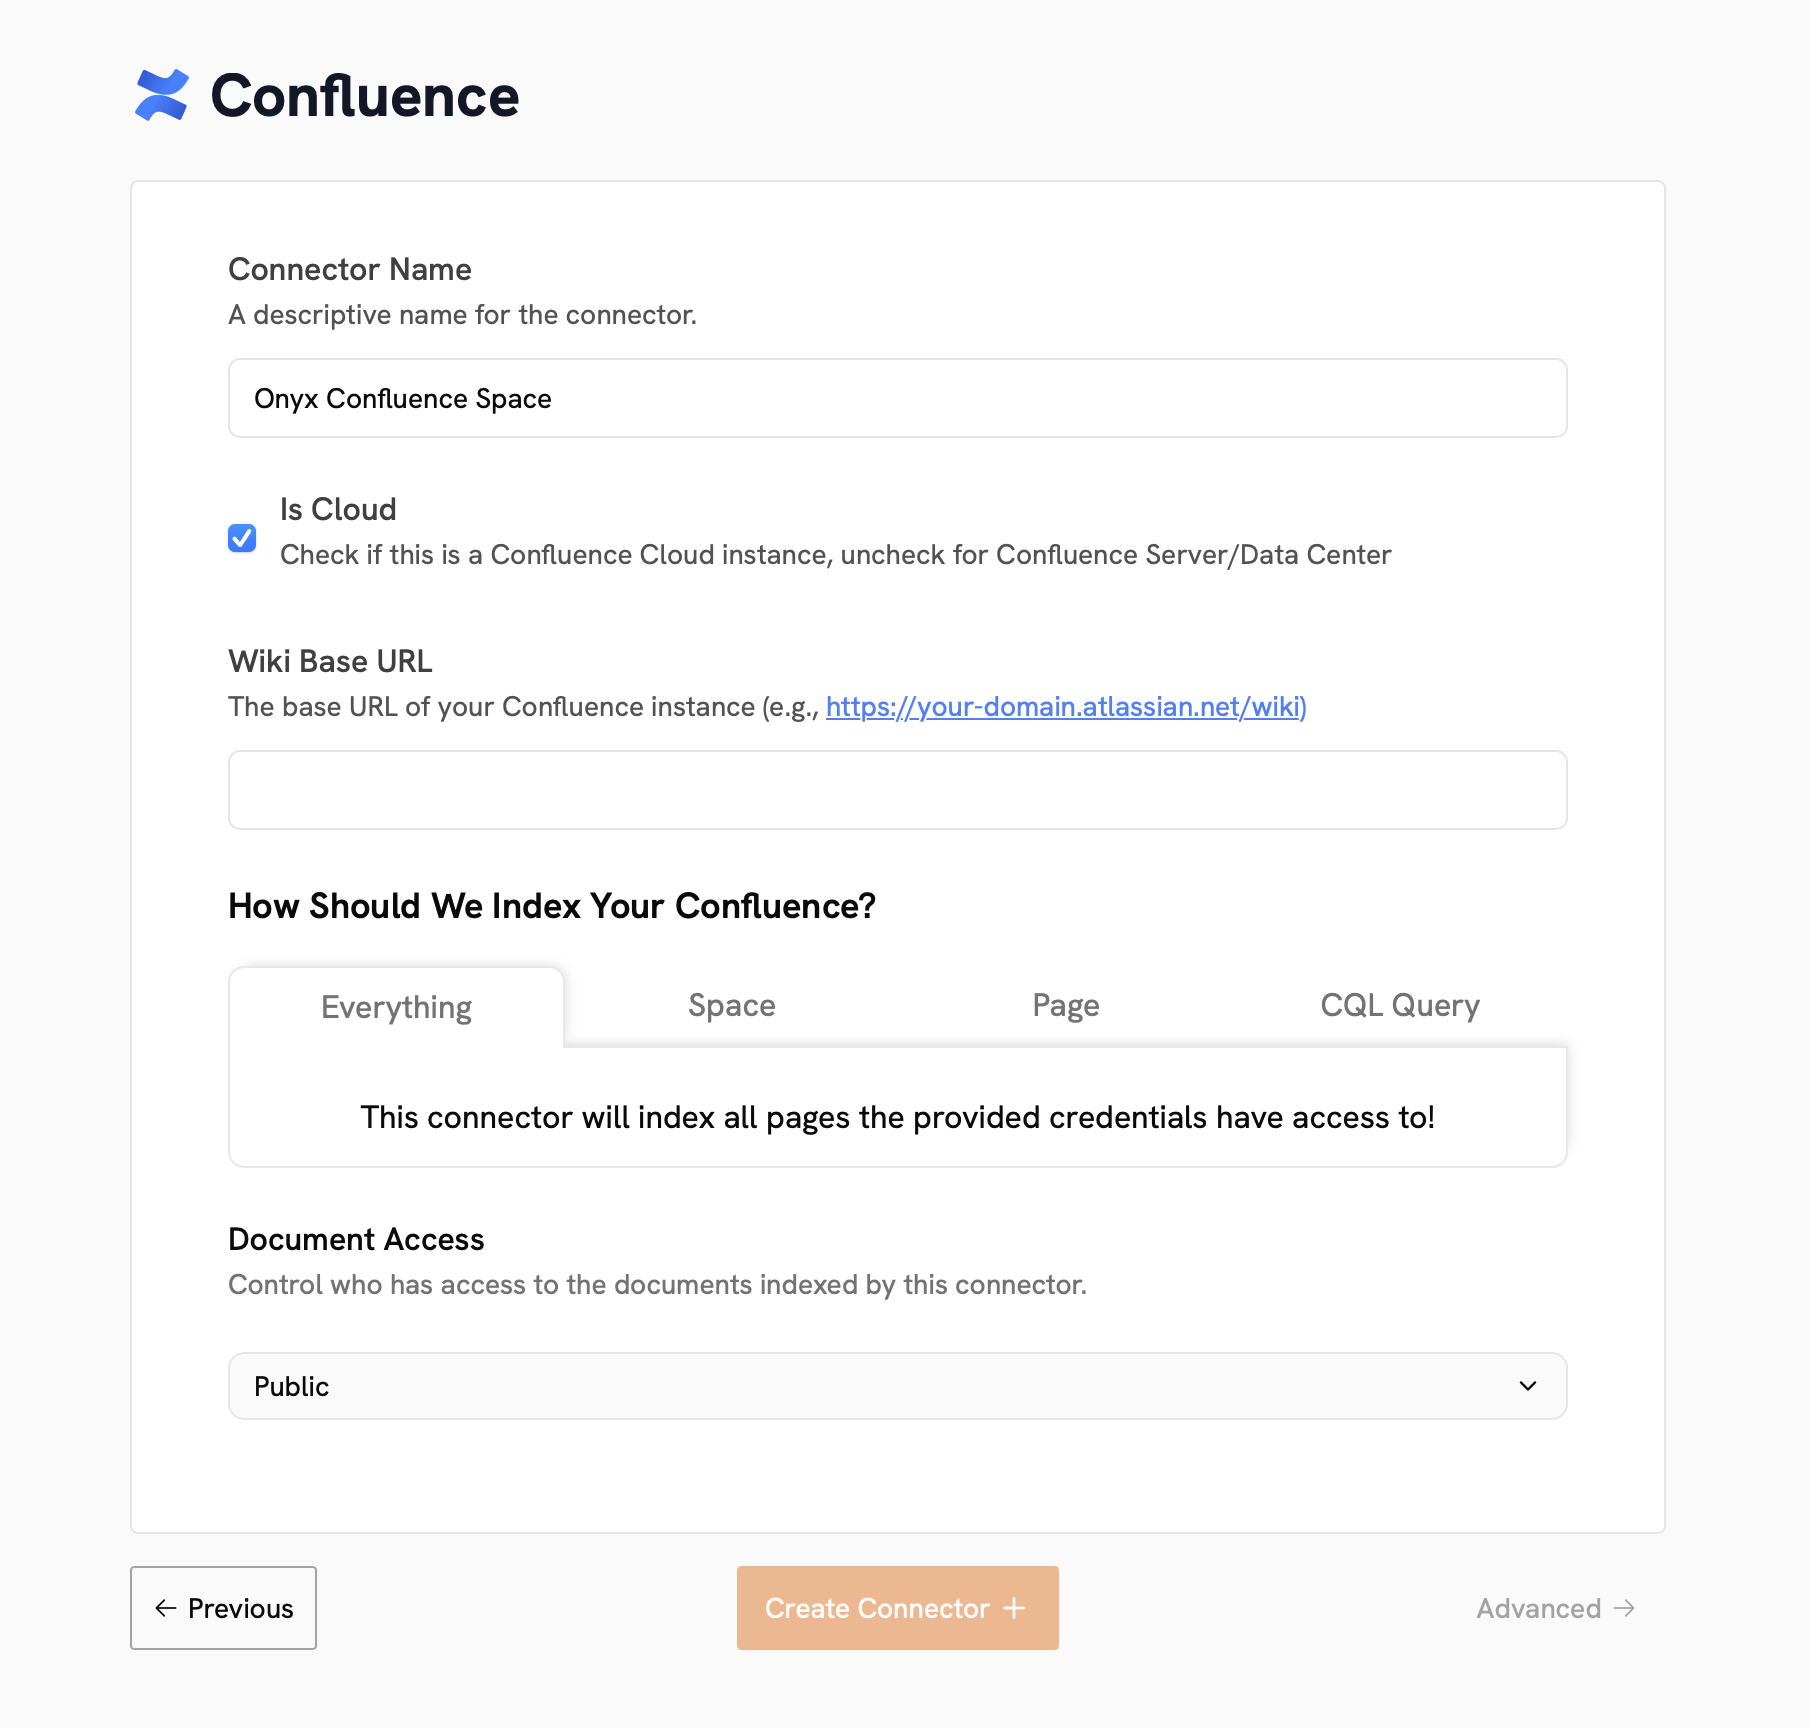
Document Access Controls
Connectors can be configured to be Private, Public, or Auto Sync Permissions. Private: Only the user who created the Connector may see data from this Connector in Onyx. You may also assign specific Users and User Groups access to this Connector’s data. Public: All Onyx users may see data from this Connector.Permission-Syncing Connectors
If you set your Connector’s access type to Auto Sync Permissions, Onyx will maintain an access control list from the source and restrict users to only see data they have access to. Permission-syncing is only available for the following Connectors:- Confluence
- Jira
- Google Drive (must use service account or Google Workspace Admin OAuth credentials)
- Gmail (must use service account or Google Workspace Admin OAuth credentials)
- Slack (see Federated Slack documentation)
- Salesforce
- GitHub
- SharePoint (must use certificate-based authentication)
Permission-syncing connectors are an Enterprise Edition feature.
Advanced Configuration
Clicking Advanced Configuration on the bottom left of the Connector configuration page will reveal additional, optional settings for indexing. Prune Frequency: The frequency at which old data (that no longer exists in the source) should be removed from Onyx. This is set to 30 days by default. Refresh Frequency: The frequency at which new data should be retrieved from the source. This is set to 30 minutes by default. Indexing Start Date: The date and time from which data should be indexed (data created or updated before this date will not be indexed). This is set to the earliest possible date in the source by default.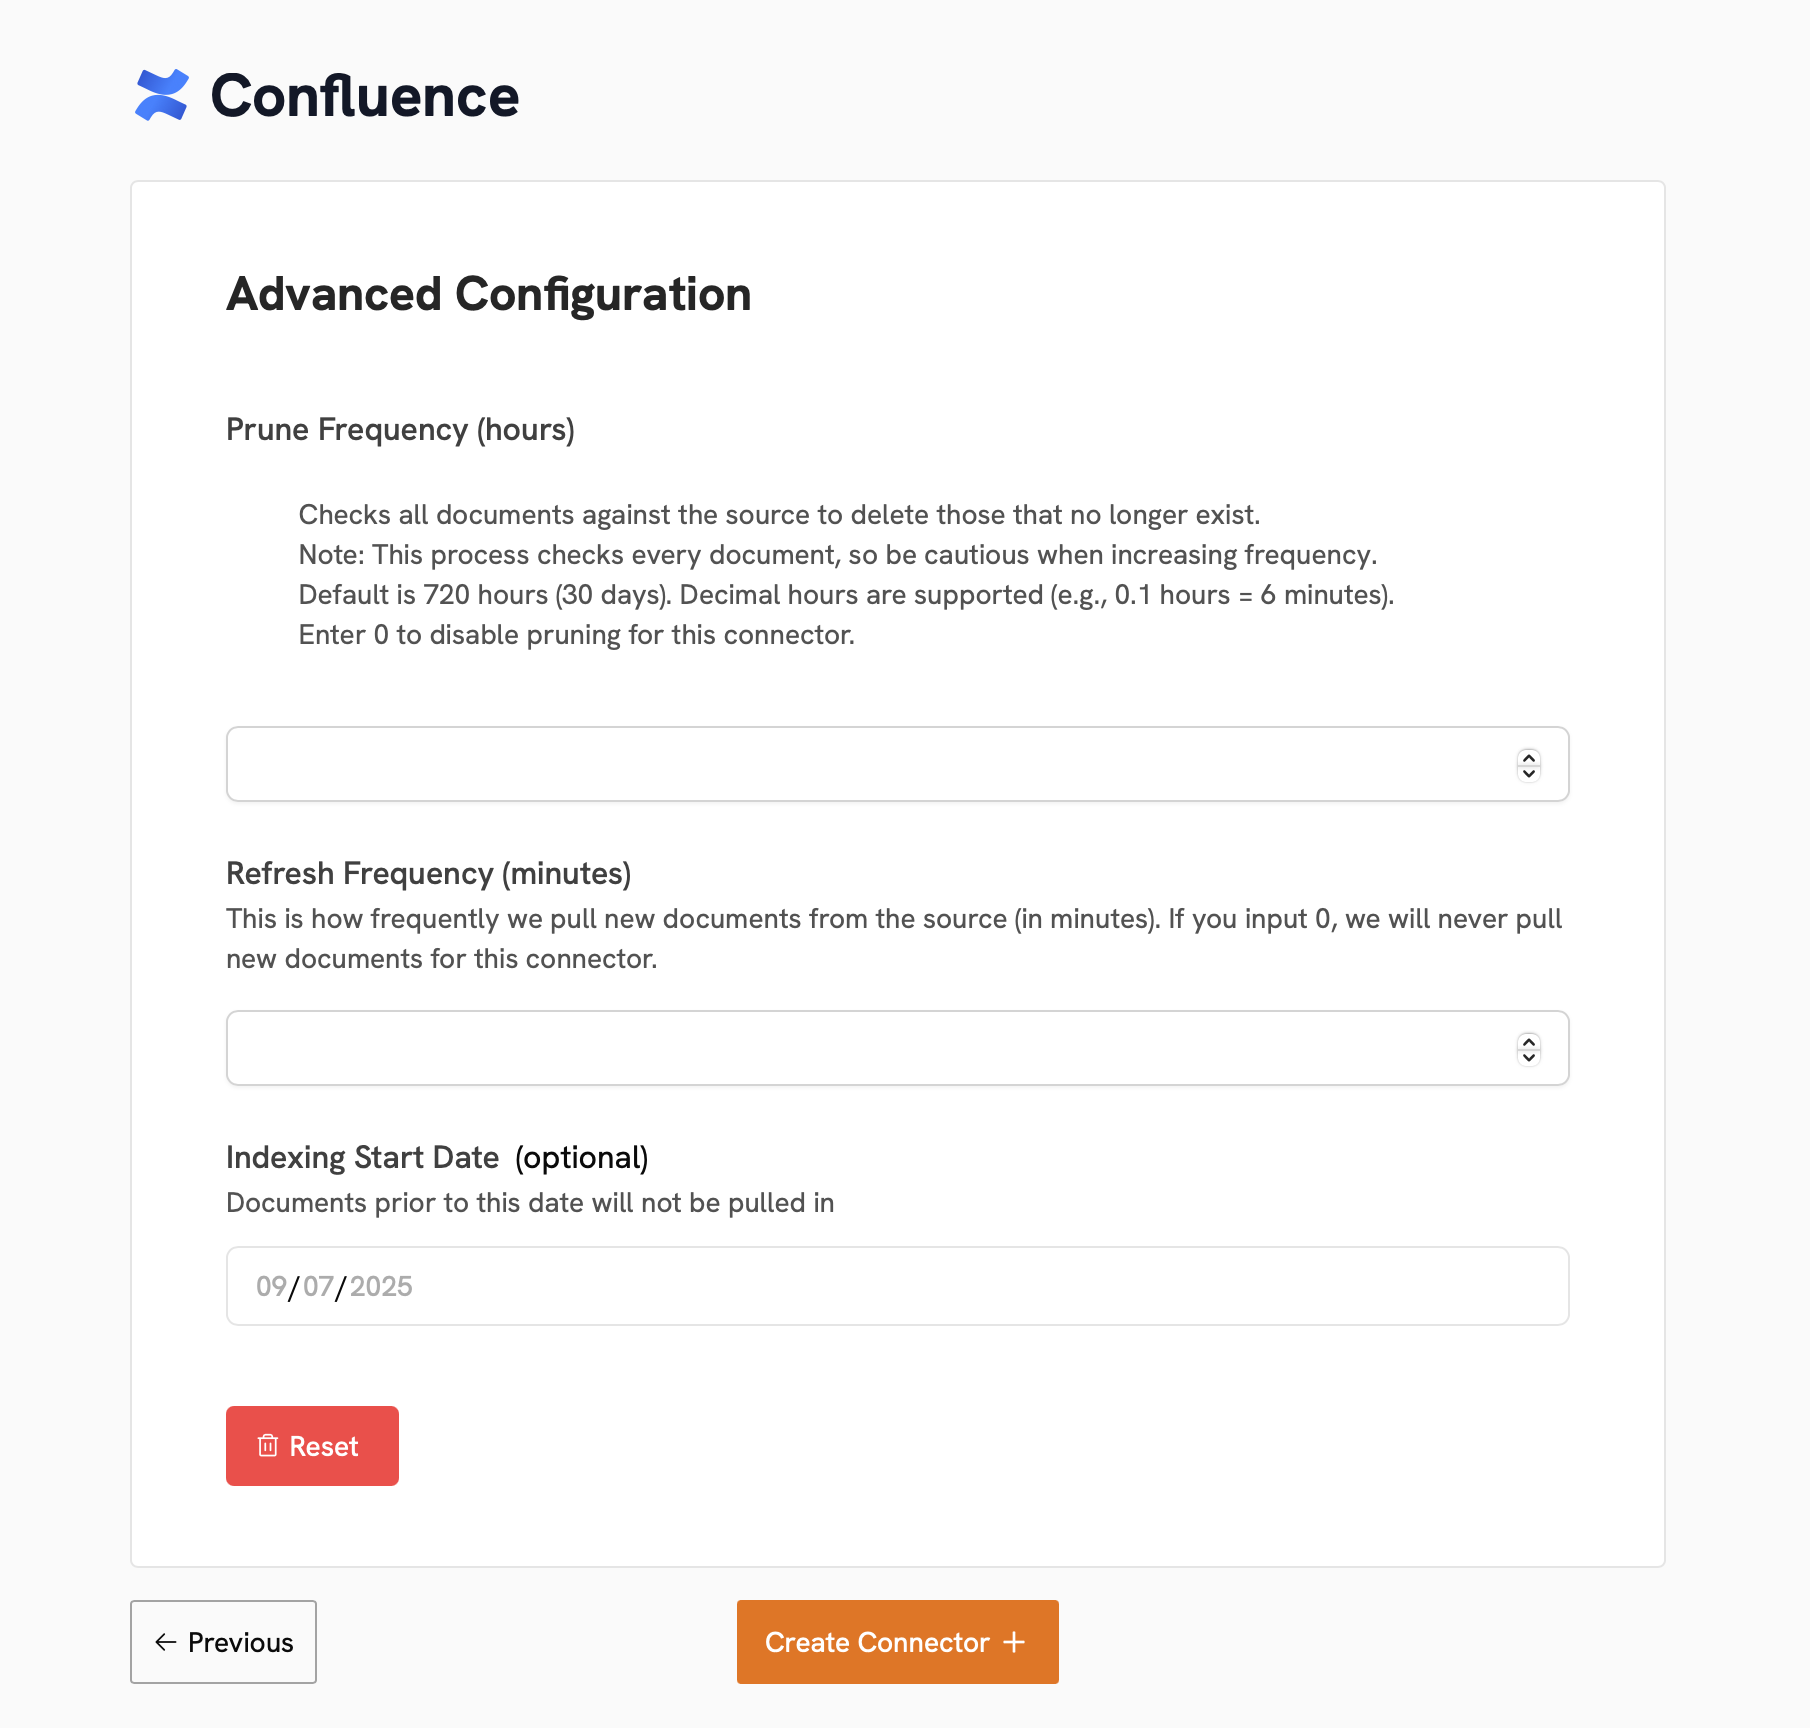
Managing Existing Connectors
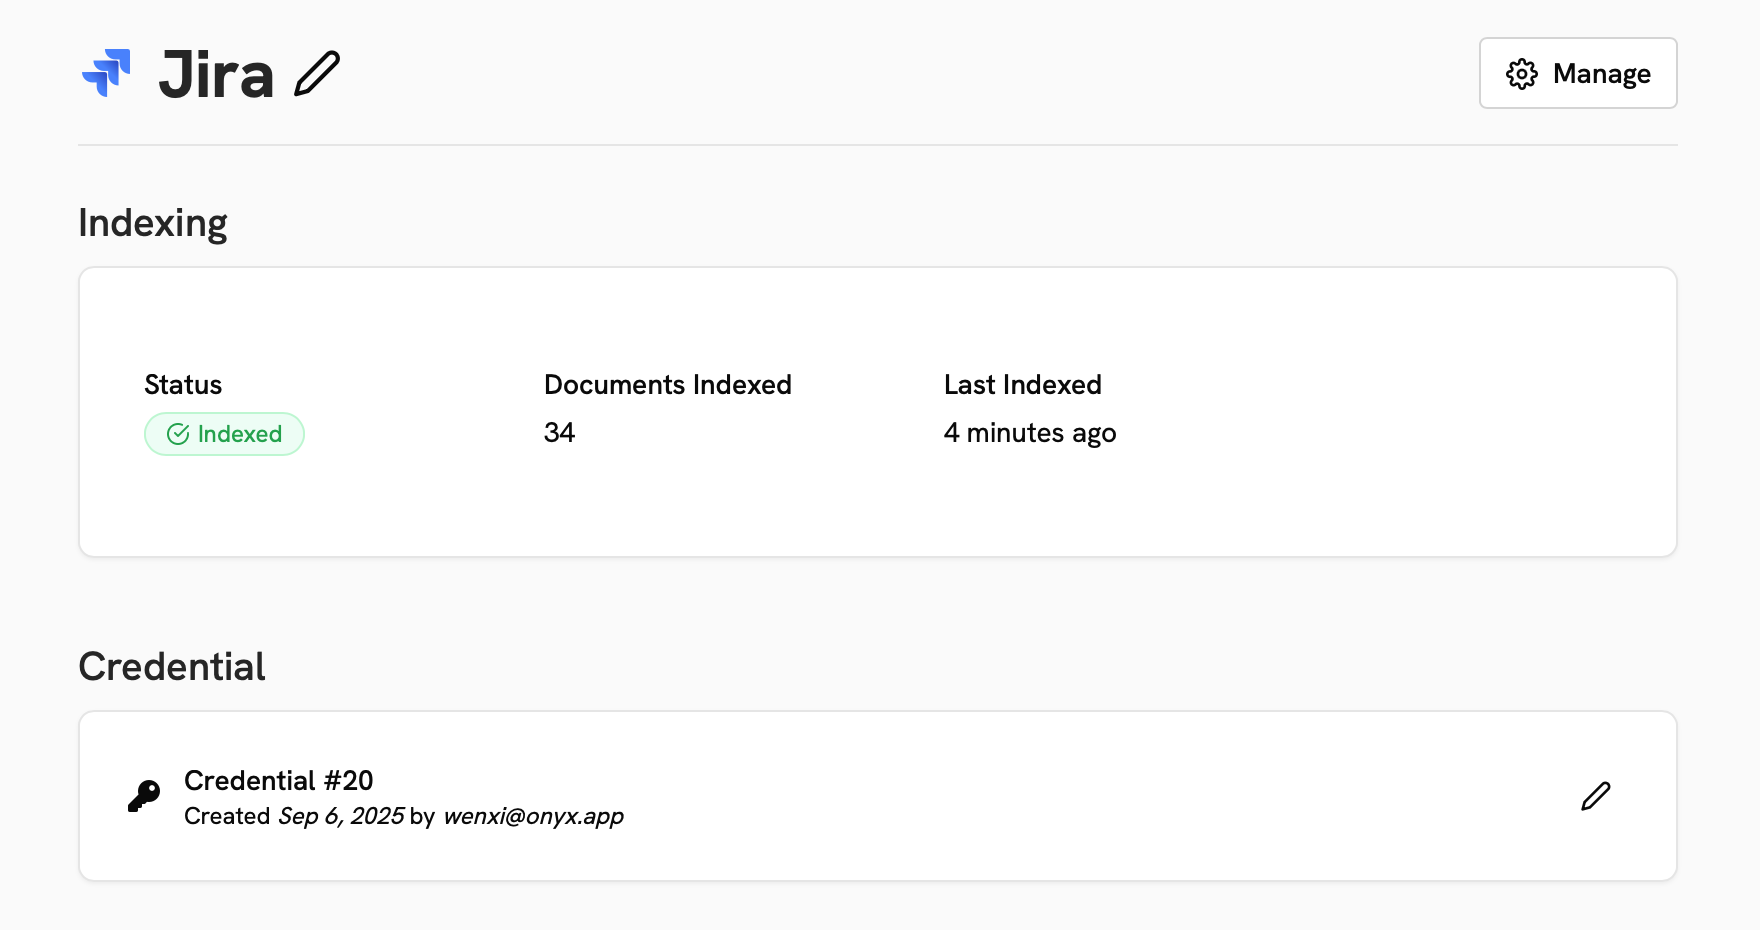
To see your existing Connectors, navigate to the Admin Panel and click Existing Connectors in the sidebar. This page will show an overview of your Connectors, their status, and the amount of data they have indexed.
Connector Status
The status of a Connector can be:Active
| Status | Description |
|---|---|
| Indexed | The Connector is fully functional and all data is synced as of the last indexing attempt. |
| Scheduled | Newly created Connectors or Connectors that have reached their refresh frequency but have not begun a new indexing attempt. |
| Indexing / Initial Indexing | The Connector is currently retrieving data from the source. |
Inactive or Semi-Active
| Status | Description |
|---|---|
| Paused | The Connector has been paused and will not retrieve new data until un-paused. Users can still access the indexed data. |
| Error | The Connector has encountered an error during indexing. Any data indexed prior to the error will remain available. Onyx will attempt to index again. If too many errors occur, the Connector will be paused. |
Most Error statuses are temporary and will resolve themselves naturally within a few hours.
If you see an Error status that persists, please reach out.
Connector Details
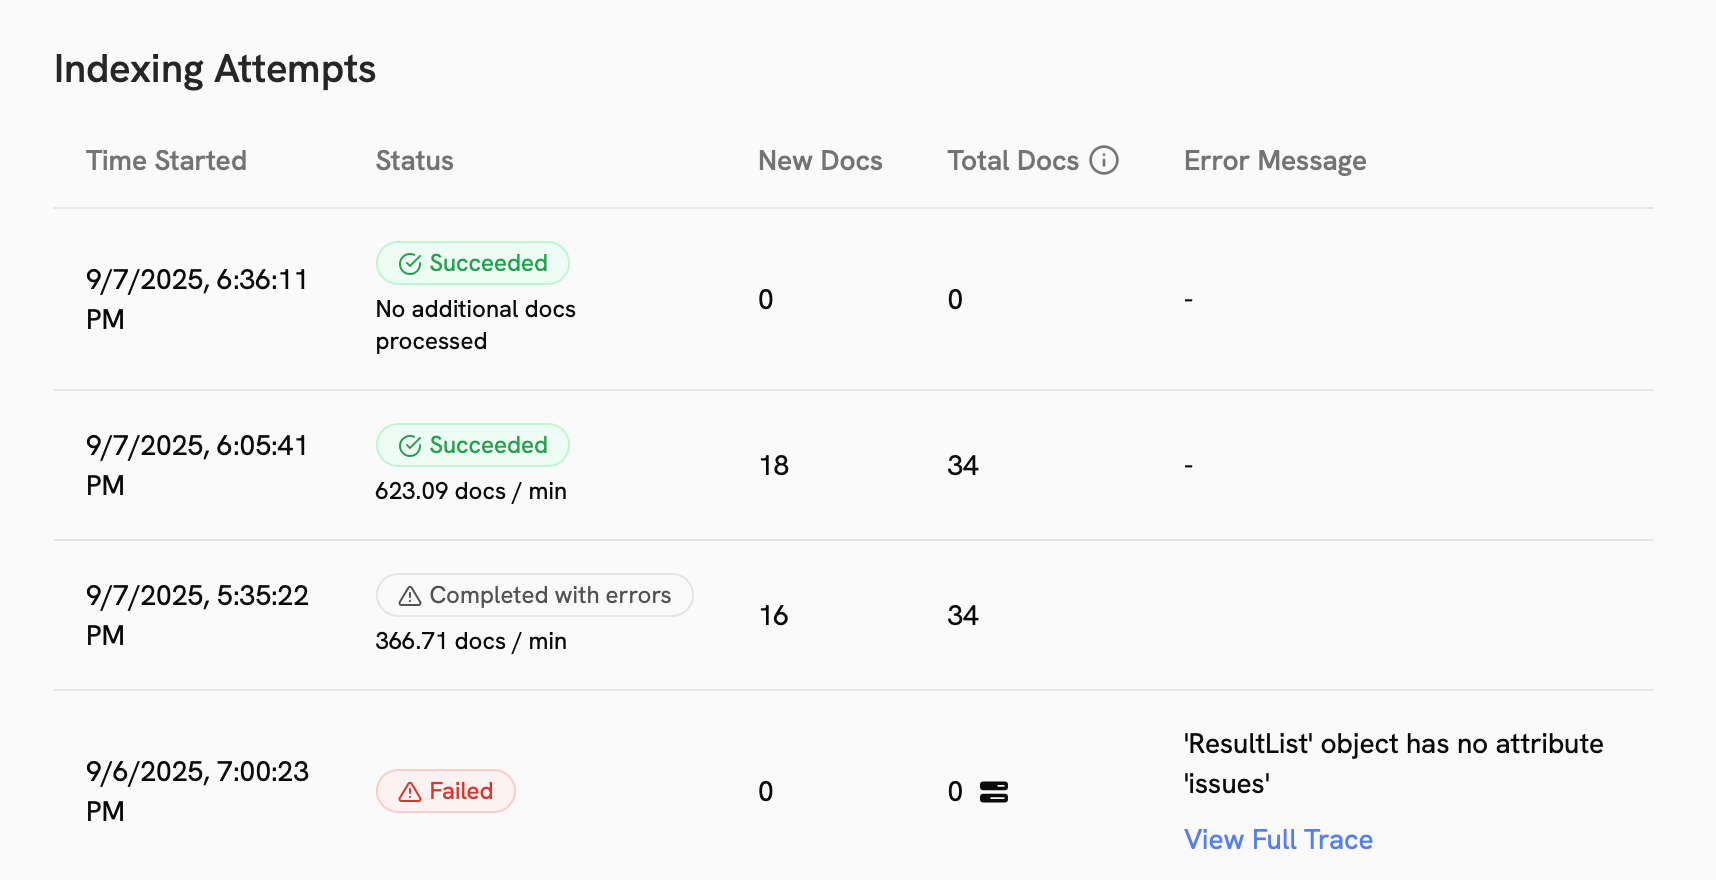
Clicking on an existing Connector will show you details about its configuration, status, and indexing attempts. In the Manage menu, you can pause, resume, delete, or initiate a complete re-indexing of the Connector. Under the Advanced section, you can see the prune and refresh settings, as well as the history of indexing attempts.