How it works
The S3 connector pulls in all documents from the specified Amazon S3 bucket. It supports various file formats including PDF, DOC, DOCX, TXT, and more. Documents are updated every 1 day.Setting up
Authorization
We support three authorization methods—pick one that fits your environment:- AWS Access Keys - Uses traditional access key credentials
- IAM Role-Based Authorization - Uses AWS IAM roles for secure access
- Assume Role - Automatically uses the EC2 instance’s attached role for S3 access
Indexing
Once you’ve set up your authorization method, follow these steps to index your S3 bucket:1
Open S3 connector
Navigate to the Onyx Admin Panel and select the S3 Connector.
2
Configure authorization
In Step 1, configure your authorization:
- If you have existing credentials, select them from the list
- If you don’t have existing credentials, click Create New to add new authorization:
- Access Keys: Enter your AWS Access Key ID and Secret Access Key
- IAM Role: Click the IAM Role tab and enter your Role ARN
- Assume Role: Click the Assume Role tab (no credentials required)
3
Save configuration
Click Create to save your configuration.
4
Continue with selected credential
Ensure your chosen credential is selected, then click Continue
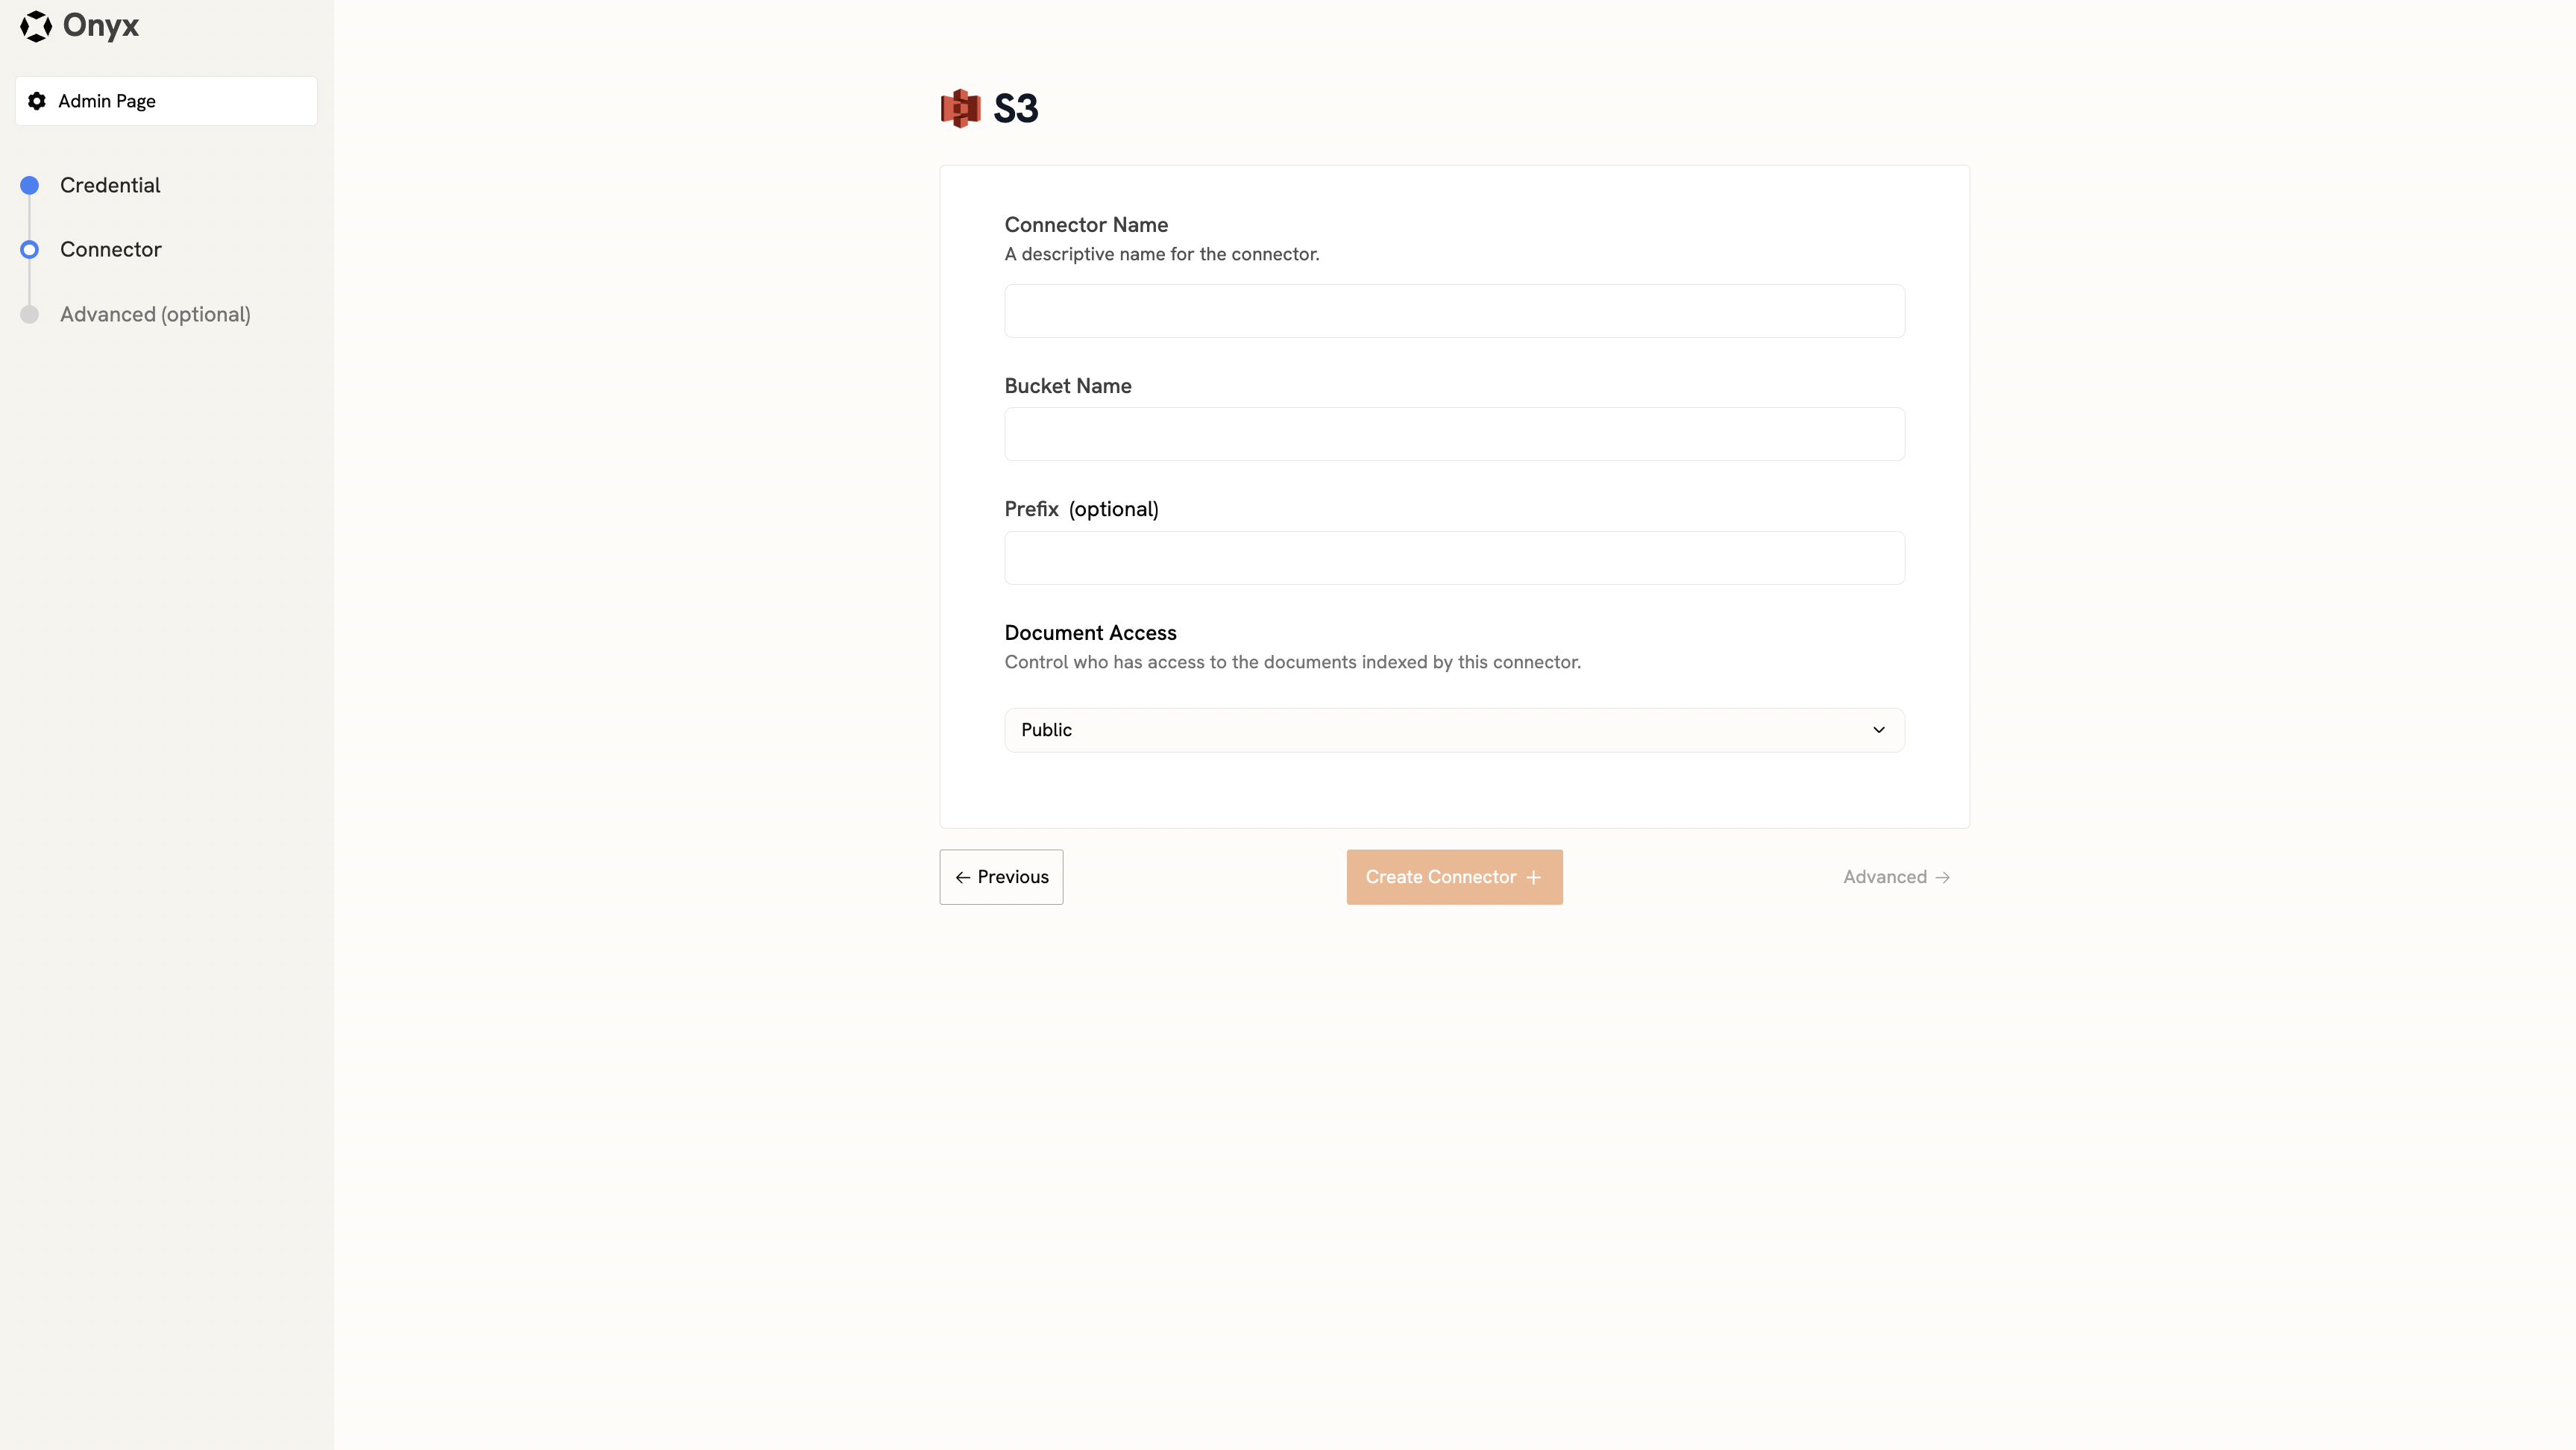
5
Specify bucket details
In Step 2, specify your S3 bucket details:
- Connector Name: Enter a name for the connector (e.g., “MyS3Connector”)
- Bucket Name: Specify the name of the S3 bucket you want to index
- Prefix (Optional): Provide a prefix to limit indexing to a specific folder or path
- Access Type: Choose whether documents are Public or Private
6
Create connector
Click Create Connector to begin indexing.