

How it works
Indexing is checkpointed, so a large intranet is covered across several attempts rather than one long run.
Before you begin
You need:- Your LumApps cell API host, for example
https://go-cell-005.api.lumapps.com - Your LumApps organization ID, which is numeric
- A LumApps application with an ID and an API key
- A service user for the application to act as, given as an email address or a user ID
- An Onyx administrator account
The API base URL is your organization’s cell host, not the LumApps documentation site
api.lumapps.com.
Using the wrong host fails authentication. Ask LumApps support for your cell host if you do not know it.Configure Onyx
1
Open the LumApps connector
In Onyx, go to Admin Panel → Add Connector and select LumApps.
2
Create a credential
Enter the application ID in LumApps Application ID, the key in LumApps API Key,
and the service user in LumApps Service User. A value containing 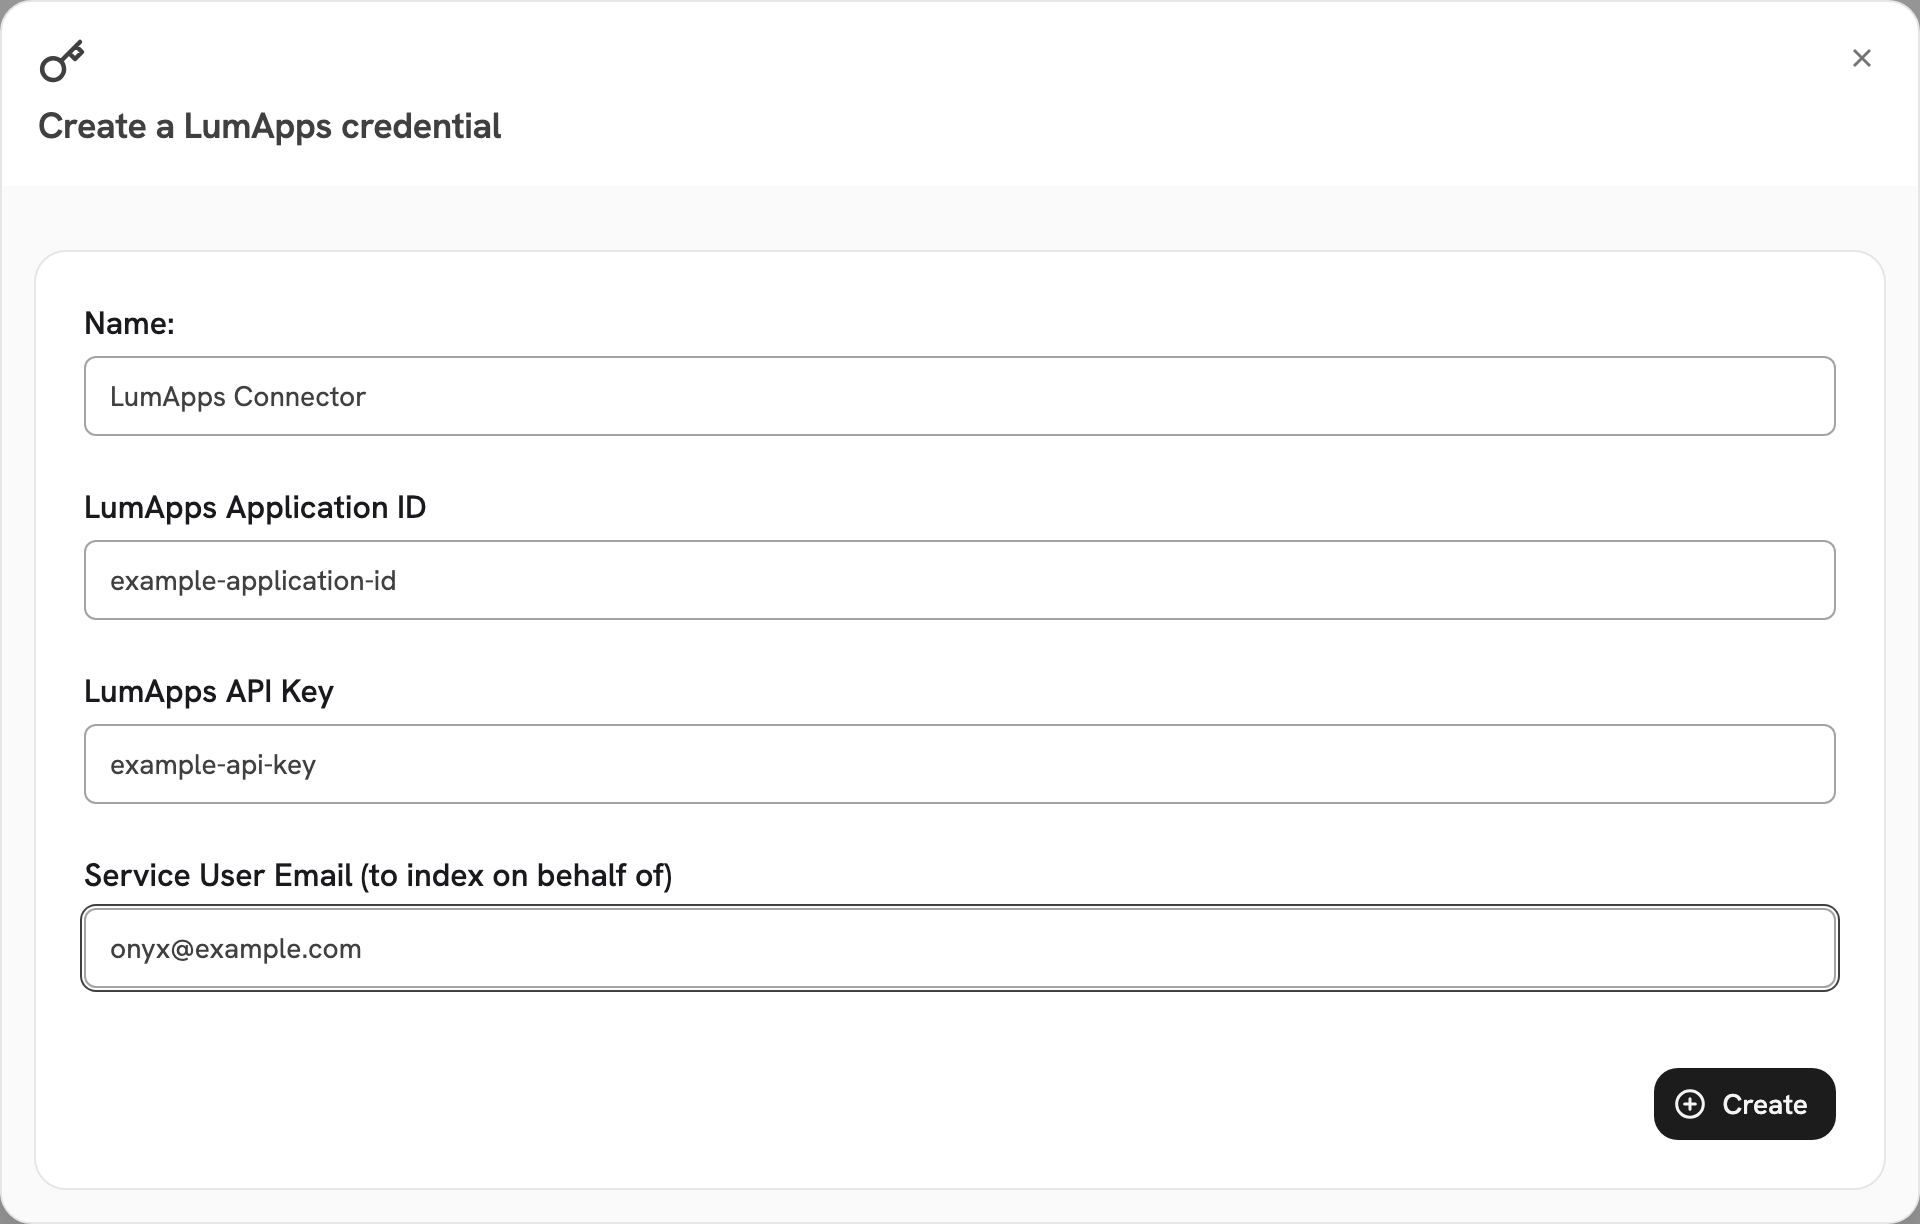
@ is treated as an email address;
anything else is treated as a user ID.3
Enter the host and organization
Give the connector a name.
Enter your cell host in API Base URL (cell host) and your numeric organization ID in Organization ID.
4
Choose the access type
Public makes all indexed LumApps content visible to every Onyx user.
Private limits the connector to selected Onyx user groups, and is a paid feature:
the Business and Enterprise tiers on Onyx Cloud, and the Enterprise Edition when self-hosted.
5
Connect and verify
Select Create Connector. Onyx reads one content item to check the credential before saving.
Then open Admin Panel → Existing Connectors, select the connector,
and confirm its first indexing attempt completes.
Advanced settings
Language selects one language; it does not index several. On a multilingual intranet,
content is indexed in the language you choose here. To index a second language,
add a second connector with a different Language.
Limits
The access token is short-lived and Onyx mints a new one a minute before the old one expires,
so no token rotation is needed on your side. The connector downloads no files, so it has no file-size cap.
Troubleshooting
The credentials are rejected
The credentials are rejected
LumApps credentials are invalid or expired means the application ID or API key is wrong,
or the application has been removed. Confirm both,
and confirm API Base URL (cell host) and Organization ID belong to the same LumApps organization.The service user cannot read content
The service user cannot read content
The LumApps service user lacks permission to read content means authentication worked but the service user has no
access. Grant it access to the instances you want indexed in LumApps.Authentication fails against the documentation host
Authentication fails against the documentation host
Using
api.lumapps.com instead of your cell host fails. Enter the cell host for your organization,
for example https://go-cell-005.api.lumapps.com.Content is missing
Content is missing
Only live content is indexed, so archived and unpublished items never appear.
Check that the item’s instance is listed in Instance (site) IDs when that field is not empty,
that its type is listed in Custom Content Type IDs when that field is not empty,
and that the service user can open it.